
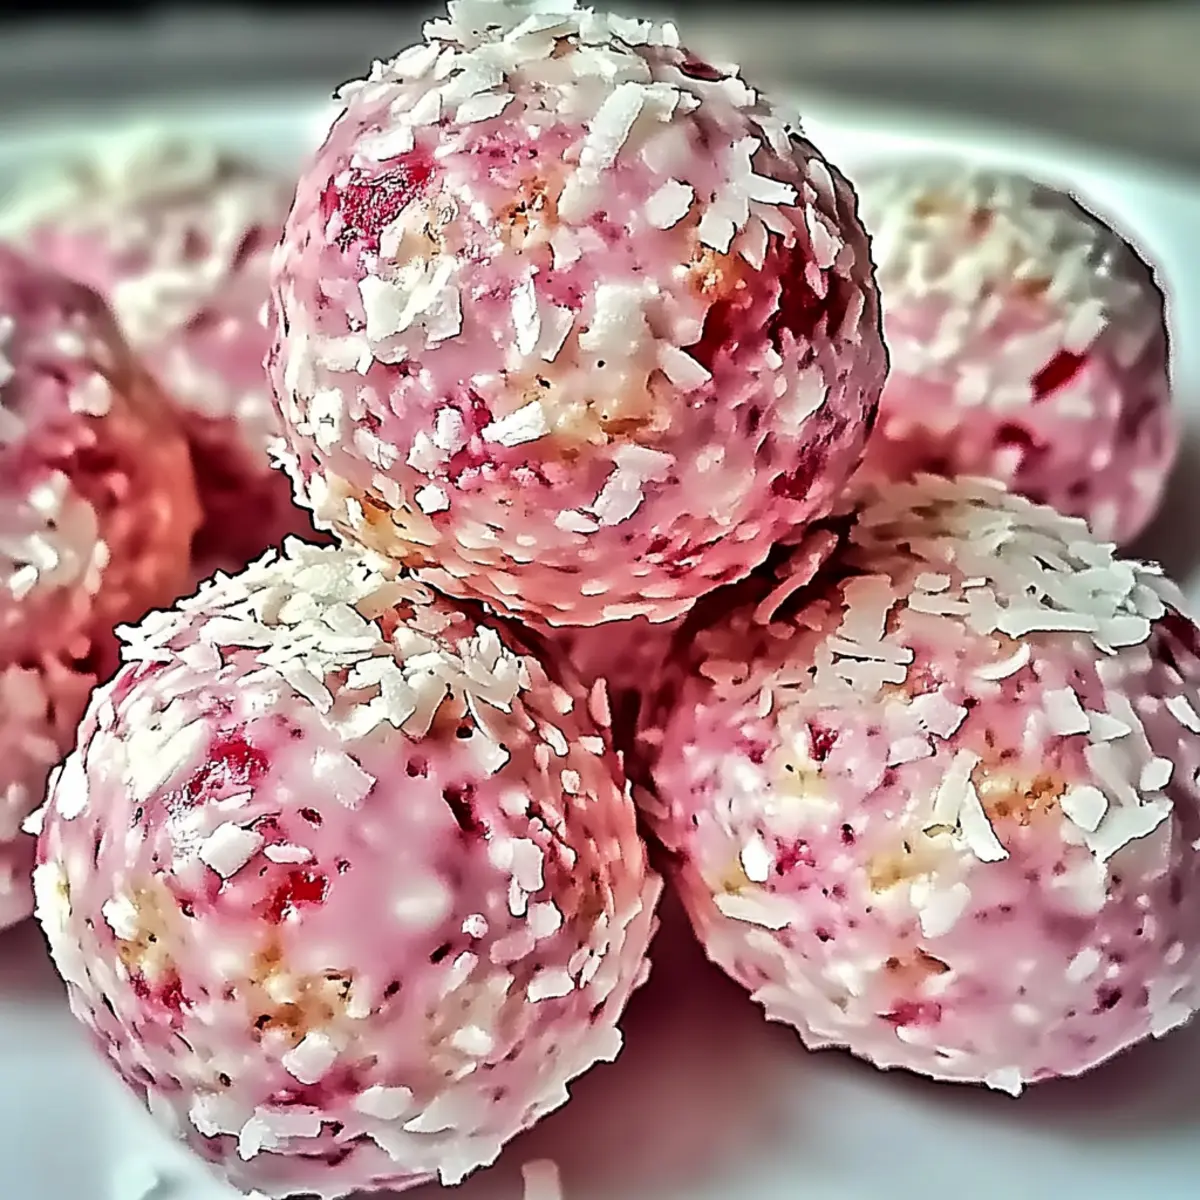
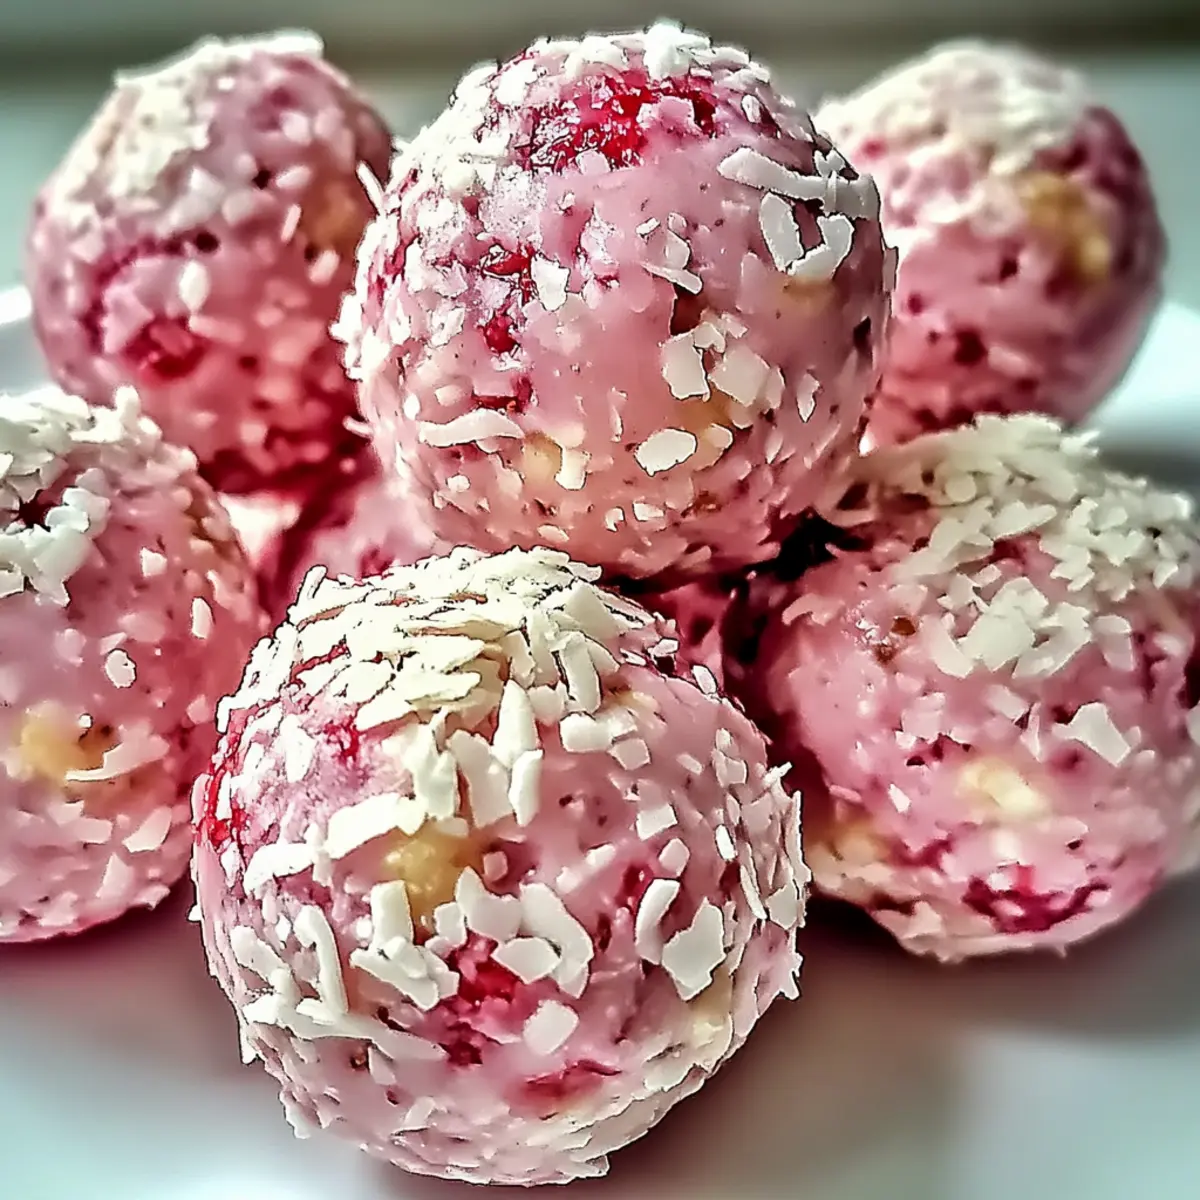
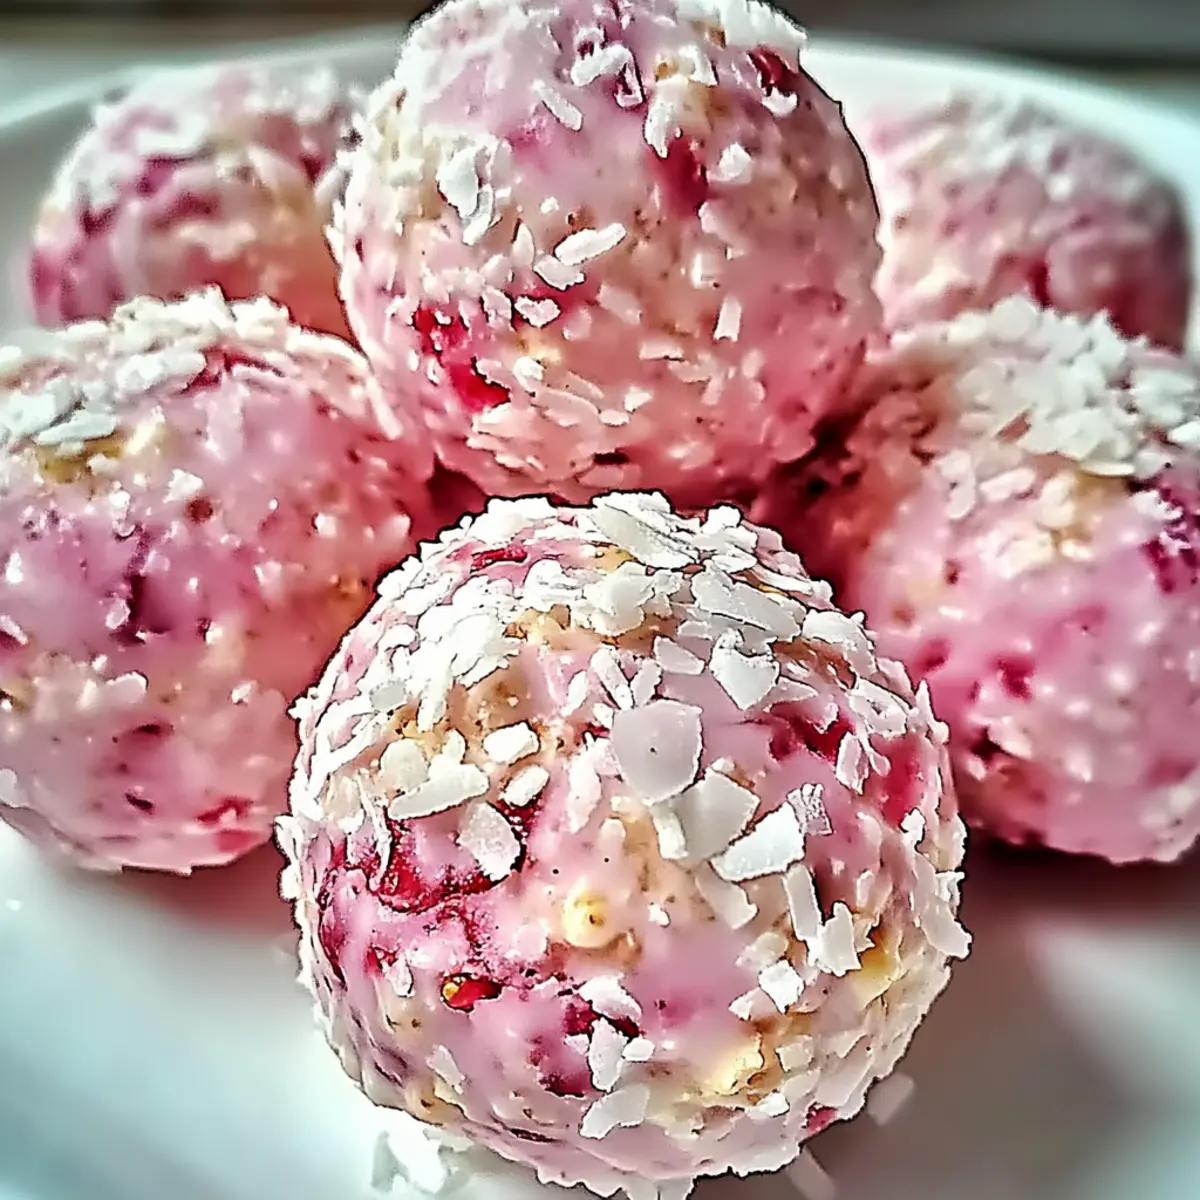
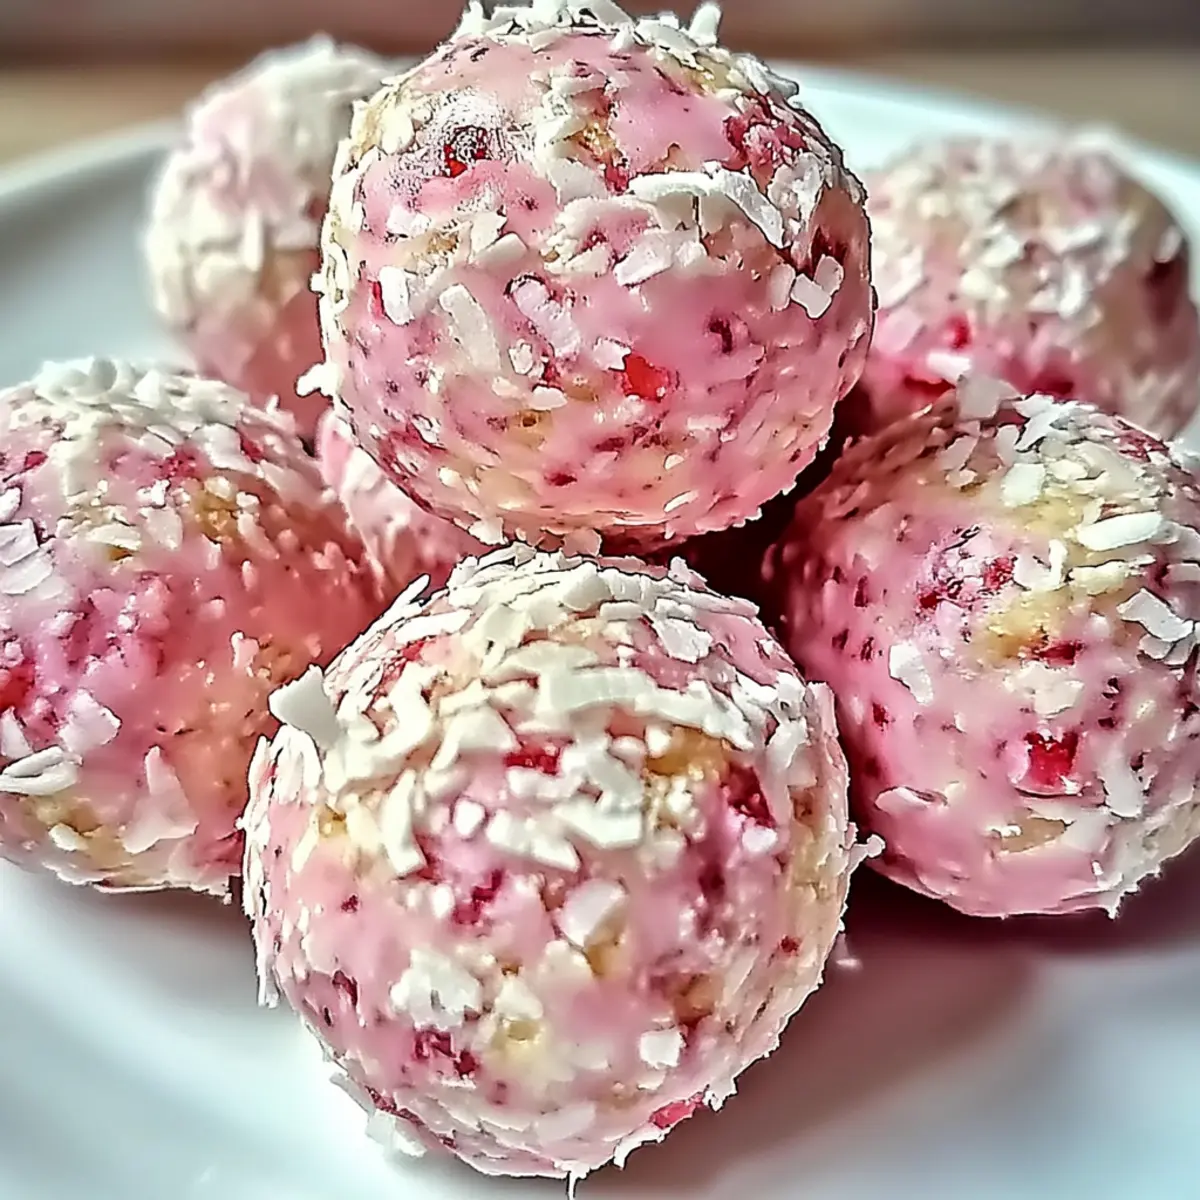
As I stood in my kitchen, the enticing aroma of strawberries filled the air, transporting me to sunlit summer days filled with picnics and laughter. It was in that moment I decided to recreate that nostalgic feeling with a modern twist—introducing my No-Bake Strawberry Cheesecake Protein Balls! Not only do these delightful bites deliver a creamy, cheesecakey goodness reminiscent of your favorite dessert, but they’re also a quick and healthy snack option perfect for busy lifestyles. Whip them up in just 15 minutes, and you’ll have a satisfying, protein-packed treat that’s gluten-free and can even be made dairy-free. Isn’t that a win-win? Ready to elevate your snacking game? Let’s dive into this irresistible recipe together!
Why You’ll Adore This Recipe?
Simplicity at Its Best: Prepare these mouthwatering Strawberry Cheesecake Protein Balls in just 15 minutes—no baking required!
Guilt-Free Indulgence: Enjoy the delightful combination of sweet strawberries and creamy cheesecake flavor without the guilt.
High Protein Boost: Packed with protein powder, these bites not only satisfy your sweet cravings but also help fuel your day.
Versatile and Adaptable: Feel free to swap ingredients! Use different fruits or flavored protein powders to create your unique version. Try some delicious alternatives like Greek Turkey Meatballs for protein lovers.
Perfect for Busy Days: These energy-packed snacks are easy to make ahead of time and require minimal cleanup. Store them for healthy snacking throughout the week!
Family-Friendly Appeal: Everyone will love these little bites of joy—great for kids and adults alike!
Strawberry Cheesecake Protein Balls Ingredients
For the Base
• Protein Powder – Provides the primary protein content—opt for vanilla or strawberry for enhanced flavor.
• Almond Flour – Adds structure and healthy fats; can be swapped with oat flour for gluten-free options.
• Cream Cheese – Contributes creaminess and cheesecake flavor; use dairy-free cream cheese for a vegan alternative.
• Oats – Infuses complex carbohydrates for energy; ensure they’re certified gluten-free if necessary.
• Fresh Strawberries – Offers natural sweetness and a burst of flavor; substitute with freeze-dried strawberries for convenience.
For the Sweetness
• Maple Syrup/Honey – Adds sweetness; adjust based on your liking; agave syrup makes a great vegan alternative.
• Milk – Binds the mixture; any milk of choice or a dairy-free alternative will work well.
Optional Topping
• Shredded Coconut – Perfect for a decorative finish and adds an extra layer of taste.
Elevate your snack game with these delightful Strawberry Cheesecake Protein Balls—they are quick, easy to prepare, and undeniably delicious!
Step‑by‑Step Instructions for Strawberry Cheesecake Protein Balls
Step 1: Prepare Ingredients
Start by gathering all your ingredients to ensure a smooth process. Make sure the cream cheese is softened, allowing for easy mixing. Chop the fresh strawberries into small pieces, making them manageable for blending into the mixture. This will provide a delightful burst of flavor in your Strawberry Cheesecake Protein Balls.
Step 2: Mix Base Ingredients
In a mixing bowl, combine the protein powder, almond flour, oats, and chopped strawberries. Use a spatula to mix these dry ingredients thoroughly until evenly distributed. This dry mixture serves as the flavorful base of your strawberry cheesecake protein balls, preparing them for a delicious, creamy texture.
Step 3: Incorporate Wet Ingredients
Add the softened cream cheese, maple syrup, and your choice of milk into the dry mixture. Using a sturdy spatula or a hand mixer, blend everything together until you achieve a smooth and cohesive dough. The creaminess from the cream cheese will give these protein balls their classic cheesecake flavor while ensuring they hold their shape.
Step 4: Shape Balls
With damp hands to minimize sticking, scoop out small portions of the dough and roll them into bite-sized balls. Aim for about one inch in diameter for perfectly manageable Strawberry Cheesecake Protein Balls. Place them on a parchment-lined baking sheet, creating enough space between each ball for easy handling later.
Step 5: Chill
Transfer the baking sheet with rolled protein balls into the refrigerator. Let them chill for about 20 minutes to firm up, which allows the flavors to meld beautifully. This step is crucial for achieving that delightful texture reminiscent of cheesecake while ensuring ease of storage and serving.
Step 6: Serve
Once chilled, your Strawberry Cheesecake Protein Balls are ready to enjoy! Serve them immediately as a nutritious snack, or store them in an airtight container in the refrigerator for up to a week. They make for a perfect, guilt-free treat anytime you’re craving something sweet and satisfying!
Make Ahead Options
These no-bake Strawberry Cheesecake Protein Balls are perfect for meal prep, making busy weeknights a breeze! You can prepare the mixture up to 24 hours in advance by rolling the balls and storing them in an airtight container in the refrigerator. For optimal freshness and flavor, keep them chilled and then allow them to sit at room temperature for about 10 minutes before serving. If you prefer longer storage, these protein balls can be frozen for up to 3 months—just remember to separate them with parchment paper to prevent sticking. When you’re ready to enjoy, simply thaw them in the refrigerator overnight and they’re just as delicious as when you first made them!
Strawberry Cheesecake Protein Balls Variations
Feel free to get creative with these Strawberry Cheesecake Protein Balls and customize them to your taste!
- Berry Blast: Swap strawberries for blueberries or raspberries for a delightful twist. Each bite becomes a burst of vibrant flavor!
- Nutty Goodness: Add a tablespoon of almond or peanut butter for extra creaminess and a hint of nuttiness. It’ll elevate the health factor even more!
- Vegan Version: Use dairy-free cream cheese and almond milk to create a completely vegan-friendly version that everyone can enjoy.
- Flavored Protein: Change things up with chocolate or vanilla-flavored protein powder for a unique take on these protein balls that’s just as delicious.
- Sweetness Swap: Experiment with agave syrup instead of honey for a vegan-friendly sweetener; adjust to your taste for perfect sweetness.
- Crunchy Texture: Incorporate chopped nuts or seeds, like walnuts or flaxseeds, for a delightful crunch that contrasts the creamy base.
- Fun Toppings: Roll the protein balls in shredded coconut or chopped nuts for flavorful coatings that add an extra layer of taste and texture.
- Warm Spices: Consider adding a pinch of cinnamon or nutmeg to the mix for a warm, cozy flavor profile that recalls delicious fall desserts.
With so many delightful options, you can make these Strawberry Cheesecake Protein Balls uniquely your own! For more protein-packed inspiration, explore these delicious bites like High Protein Steak Fajita Bowl or create satisfying snacks like Protein Bars Minutes.
How to Store and Freeze Strawberry Cheesecake Protein Balls
Fridge: Keep the Strawberry Cheesecake Protein Balls in a sealed container for up to 5-7 days. This ensures they stay fresh and ready for snacking.
Freezer: Store them in an airtight container or freezer bag for up to 3 months. Perfect for making ahead and enjoying later!
Thawing: To enjoy a frozen protein ball, simply transfer it to the fridge for a few hours or leave it at room temperature for about 30 minutes before serving.
Reheating: These treats are best enjoyed cold, but if you prefer warmth, gently reheat in the microwave for a few seconds—just don’t overdo it!
What to Serve with No-Bake Strawberry Cheesecake Protein Balls
These delightful bites are perfect for crafting a well-rounded meal or snack experience that your taste buds will remember!
- Fresh Fruit Platter: A colorful array of berries complements the sweet cheesecake flavor while adding vibrant textures and freshness.
- Granola Parfait: Layer crunchy granola and fruit with yogurt for a satisfying contrast to the creamy protein balls.
- Nutty Trail Mix: Offering a delightful crunch, a homemade trail mix filled with nuts and seeds enhances the protein boost of your snack.
- Smoothie Bowl: Serve with a berry smoothie bowl topped with sliced banana and seeds for a refreshing twist.
- Herbal Tea: A calming cup of chamomile or mint tea balances the sweetness, providing a warm, comforting drink option.
- Dark Chocolate Dips: Dip them in melted dark chocolate for an indulgent experience, marrying rich cacao flavor with fruity goodness.
- Almond Butter Spread: Pairing these bites with almond butter creates a deliciously nutty, creamy match that’s hard to resist.
Elevate your snacking game by combining these delightful options with your Strawberry Cheesecake Protein Balls for an unforgettable treat!
Expert Tips for Strawberry Cheesecake Protein Balls
• Ingredient Freshness: Use fresh strawberries for the best flavor; if they’re out of season, opt for freeze-dried strawberries to maintain taste.
• Mind the Consistency: If the mixture is too sticky, gradually add more almond flour until it’s manageable; if too dry, a splash of milk can help.
• Cream Cheese Softness: Always ensure your cream cheese is softened at room temperature for easy mixing, preventing lumps in your Strawberry Cheesecake Protein Balls.
• Chill Time Importance: Allowing the protein balls to chill is crucial for the perfect texture. Don’t skip this step to achieve that cheesecake-like bite!
• Portion Control: Roll the balls to around one inch in diameter for easy snacking—this size is perfect for kids and adults alike!
Strawberry Cheesecake Protein Balls Recipe FAQs
How do I select ripe strawberries for this recipe?
Absolutely! For the best flavor in your Strawberry Cheesecake Protein Balls, look for strawberries that are bright red, firm, and have a sweet aroma. Avoid any with dark spots, as these may indicate overripeness. If you’re using frozen or freeze-dried strawberries, check for any added sugars or preservatives.
What’s the best way to store leftover protein balls?
Very! Keep your Strawberry Cheesecake Protein Balls in a sealed container in the refrigerator for up to 5-7 days. For longer storage, place them in the freezer—you can keep them there for up to 3 months! Just remember to let them cool completely before storing them in an airtight container or freezer bag.
Can I freeze these protein balls? If so, how?
Absolutely! To freeze your Strawberry Cheesecake Protein Balls, first, arrange them in a single layer on a baking sheet and freeze for about 1-2 hours until solid. Then, transfer them to an airtight container or a freezer bag, separating layers with parchment paper to prevent sticking. When you’re ready to enjoy, thaw them in the fridge for a few hours or at room temperature for about 30 minutes.
What should I do if my protein ball mixture is too sticky?
If you’re finding the mixture too sticky, don’t worry! Simply add in more almond flour, one tablespoon at a time, until it reaches your desired consistency. Mixing thoroughly after each addition is key, as it helps bind the ingredients without making the mixture too dry.
Can these protein balls be made dairy-free?
Very! You can easily make your Strawberry Cheesecake Protein Balls dairy-free by substituting the cream cheese with a dairy-free cream cheese alternative. Be sure to check the label to ensure it suits your dietary needs, and feel free to use your choice of dairy-free milk to blend everything together smoothly.
Are these protein balls suitable for kids with allergies?
The more the merrier! Always check the individual ingredients for any allergens. This recipe is naturally gluten-free if you ensure your oats are certified gluten-free. For peanut allergies, you might want to skip any nut butters or toppings and consider seeds or coconut flakes as alternatives.
Strawberry Cheesecake Protein Balls for a Guilt-Free Snack
Ingredients
Equipment
Method
- Prepare Ingredients: Gather all your ingredients ensuring the cream cheese is softened and strawberries chopped.
- Mix Base Ingredients: In a bowl, combine protein powder, almond flour, oats, and strawberries; mix thoroughly.
- Incorporate Wet Ingredients: Add cream cheese, maple syrup, and milk; blend until smooth.
- Shape Balls: Roll small portions of the mixture into one-inch balls and place on parchment-lined baking sheet.
- Chill: Place the baking sheet in the refrigerator for about 20 minutes to firm up.
- Serve: Enjoy chilled or store in an airtight container for up to a week.
Leave a Reply