
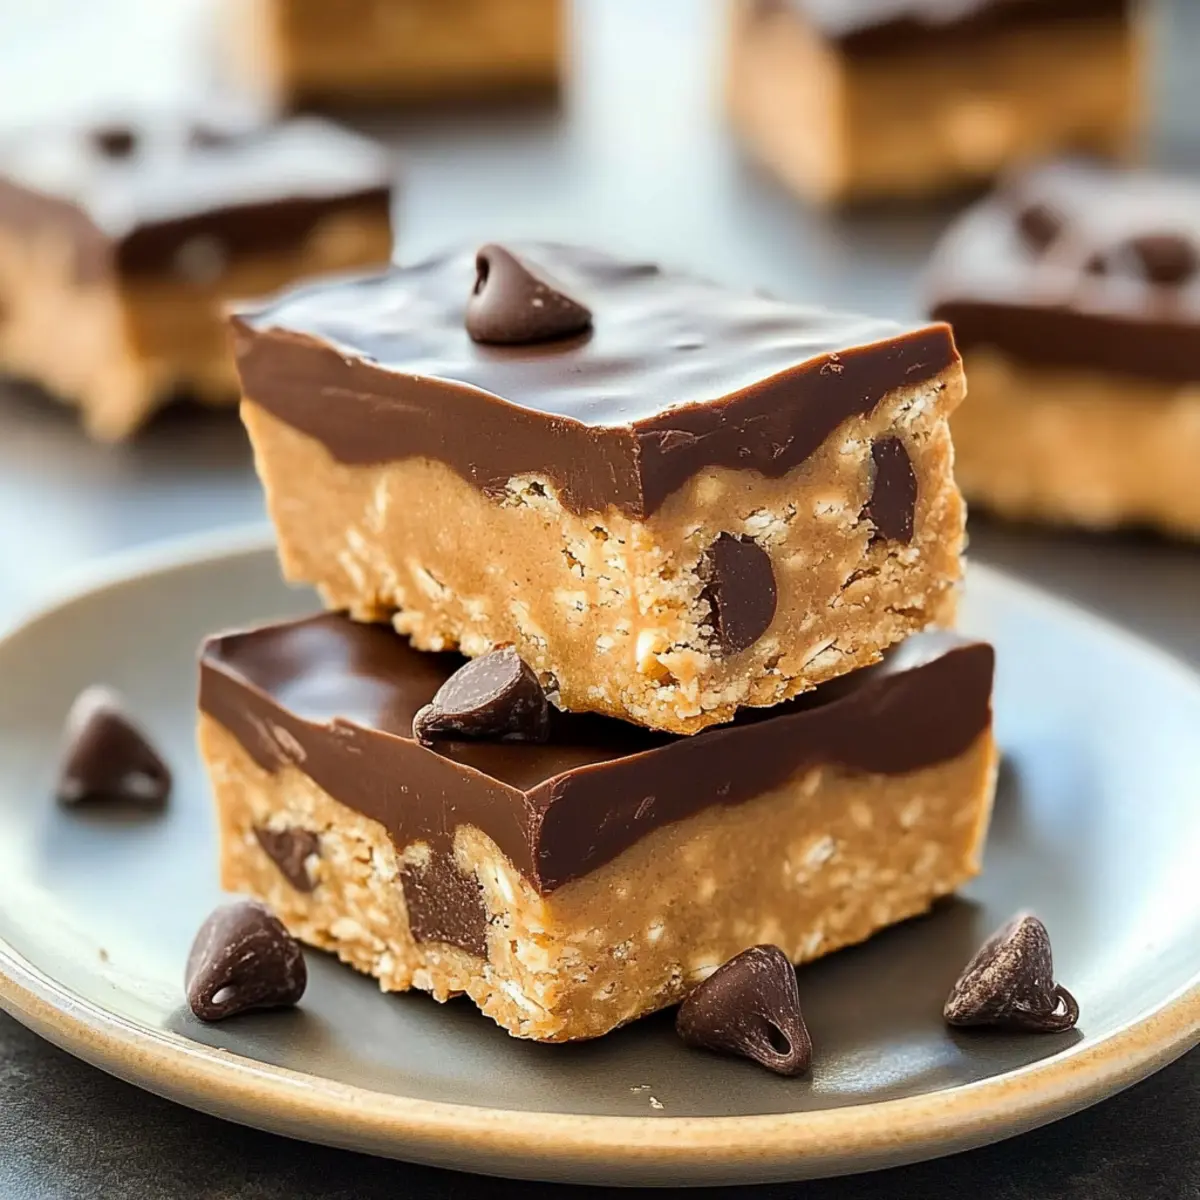
“Did you just hear that?” My friend exclaimed as she unwrapped a store-bought protein bar, the sound echoing the disappointment we both felt when it crumbled in her hands. That moment made me realize it was time to take matters into my own hands. With my simple recipe for 4-Ingredient Homemade Protein Bars, you can create your very own satisfying snacks without ever turning on the oven. These customizable delights come together in minutes and are ideal for anyone looking to fuel their day with a boost of healthy energy. Plus, they’re gluten-free, nut-free, and packed with protein, making them a guilt-free indulgence you can enjoy anytime. Will you stick to classic Chocolate Protein Bars, or will you dare to explore flavors like Banana Bread or Cookie Dough? Let’s dive into the delicious world of homemade protein bars together!
Why Make Your Own Protein Bars?
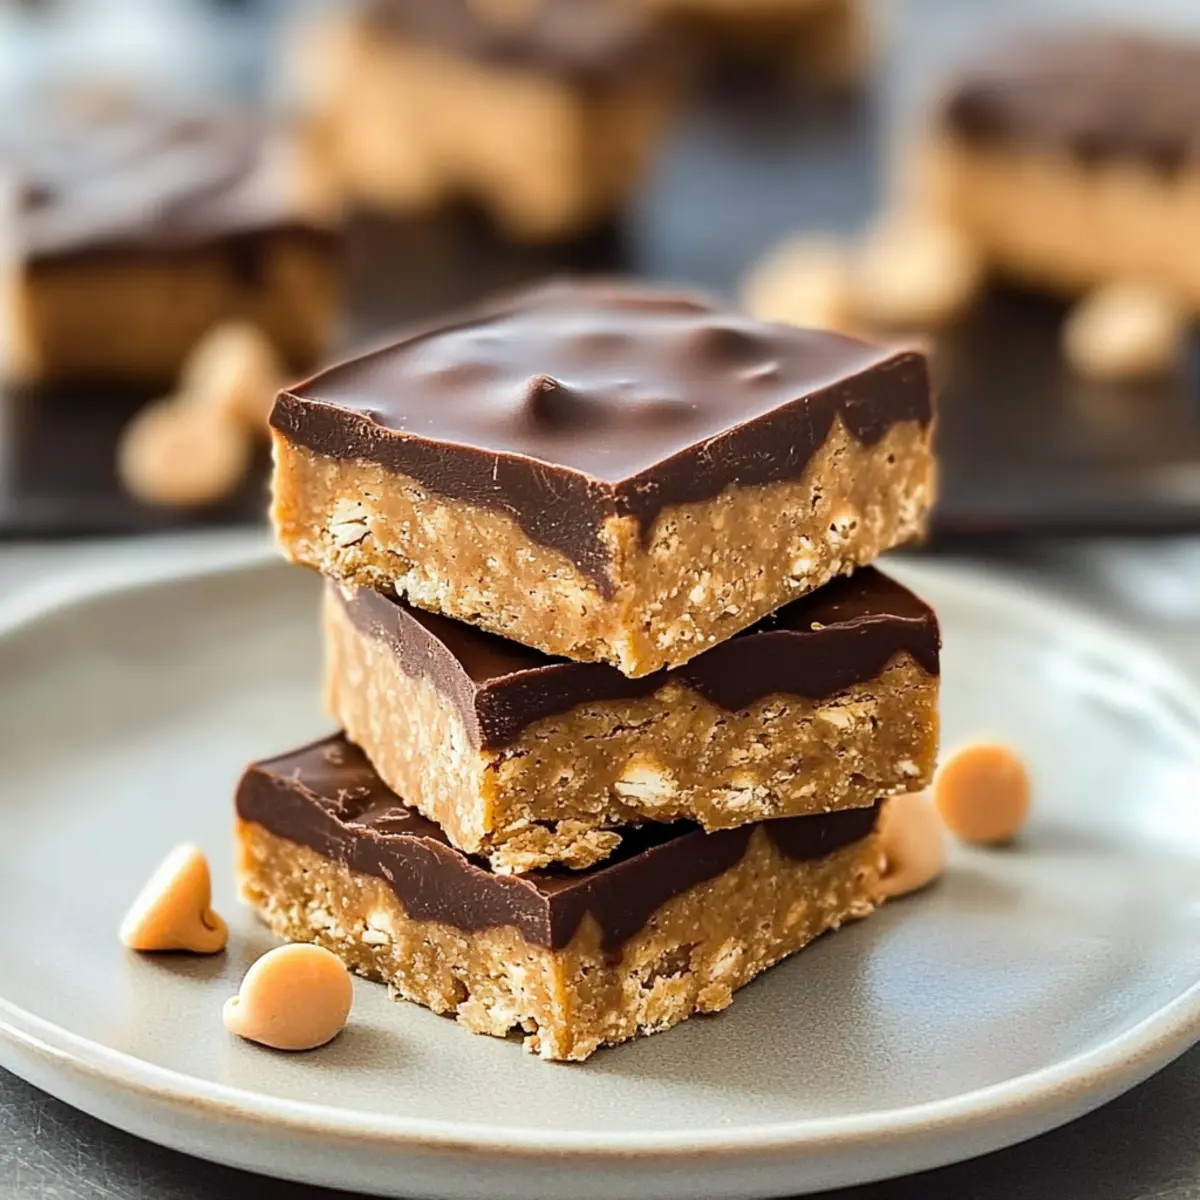
Homemade, crafted with love and care! With only four ingredients, these protein bars are incredibly easy to whip up. Customizable to fit your taste, you can switch flavors like Peanut Butter or Nutella to keep things exciting. Healthy and guilt-free, they are vegan, gluten-free, and low in sugar, perfect for any diet. Satisfying texture offers a chewy, fudgy experience, making them a delightful snack option. For added creativity, dive into Cottage Cheese Chickpea salads or enjoy pairing them with Greek Yogurt Bagels for a nutritious meal!
Protein Bars Ingredients
• Create your own delicious treat!
For the Base
- Peanut Butter – Provides creaminess and helps bind the bars together; you can swap in any nut or seed butter for a nut-free alternative.
- Protein Powder – Supplies essential protein; choose an unsweetened variety for the best flavor and texture.
- Maple Syrup or Honey – Adds sweetness; consider agave nectar for a vegan option or a low-calorie sweetener for a keto twist.
- Salt – Enhances the overall flavor; adjust to your liking, but a pinch goes a long way!
For Optional Topping
- Melted Chocolate Chips – Elevates the taste with a rich chocolate coating; use dairy-free chips to keep it vegan-friendly.
Get ready to enjoy the delightful world of homemade protein bars!
Step‑by‑Step Instructions for Protein Bars
Step 1: Mix Ingredients
In a large mixing bowl, add the peanut butter, protein powder, maple syrup or honey, and a pinch of salt. Use a spatula or fork to blend these ingredients until you achieve a smooth, dough-like consistency. This should take about 2-3 minutes. If you choose to add melted chocolate chips, incorporate them at this stage for extra richness.
Step 2: Shape the Bars
Once your mixture is well-combined, you can either roll it into individual bars using your hands or press it into a lined 8×8 inch baking pan. If pressing into a pan, use a spatula to create an even layer, ensuring it’s about ½ inch thick. Visualize a compact, firm fill that will hold together nicely once chilled.
Step 3: Chill to Firm Up
Place the shaped bars in the refrigerator to chill for about 1 hour. This step is crucial for achieving the right texture, making the protein bars firm enough to cut. As they chill, you’ll notice them becoming more solid. If you used a pan, you should be able to easily lift the bars out using the parchment paper.
Step 4: Prepare Optional Chocolate Coating
If you’d like to add a chocolate coating, now is the time! In a microwave-safe bowl, melt your chocolate chips with 2 teaspoons of coconut oil in 30-second intervals, stirring between each until you get a smooth consistency. This typically takes 1-2 minutes total. The oil will help the chocolate spread more easily and smoothly over the bars.
Step 5: Coat the Bars
Once your chocolate is melted, either drizzle it over each bar using a spoon or dip each bar individually into the chocolate coating. If you opt for dipping, allow any excess chocolate to drip off before placing them back onto a baking sheet lined with parchment paper.
Step 6: Final Chill
Return the coated protein bars to the refrigerator for about 30 minutes to let the chocolate harden. You’ll know they’re ready when the chocolate coating appears set and firm to the touch. This final chilling ensures a delicious, glossy finish that’s visually appealing and adds to the irresistible flavor of your homemade protein bars.
Step 7: Cut and Serve
Once everything has chilled and set, take your protein bars out of the fridge and cut them into your desired shapes and sizes. Whether you prefer bite-sized pieces or larger bars, the perfectly chewy texture will surely satisfy your hunger and energy needs. Store the bars in an airtight container in the fridge for up to 1 week or freeze for longer-lasting freshness. Enjoy!
Expert Tips for Protein Bars
-
Flavor Matters: Always taste your protein powder before using it. Its flavor can make or break your protein bars, so choose one you love!
-
Chill for Texture: Refrigerating the bars not only firms them up but makes cutting easier and ensures a satisfying chewy texture.
-
Customize Wisely: Add-ins like nuts, seeds, or dried fruits can enhance flavor and nutrition. Just be mindful not to add too much, as it may alter the bar’s structure.
-
Smooth Chocolate Coating: To get an even chocolate coating, use a clean, dry spatula while spreading. This avoids clumps and achieves a professional finish!
-
Creativity Rules: Don’t hesitate to experiment with flavors! These protein bars are customizable, so feel free to mix and match various ingredients to find your perfect combination.
Storage Tips for Protein Bars
-
Fridge: Keep your protein bars stored in an airtight container in the fridge for up to 1 week. This helps maintain their chewy texture and freshness, making them a delicious snack anytime.
-
Freezer: For longer storage, freeze your protein bars for up to 3 months. Wrap each bar individually in plastic wrap and place them in a freezer-safe bag to prevent freezer burn.
-
Thawing: When you’re ready to enjoy a frozen protein bar, simply remove it from the freezer and let it sit at room temperature for about 10-15 minutes to soften, or you can pop it in the microwave for a quick 10 seconds.
-
Reheating: If you’ve topped your bars with chocolate, reheating can help revive their taste. A quick trip to the microwave (about 5 seconds) can make them delightful once again, with that gooey chocolate goodness!
Make Ahead Options
These Protein Bars are perfect for busy home cooks looking to save time without sacrificing taste! You can easily prep the mixture up to 24 hours in advance by combining the peanut butter, protein powder, maple syrup or honey, and salt, then storing it in an airtight container in the fridge. When you’re ready to finish preparing your bars, simply shape the mixture into bars or press it into a lined pan, chill for about 1 hour, and coat with chocolate if desired. Storing any leftovers in the refrigerator will keep them fresh for up to 1 week, ensuring that these protein-packed treats are just as delicious as when they were freshly made.
What to Serve with 4-Ingredient Homemade Protein Bars
Elevate your snack game by pairing these wholesome bars with complementary flavors and textures.
-
Fresh Fruit: The natural sweetness of apples, bananas, or berries provides a refreshing contrast to the rich bars. Enjoy a delightful balance of textures and flavors!
-
Greek Yogurt: Creamy, protein-packed Greek yogurt adds a tangy richness that pairs beautifully with the nutty flavors of your protein bars, making for a satisfying snack.
-
Nut Butter Drizzle: A drizzle of almond or cashew butter intensifies the nutty flavor while adding extra creaminess. This combo is sure to keep you full and energized!
-
Raw Veggies: Crisp carrot sticks or celery offer a crunchy element to your snack time, enhancing the overall experience with their fresh, wholesome crunch.
-
Homemade Smoothie: Blend up a protein-packed smoothie with spinach, banana, and almond milk for a nutritious drink that complements these bars perfectly—creating a complete snack duo!
-
Herbal Tea: Sip on a calming herbal tea like chamomile or peppermint. This soothing drink pairs nicely, inviting a moment of relaxation with your protein snack.
-
Dark Chocolate Squares: Indulge in a piece or two of high-quality dark chocolate for a luxurious treat that complements the flavors of the bars without overpowering their healthy ingredients.
-
Trail Mix: A handful of nut-free trail mix offers crunch and varied flavor, making it an exciting partner to your protein bars—ideal for a quick energy boost on-the-go!
Protein Bars Variations & Substitutions
Feel free to unleash your creativity and personalize your homemade protein bars with these exciting variations!
- Chocolate Bars: Swap 2 tablespoons of protein powder with cocoa powder; stir in mini chocolate chips for extra indulgence.
- Peanut Butter Bars: Use creamy or crunchy peanut butter in the base, optionally dipping them in melted chocolate for a delightful twist.
- Banana Bread Bars: Replace maple syrup with mashed overripe bananas and sprinkle in a dash of cinnamon for a warm, comforting flavor.
- Cookie Dough Bars: Stir in mini chocolate chips and a splash of vanilla extract; enjoy the nostalgic taste of cookie dough guilt-free!
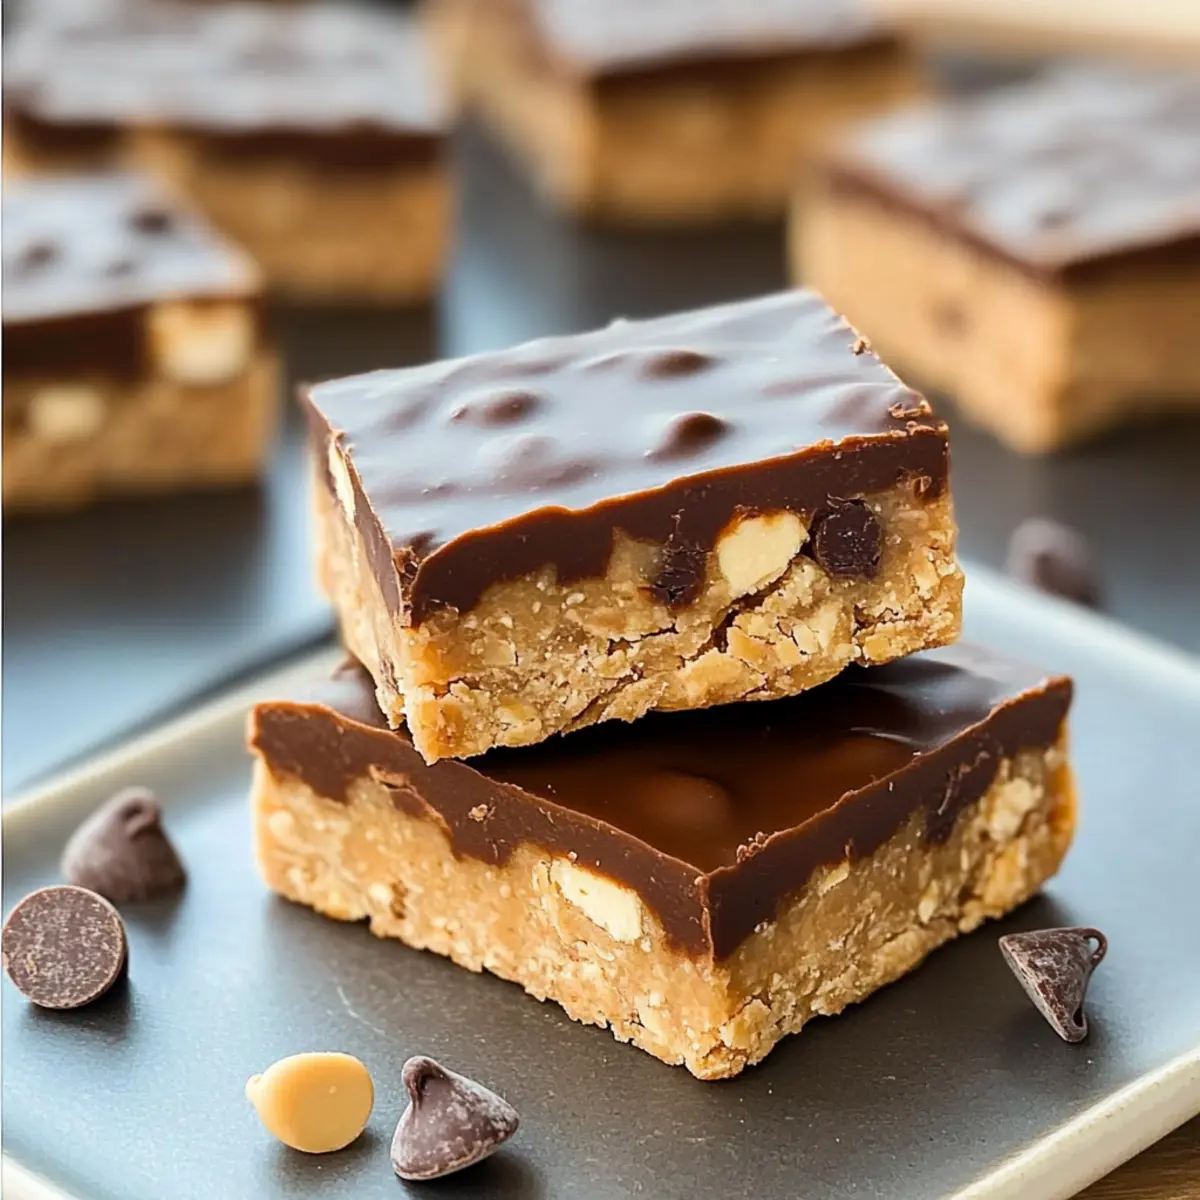
- Nutella Bars: Trade peanut butter for hazelnut butter, topping the bars with chopped hazelnuts for a deliciously rich finish.
- Gluten-Free Option: Ensure all ingredients are certified gluten-free, especially the protein powder, to cater to gluten-sensitive pals.
- Lower Sugar: Substitute maple syrup with agave nectar or a low-calorie sweetener to lower sugar content without sacrificing taste.
- Add an Extra Crunch: Toss in some chopped nuts or seeds for a delightful crunch; almonds or pumpkin seeds add great texture and flavor.
Don’t forget, these variations offer a chance to tailor every aspect to your family’s preferences. Speaking of creativity, try pairing these bars with a refreshing Cottage Cheese Chickpea salad for a nourishing meal or enjoy them alongside Greek Yogurt Bagels for a delightful snack combo!
Protein Bars Recipe FAQs
How do I choose the right protein powder for my bars?
Absolutely! Selecting a protein powder you enjoy is crucial because it directly influences the flavor of your bars. Aim for unsweetened varieties, as they allow you to control the sweetness with your choice of maple syrup or honey. If you’re unsure, sample a small amount of the protein powder before committing to using it in your recipe.
How should I store my homemade protein bars?
You’ll want to store your protein bars in an airtight container to maintain their fresh, chewy texture. In the fridge, they’ll last up to 1 week. For longer storage, you can freeze them for up to 3 months; just wrap each bar in plastic wrap and seal them in a freezer-safe bag to prevent freezer burn.
Can I freeze protein bars, and how do I do it?
Yes, you can freeze your protein bars! To freeze, wrap each bar individually in plastic wrap and then place them in a freezer-safe zip-top bag. This prevents freezer burn and keeps them fresh. When you’re ready to enjoy a bar, simply remove it from the freezer and let it thaw at room temperature for about 10-15 minutes, or microwave for a quick 5-10 seconds for a softer treat!
What if my protein bars are too crumbly?
Very good question! If your protein bars turn out crumbly, there are a couple of troubleshooting steps you can take. You may need to add a tad more peanut butter or a splash of liquid sweetener like maple syrup to help them stick together better. Alternatively, you can press the mixture more firmly into the pan before chilling, which can also help them hold their shape better.
Can I customize these bars for dietary restrictions?
Absolutely! These protein bars are wonderfully adaptable. If you need a nut-free option, switch the peanut butter for sunflower seed butter. For a vegan treat, ensure you use plant-based protein powder and choose agave nectar instead of honey. If allergies may be a concern, always check the labels of your protein powder and other ingredients to keep your bars safe for everyone.
How long can I keep these bars in the refrigerator?
Your homemade protein bars will stay fresh and delicious in the fridge for about 1 week. Be sure to store them in an airtight container to prevent them from drying out. For added freshness and longevity, try freezing them for a treat that’s ready whenever you are!
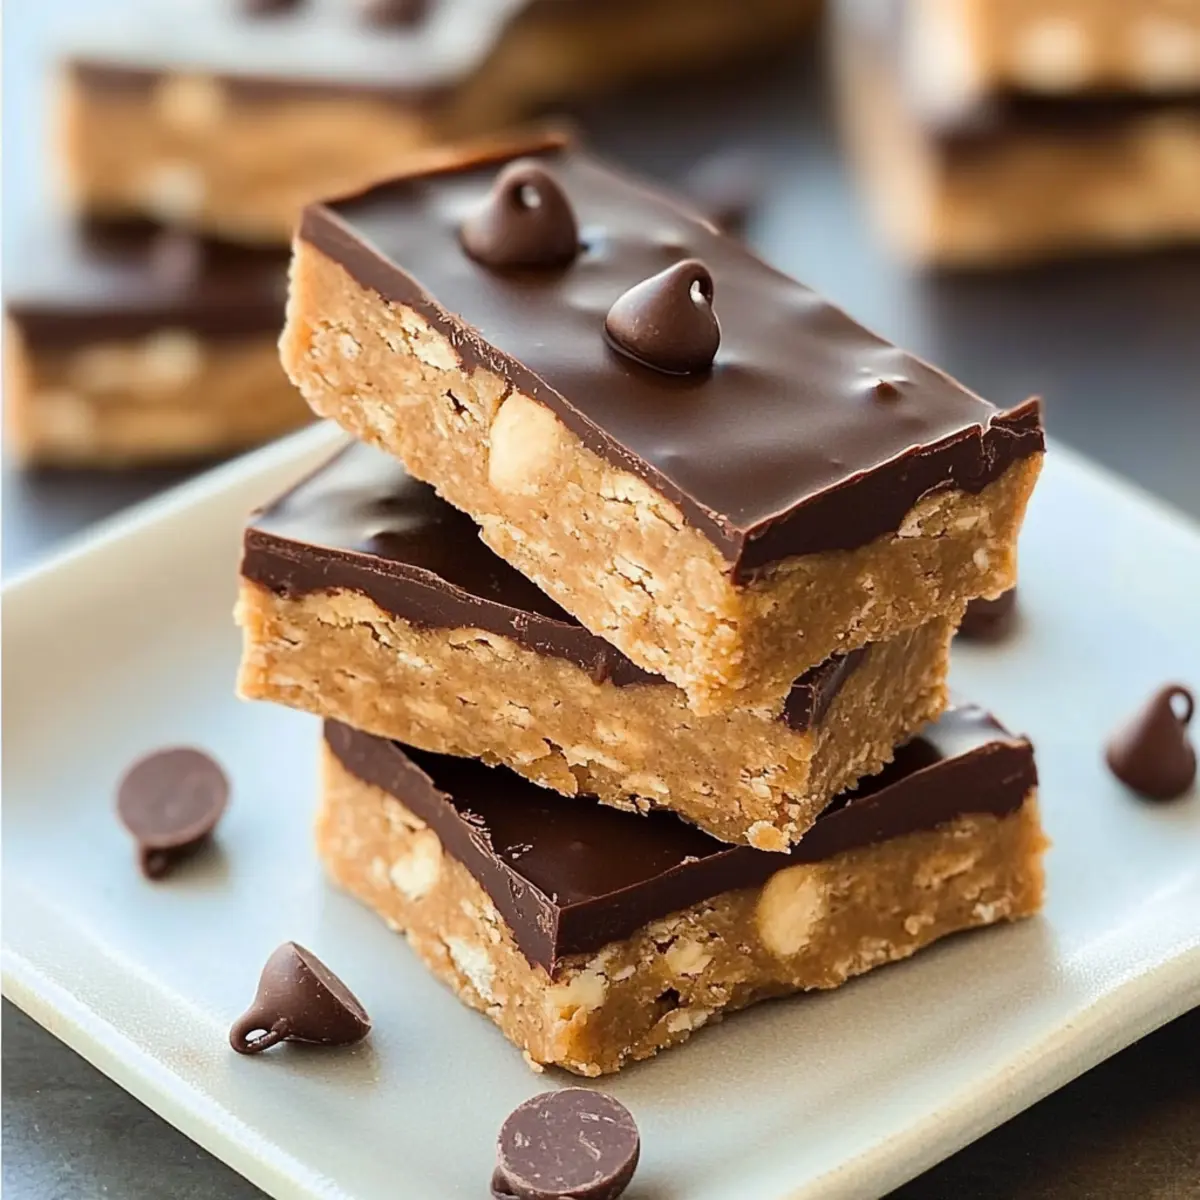
Irresistible Protein Bars You Can Make in Minutes
Ingredients
Equipment
Method
- In a large mixing bowl, add the peanut butter, protein powder, maple syrup or honey, and a pinch of salt. Blend until smooth, about 2-3 minutes.
- Shape the mixture into individual bars or press into a lined baking pan, ensuring an even layer of about ½ inch thick.
- Chill the shaped bars in the refrigerator for about 1 hour to firm up.
- If adding a chocolate coating, melt chocolate chips with coconut oil in a microwave-safe bowl, stirring until smooth.
- Coat each bar with melted chocolate either by drizzling or dipping, and place back onto a baking sheet.
- Chill again for about 30 minutes until the chocolate hardens.
- Cut into desired shapes and sizes. Store in an airtight container in the fridge for up to 1 week.
Leave a Reply