
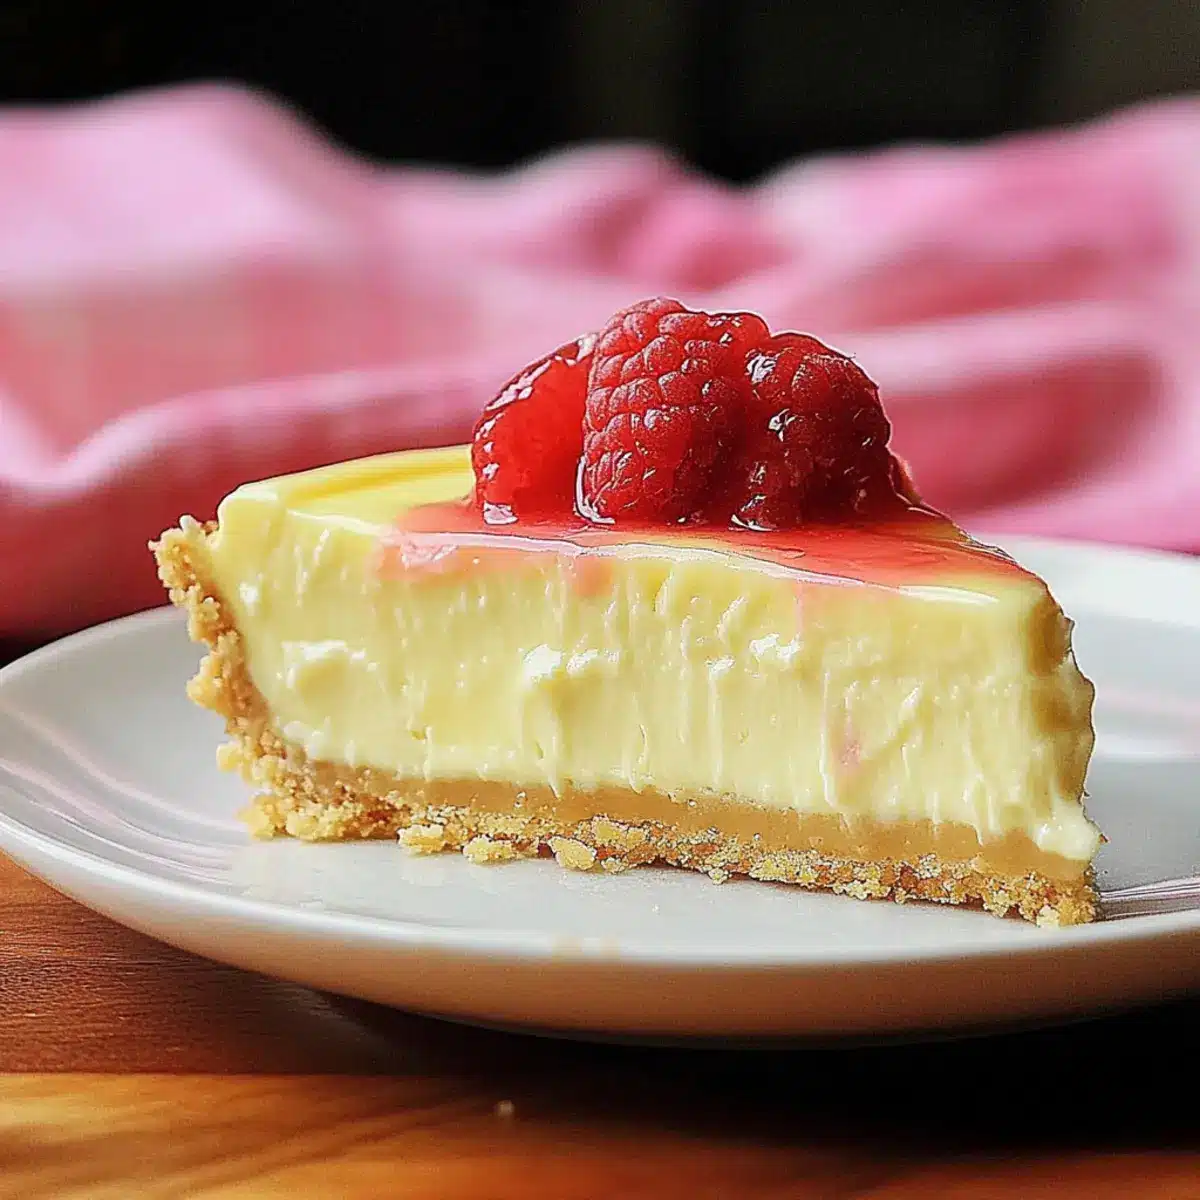
In a quiet moment, I discovered a surprising swap that changed my dessert game forever: Greek yogurt. The moment I blended it with creamy cheese, it transformed into something extraordinary—an indulgent Greek Yogurt Cheesecake. This delightful treat is not just heavenly to eat but also healthy, offering high protein and a lighter feel than traditional cheesecakes. With its creamy custard-like texture, it’s a dish that pleases both the palate and the conscience. Plus, its quick prep and flexibility make it a winner in any kitchen. Whether you’re embracing a gluten-free lifestyle or seeking a delicious way to satisfy your sweet tooth without the guilt, this recipe has you covered. Curious about how this wholesome indulgence can elevate your dessert table? Let’s dive in!
Why is Greek Yogurt Cheesecake a Must-Try?
Indulgence, guilt-free and nutritious, this Greek Yogurt Cheesecake redefines dessert with its creamy goodness. Customizable for various diets, it’s perfect for everyone—be it gluten-free, vegan, or low-carb! Quick prep saves you time while delivering delicious flavors that impress guests. Rich, high-protein ingredients leave you satisfied, so you can indulge without compromise. For more delightful recipes, don’t miss my Greek Yogurt Bagels or take a look at Greek Turkey Meatballs for a complete meal!
Greek Yogurt Cheesecake Ingredients
For the Filling
• Greek Yogurt – Provides creaminess and high protein content; use vegan yogurt if desired.
• Cream Cheese/Tofu – Adds richness and a traditional cheesecake flavor; substitute silken tofu for a dairy-free version.
• Salt – Enhances flavor; just a pinch balances the sweetness perfectly.
• Vanilla Extract – Adds warmth and depth; optional if using flavored yogurt.
• Lemon Juice – Brightens the flavor profile and gives a refreshing tang.
• Maple Syrup/Agave – Acts as a sweetener; substitute with sugar alternatives for varied sweetness.
• Cornstarch – Acts as a thickening agent crucial for the cheesecake structure; replace with almond flour for a low-carb option.
For the Crust (optional)
• Graham Cracker Crumbs – Traditional choice for a sweet, crunchy base.
• Almond Flour – A gluten-free alternative that pairs beautifully with the cheesecake.
• Coconut Flour – Adds a unique flavor and is great for those following a low-carb diet.
Explore this Greek Yogurt Cheesecake, a wholesome dessert that fits into various diets and preferences!
Step‑by‑Step Instructions for Greek Yogurt Cheesecake
Step 1: Preheat the Oven
Begin by preheating your oven to 350°F (175°C). This ensures that your Greek Yogurt Cheesecake will bake evenly and achieve that perfect creamy texture. While the oven warms up, take a moment to gather all your ingredients and tools, including a mixing bowl, blender or food processor, and a 9-inch pie or springform pan.
Step 2: Blend the Filling
In a blender or food processor, combine Greek yogurt, cream cheese (or silken tofu for a vegan option), salt, vanilla extract, lemon juice, maple syrup (or your choice of sweetener), and cornstarch. Blend until the mixture is completely smooth and creamy, ensuring no lumps remain, as this will contribute to the luscious texture of your cheesecake.
Step 3: Prepare the Crust
If you’re opting for a crust, now is the time to prepare it. For a traditional graham cracker crust, mix crumbs with melted butter and press it firmly into the bottom of your 9-inch pie or springform pan. Bake the crust for about 10 minutes until lightly golden, then let it cool. Alternatively, skip this step for a crustless version of the Greek Yogurt Cheesecake.
Step 4: Pour the Cheesecake Mixture
Carefully pour the blended cheesecake filling into your prepared crust or straight into the springform pan if you’re not using a crust. Use a spatula to smooth out the top, achieving a nice, even layer. This step sets the stage for a beautifully baked cheesecake that’s both inviting and mouthwatering.
Step 5: Bake the Cheesecake
Place the cheesecake in the preheated oven and bake for approximately 50 minutes. As it bakes, you’ll notice the edges should look set while the center remains slightly jiggly. This visual cue ensures that your Greek Yogurt Cheesecake will be creamy and not overcooked, giving it that delightful custard-like consistency.
Step 6: Cool the Cheesecake
Once the baking time is complete, remove the cheesecake from the oven and allow it to cool for about an hour at room temperature. This cooling phase is crucial, as it helps it to firm up without cracking, which maintains the visual appeal of your Greek Yogurt Cheesecake.
Step 7: Chill in the Refrigerator
After the cheesecake has cooled, place it in the refrigerator to chill uncovered for at least 6-8 hours, or ideally overnight. This step allows the flavors to meld and enhances the overall taste, giving your cheesecake that rich, indulgent flavor profile.
Step 8: Serve and Enjoy
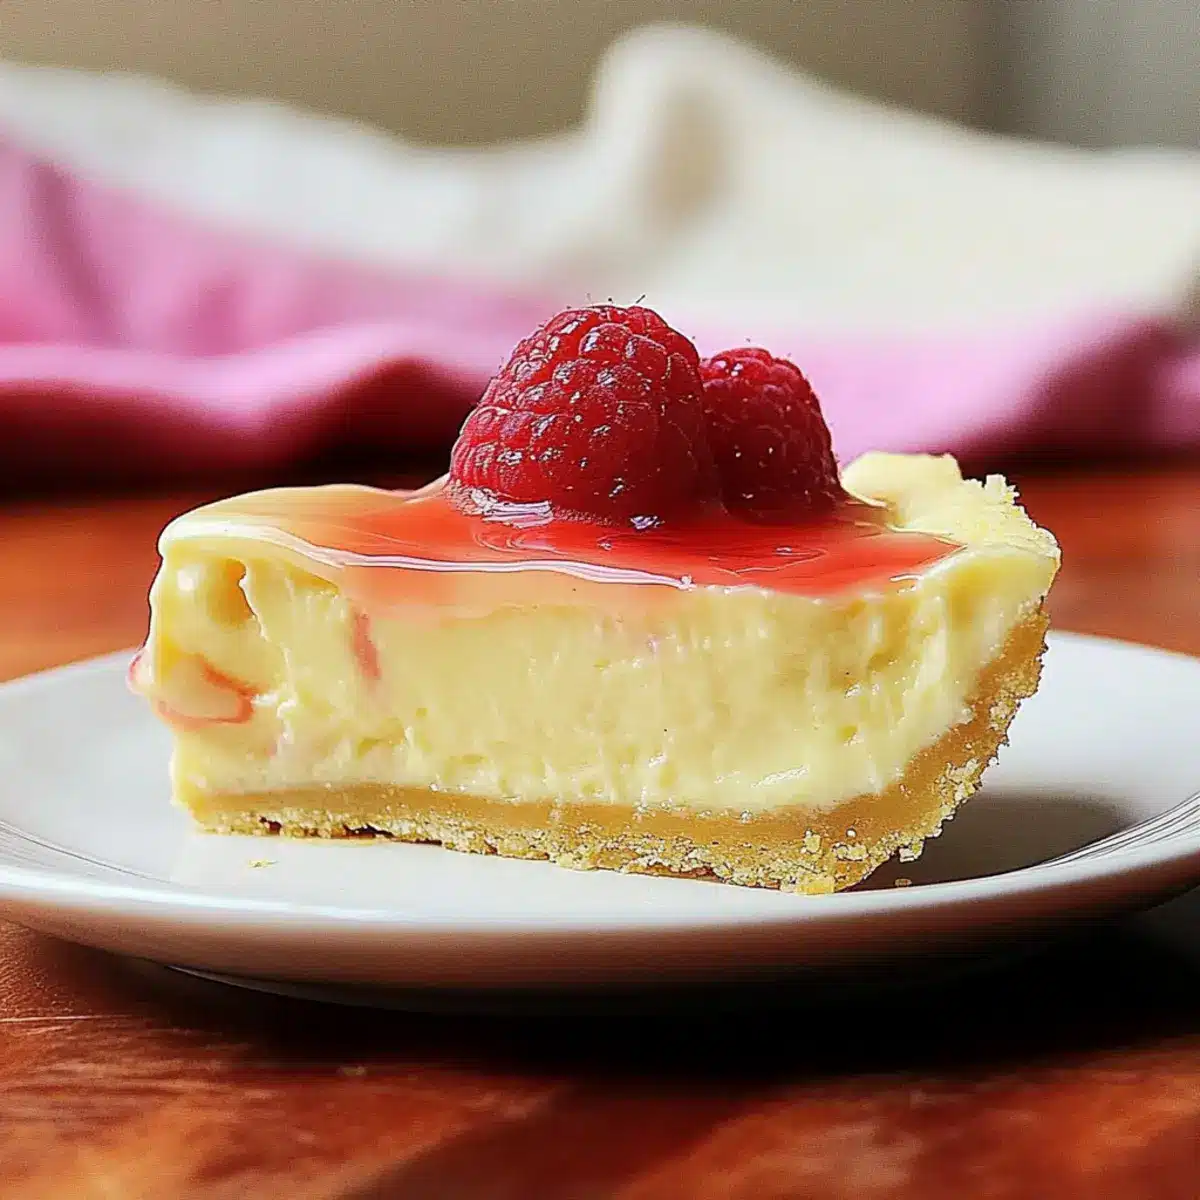
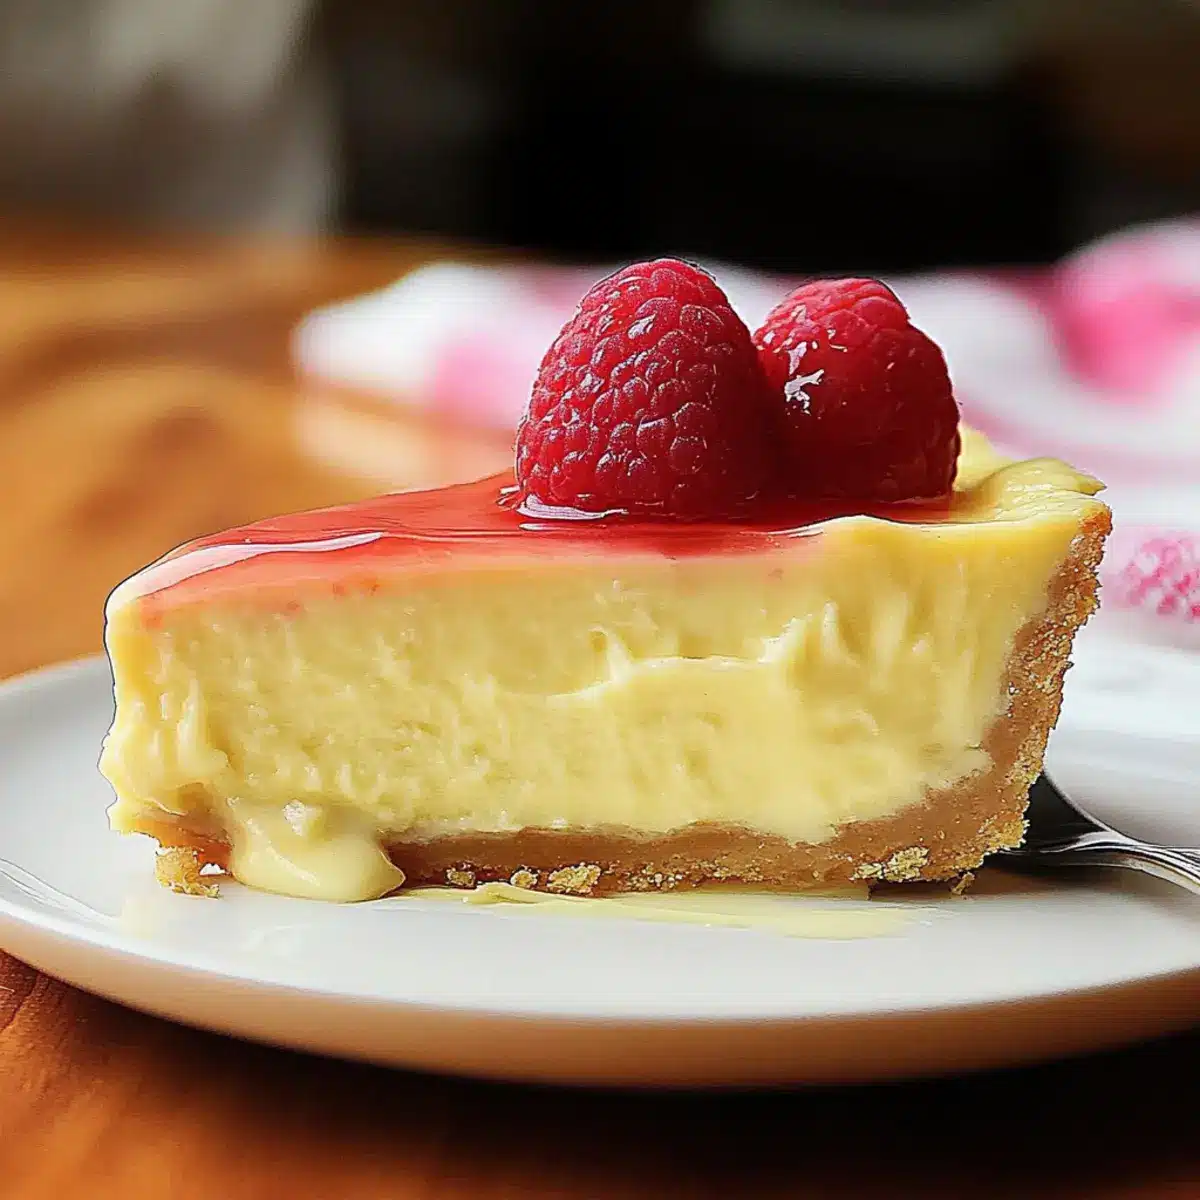
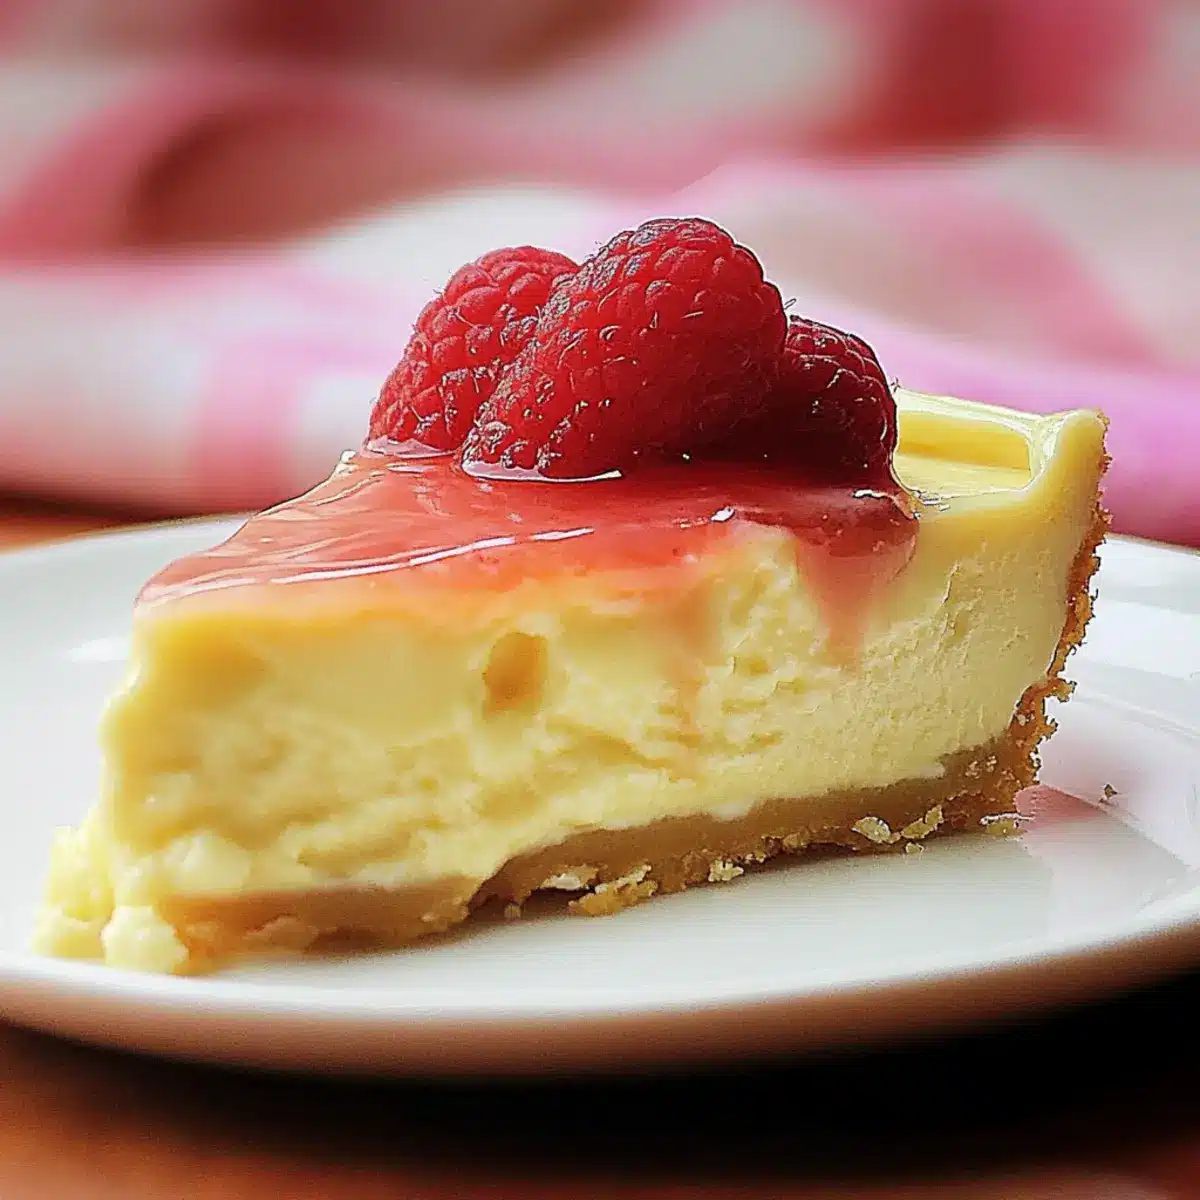
When you’re ready to serve, slice your Greek Yogurt Cheesecake into generous pieces. Consider adding toppings like fresh berries, a drizzle of honey, or whipped cream for an extra touch. Each slice promises to deliver a creamy, delicious experience that’s both satisfying and guilt-free!
How to Store and Freeze Greek Yogurt Cheesecake
Fridge: Store your Greek Yogurt Cheesecake in an airtight container for up to 4 days; this keeps it fresh and maintains its creamy texture.
Freezer: For longer storage, slice the cheesecake and place in an airtight container or wrap portions tightly in plastic wrap. Freeze for up to 3 months.
Thawing: When ready to enjoy, transfer the cheesecake slices to the fridge and allow them to thaw overnight. This preserves flavor and texture for the best experience.
Reheating: Although typically served chilled, if desired, you can gently warm individual slices in the microwave for 10-15 seconds. This enhances the creamy goodness while keeping it guilt-free!
Make Ahead Options
Preparing your Greek Yogurt Cheesecake in advance is a breeze and perfect for saving time during busy weekdays! You can blend the filling and refrigerate it up to 24 hours before baking, ensuring the flavors meld beautifully. If you’re making a crust, it can also be prepped ahead by storing it in the refrigerator for up to 3 days. To maintain its quality, simply cover the crust with plastic wrap to prevent drying. When you’re ready to bake, pour the cheesecake mixture into the prepared crust and follow the instructions to bake and chill as directed. This way, you’ll have a delightful, guilt-free dessert ready to impress whenever you need it!
What to Serve with Healthy Greek Yogurt Cheesecake
Imagine ending your meal on a perfect note with vibrant flavors that complement the luscious, creamy texture of this delightful cheesecake.
-
Fresh Berries: Berries add a burst of bright acidity and natural sweetness, beautifully contrasting with the cheesecake’s rich flavors. Think strawberries, blueberries, and raspberries for that touch of freshness.
-
Drizzled Honey: A light drizzle of honey not only enhances the sweetness but also adds a floral note that pairs seamlessly with the cheesecake’s subtle tang. This simple addition can elevate each bite.
-
Almond Butter Swirl: Take your dessert to the next level by adding a spoonful of creamy almond butter. Its nutty flavor enriches the experience and provides a delightful textural contrast.
-
Coconut Whipped Cream: Light and airy, coconut whipped cream is a dairy-free alternative that adds a luxurious touch to your cheesecake. It introduces a hint of tropical flavor that pairs beautifully with the Greek yogurt.
-
Lemon Zest Sprinkles: A sprinkle of fresh lemon zest on top not only adds a pop of color but enhances the citrus notes in the cheesecake. This brightening element lifts the overall flavor profile of your dessert.
-
Coffee or Herbal Tea: Pairing with a cup of rich coffee or a calming herbal tea creates a lovely balance, making for a cozy dessert experience. The warmth of the drink enhances the creamy texture of the cheesecake.
Indulge in these tasty accompaniments, and turn your healthy Greek Yogurt Cheesecake into a show-stopping finale for any meal!
Greek Yogurt Cheesecake Variations
Feel free to experiment with this recipe, creating delightful twists that suit your palate and dietary needs!
-
Dairy-Free: Substitute Greek yogurt with dairy-free yogurt and use silken tofu for a creamy, vegan option.
-
Flavorful Infusions: Try flavored yogurts like strawberry, vanilla, or even lavender to elevate the taste and enjoy a fun twist.
-
Sweetness Switch: Swap maple syrup for honey or a sugar alternative for a different sweetness level in your cheesecake.
-
Nutty Base: Replace the traditional crust with crushed nuts mixed with coconut oil for a crunchy, gluten-free option.
-
Fruit-Forward: Fold in pureed fruit, like mango or blueberries, into the filling for a fruity explosion in every bite. This can create a vibrant and colorful dessert!
-
Chocolate Bliss: Stir in cocoa powder or melted dark chocolate to the filling for a rich, chocolate-flavored Greek Yogurt Cheesecake.
-
Spice It Up: Add a pinch of cinnamon or nutmeg to the mixture for a warming spiced flavor that adds a new dimension to this delicious treat.
-
Baked Without Crust: For a quick and low-calorie dessert, skip the crust entirely, and bake the filling solo for a delightful cheesecake-like yogurt treat.
Enjoy personalizing your Greek Yogurt Cheesecake and don’t forget to pair it with fresh fruits or a drizzle of almond butter for even more deliciousness! For other wonderful recipes, consider checking out my Baked Yogurt Berries for a light, fruity dessert or explore my Greek Turkey Meatballs for a satisfying meal!
Expert Tips for Greek Yogurt Cheesecake
-
Smooth Blending: Ensure all ingredients are blended until completely smooth to avoid lumps, which can disrupt the lovely texture of your Greek Yogurt Cheesecake.
-
Crust Alternatives: If you’re seeking a low-calorie option, skip the crust altogether. The cheesecake filling itself is thick and delightful, reminiscent of cheesecake-flavored yogurt.
-
Chilling Time Matters: For the best flavor, let your cheesecake chill in the fridge overnight. This allows the tastes to deepen, ensuring each bite is rich and delicious.
-
Baking Cues: Keep an eye on your cheesecake in the oven; it’s done when the edges are set but the center remains slightly jiggly. This is key for that creamy texture!
-
Customization Friendly: Feel free to experiment with flavors! Try using flavored yogurt or adding spices like cinnamon for a unique twist on your Greek Yogurt Cheesecake.
Greek Yogurt Cheesecake Recipe FAQs
What type of Greek yogurt is best for this cheesecake?
Absolutely use plain, full-fat Greek yogurt for the creamiest texture and highest protein content! However, if you want a lighter option, low-fat Greek yogurt will work just as well. For a completely dairy-free version, opt for a good-quality vegan Greek yogurt.
How should I store leftovers?
Store any remaining Greek Yogurt Cheesecake in an airtight container in the refrigerator for up to 4 days. If you find yourself having more than you can eat within that time, using an airtight container to freeze individual slices is a fantastic option—these can last for up to 3 months!
Can I freeze Greek Yogurt Cheesecake?
Certainly! To freeze, slice the cheesecake into portions, then wrap each slice tightly in plastic wrap or aluminum foil, or place them in an airtight container. When you’re ready to enjoy, simply transfer the slices to the fridge to thaw overnight. This helps retain that delicious, creamy flavor and texture.
What if my cheesecake cracks after baking?
Very! A little cracking can happen, but it doesn’t affect the taste. To prevent it, ensure you’re baking it at the right temperature and avoid overmixing the filling. If you do get cracks, top your cheesecake with a layer of fresh fruit or whipped cream, and nobody will notice!
Can I use a sugar substitute in this recipe?
Yes, absolutely! You can use sugar substitutes like erythritol, xylitol, or monk fruit sweetener to keep your Greek Yogurt Cheesecake low-carb. Just be sure to check the conversion ratios, as some sweeteners are sweeter than sugar and will require adjustments for the right taste.
Are there any dietary considerations for feeding pets or allergies?
Yes, be cautious! Ingredients like cream cheese and Greek yogurt aren’t inherently harmful to dogs, but they should be given in moderation. However, avoid giving any dessert containing artificial sweeteners like xylitol, as they can be toxic to pets. Always consult your veterinarian if unsure.
Indulge Guilt-Free with This Greek Yogurt Cheesecake Delight
Ingredients
Equipment
Method
- Preheat your oven to 350°F (175°C).
- Blend Greek yogurt, cream cheese or silken tofu, salt, vanilla extract, lemon juice, maple syrup, and cornstarch until smooth.
- For a crust, mix graham cracker crumbs with melted butter and press into a pan; bake for 10 minutes.
- Pour the cheesecake mixture into the prepared crust or a springform pan.
- Bake for approximately 50 minutes until edges are set and the center is slightly jiggly.
- Allow cheesecake to cool for about an hour at room temperature.
- Chill in the refrigerator for at least 6-8 hours.
- Slice and serve, adding toppings if desired.
Leave a Reply