
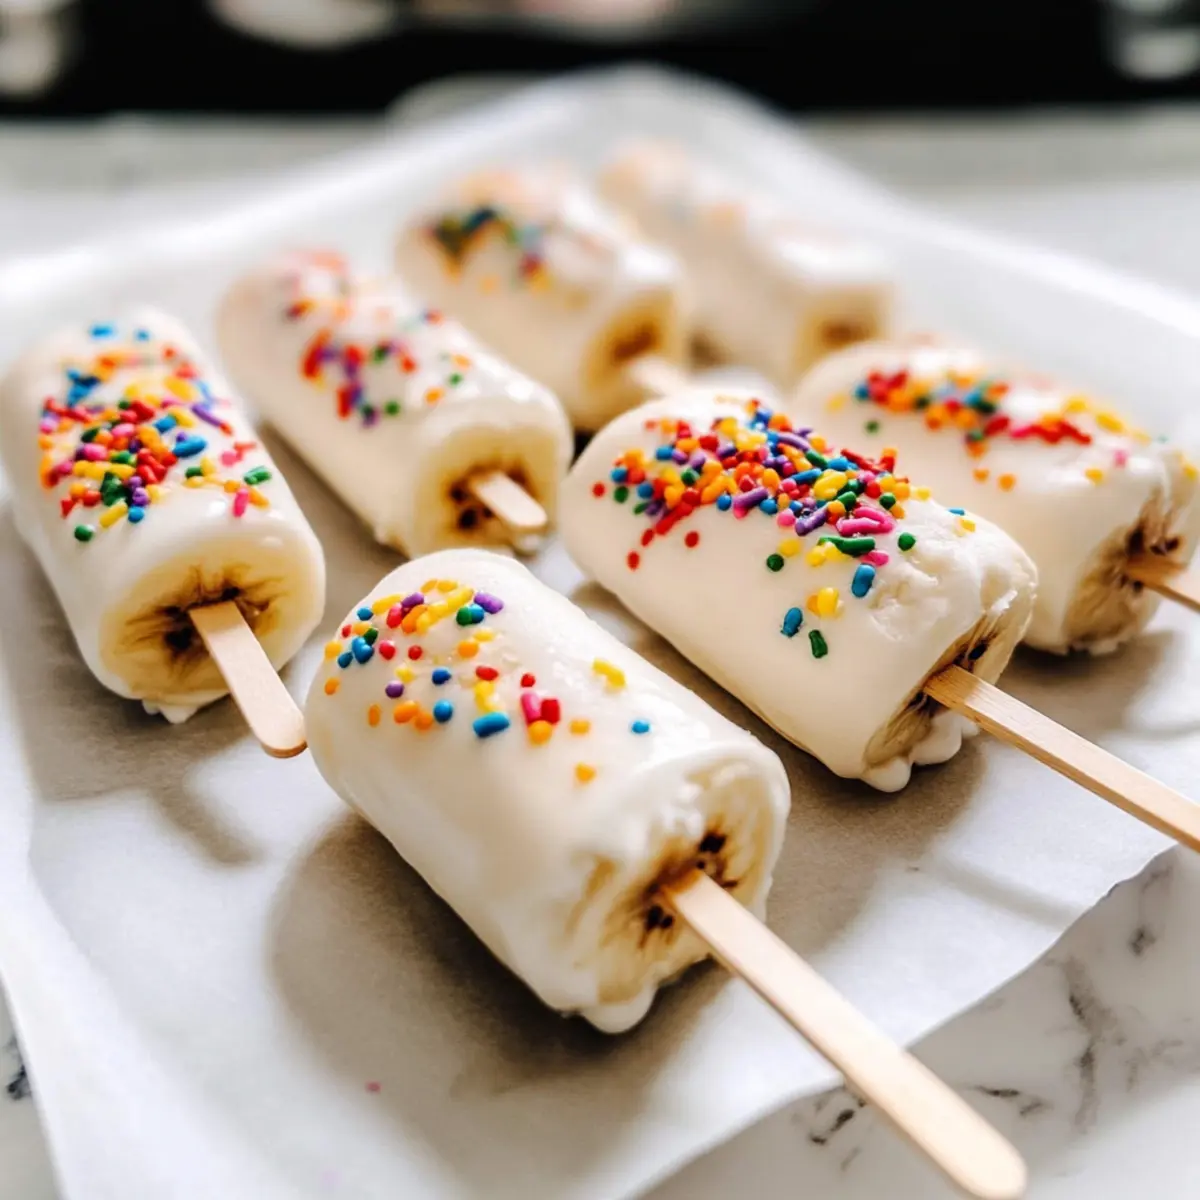
On a hot summer day, finding a cool, satisfying snack can feel like a mini crisis. But fear not! These Frozen Yogurt Banana Pops are here to save the day and redefine your summer treats! Dipped in creamy vanilla Greek yogurt and sprinkled with colorful fun, they’re not just visually delightful—they’re a healthy snack option that kids love and busy parents can whip up in no time. With ripe bananas lending their natural sweetness and the added protein from yogurt, you can indulge guilt-free. Perfect for warm afternoons or as a playful dessert at family gatherings, these pops are sure to be a hit with everyone. Curious about how to create these delightful treats and add a refreshing twist to your summer repertoire? Let’s dive in!
Why Try Frozen Yogurt Banana Pops?
Healthy, Guilt-Free Indulgence: These pops offer a sweet escape without the calories. Kid-Friendly Fun: Kids will enjoy making and eating these colorful treats! Quick and Easy: With minimal preparation time, you can whip them up in just a few steps. Versatile Toppings: Customize with your favorite toppings like nuts or coconut. Nutrient-Packed Boost: Each pop is rich in protein and vitamins, making snack time feel great. For more healthy dessert ideas, check out our Baked Yogurt Berries or try making some Greek Yogurt Bagels to pair perfectly!
Frozen Yogurt Banana Pops Ingredients
For the Pops
• Bananas – Choose ripe bananas for optimal sweetness and creamy texture.
• Greek Yogurt (vanilla flavor) – This acts as a creamy coating packed with flavor and protein; you can use any flavored yogurt or coconut yogurt for a dairy-free alternative.
For the Topping
• Rainbow Sprinkles – They add a fun, colorful touch that kids will love; substitute with chopped nuts or shredded coconut for a healthier option.
These Frozen Yogurt Banana Pops make for a delightful summer treat that’s not only easy to prepare but also healthy and tasty!
Step‑by‑Step Instructions for Frozen Yogurt Banana Pops
Step 1: Prepare the Bananas
Start by selecting ripe bananas for your Frozen Yogurt Banana Pops, as they offer optimal sweetness and creaminess. Carefully cut each banana in half, creating uniform pieces ideal for dipping. Once halved, line a baking sheet with parchment paper to prevent sticking and position the banana halves on it, ready for the next steps.
Step 2: Insert Popsicle Sticks
Take wooden popsicle sticks and gently insert them into the cut end of each banana half. Make sure to push the stick in deep enough so that the bananas remain secure while being dipped and frozen. This will make handling easier later. Once all sticks are inserted, move on to the yogurt preparation.
Step 3: Mix the Yogurt
In a large mixing bowl, scoop out your vanilla Greek yogurt and stir with a spatula until it is creamy and smooth, ensuring there are no clumps. This texture is important for achieving an even coating on your Frozen Yogurt Banana Pops. If you prefer a different flavor, feel free to use any flavored or dairy-free yogurt instead.
Step 4: Dip the Banana Pops
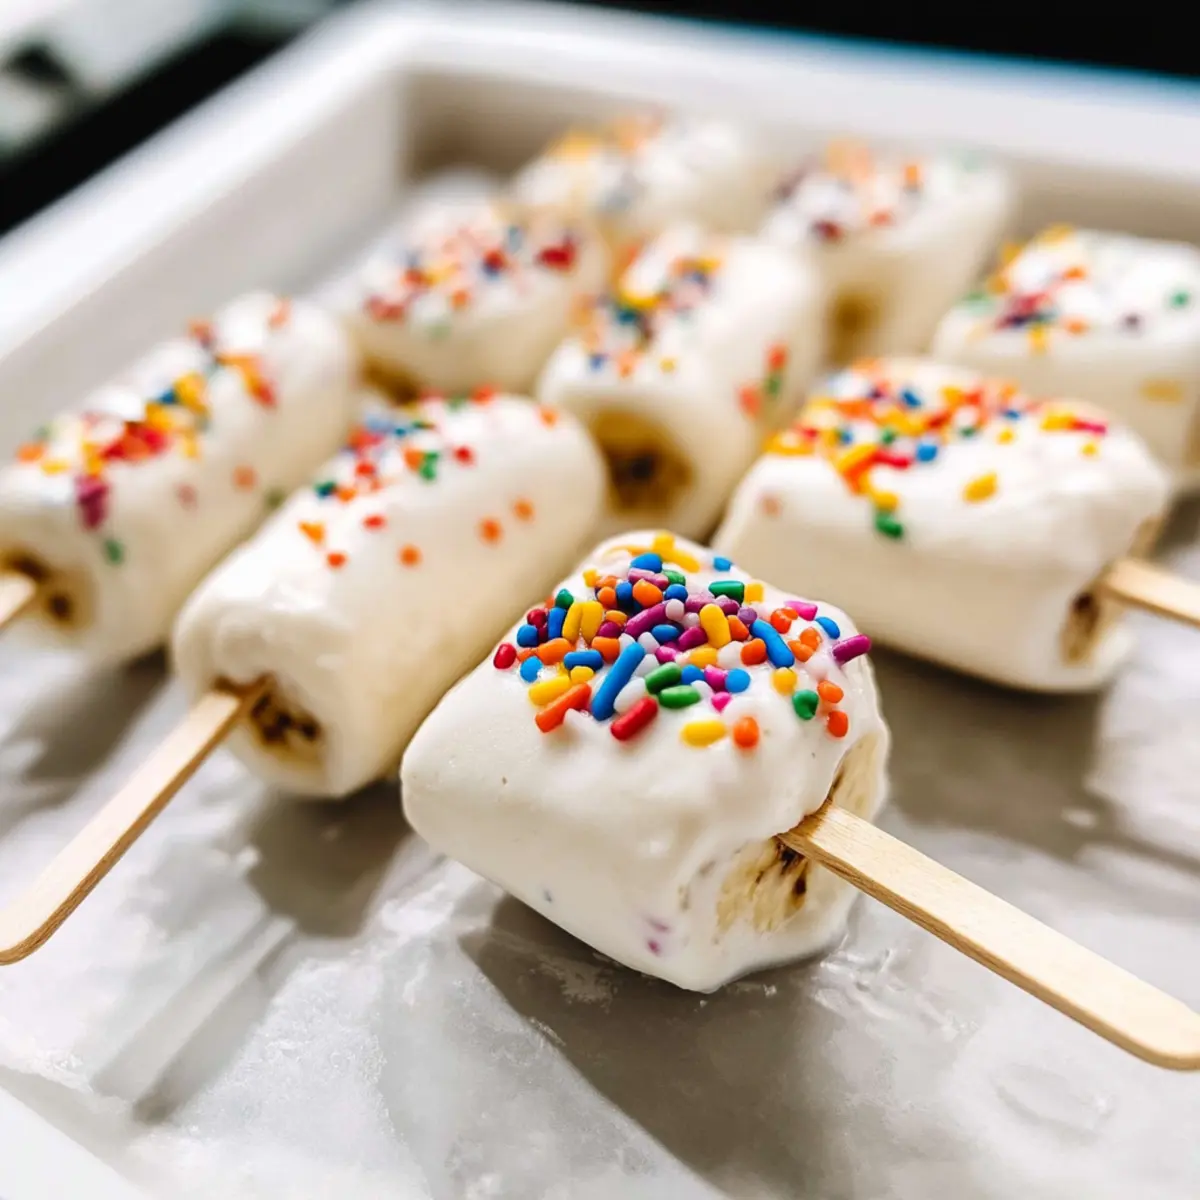
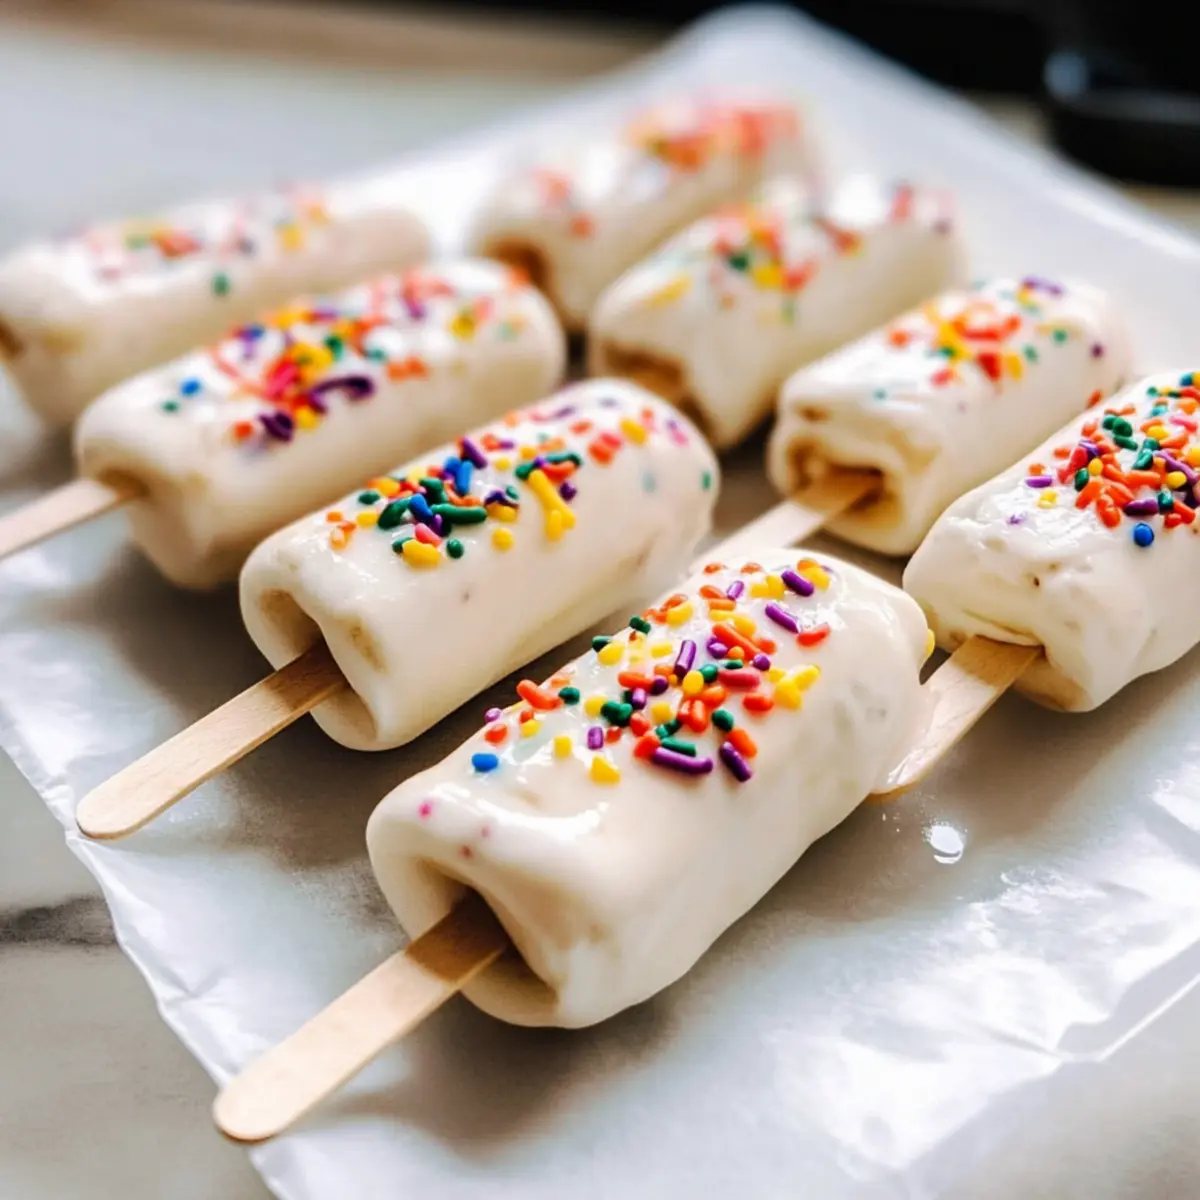
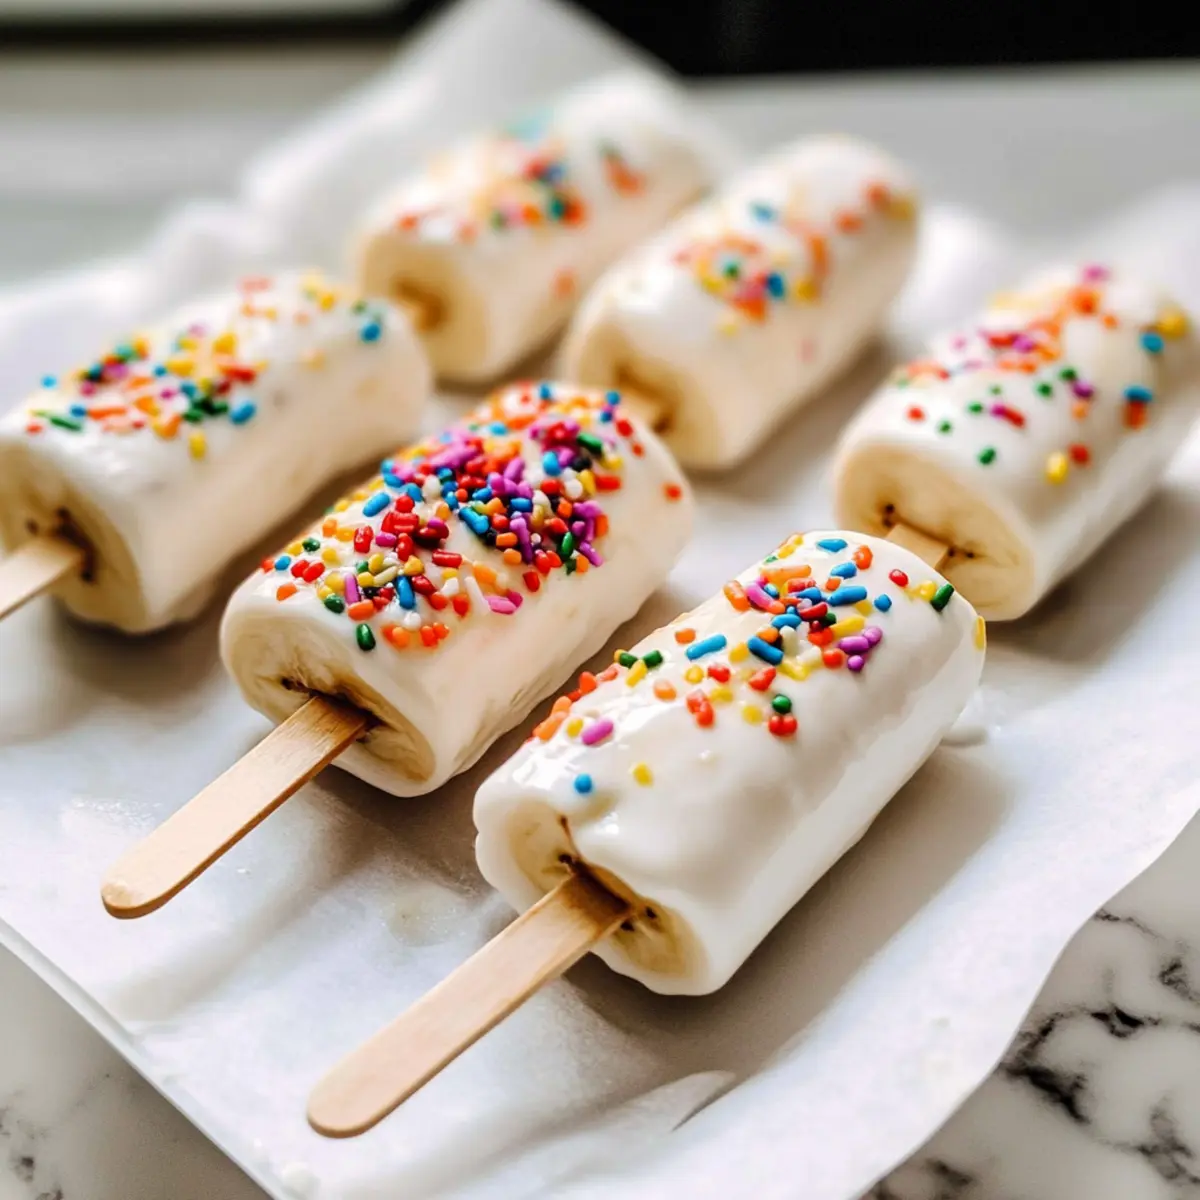
Take each banana pop and dip it into the creamy yogurt, ensuring it’s fully coated. Gently twist and remove any excess yogurt to avoid clumping. The goal is to coat each banana half evenly, which will help create a delightful frozen texture once they are set. After dipping, move to the next step for topping.
Step 5: Add Colorful Sprinkles
Generously sprinkle rainbow sprinkles over the yogurt-covered bananas while the yogurt is still wet. This step adds a fun and vibrant touch that kids will adore. If you prefer healthier alternatives, consider using chopped nuts or shredded coconut instead. Once topped, you’re ready to freeze!
Step 6: Freeze to Set
Finally, place the baking sheet with the banana pops in the freezer and allow them to freeze for at least 2 hours. Check occasionally; once the yogurt is solid and set, your Frozen Yogurt Banana Pops are ready to be enjoyed. They will have a delightful creamy texture, perfect for a refreshing summer treat!
What to Serve with Frozen Yogurt Banana Pops
Elevate your dessert experience with these vibrant, fruity pops, perfect for summer gatherings or a delightful snack!
- Creamy Coconut Chia Pudding: This smooth and rich pudding offers a tropical twist that complements the fruity pops beautifully.
- Fresh Fruit Salad: A medley of seasonal fruits adds refreshing sweetness, enhancing the deliciousness of the yogurt pops.
- Homemade Granola Bars: Chewy and nutty, these bars provide a satisfying crunch that contrasts nicely with the creamy pops.
- Chocolate Drizzle: A light drizzle of melted chocolate adds a sweet surprise, making for an indulgent treat that pairs perfectly with the yogurt.
For drinks, consider serving an icy lemonade or a coconut water smoothie, both refreshing options that balance the sweetness of the Frozen Yogurt Banana Pops.
How to Store and Freeze Frozen Yogurt Banana Pops
Fridge: Store any leftover Frozen Yogurt Banana Pops in the fridge for up to 3 days, but keep in mind they’ll lose their delightful frozen texture.
Freezer: Keep your pops in an airtight container in the freezer for up to a month. This preserves their creamy texture and flavors, ensuring they’re always ready for a refreshing snack.
Reheating: There’s no need to reheat these pops; simply let them sit at room temperature for a few minutes before enjoying for the best experience.
Serving Suggestion: When serving, take them out of the freezer just before indulging. This way, they’ll be perfectly chilled and bursting with flavor!
Tips for the Best Frozen Yogurt Banana Pops
- Smooth Yogurt Coating: Ensure your Greek yogurt is smooth and free of clumps to create an even coating that sticks well to the bananas.
- Optimal Banana Ripeness: Use ripe bananas for the best natural sweetness and creaminess. This will enhance the flavor of your Frozen Yogurt Banana Pops.
- Sturdy Popsicle Sticks: Insert the popsicle sticks deep enough into the bananas to make them secure, preventing any mishaps while freezing or dipping.
- Experiment with Toppings: Don’t hesitate to switch out rainbow sprinkles for healthier options like nuts or shredded coconut, making your pops fun and nutritious!
- Freezing Time Matters: Be patient and allow the pops to freeze for a full 2 hours. This ensures the yogurt coating sets perfectly, creating that delightful treat!
Variations & Substitutions for Frozen Yogurt Banana Pops
Feel free to get creative with these Frozen Yogurt Banana Pops and make them your own!
- Dairy-Free: Swap Greek yogurt with coconut yogurt for a luscious vegan treat. This alternative brings a tropical essence to your pops.
- Fruit Medley: Instead of bananas, try using strawberries or peaches for a fresh twist. Each fruit brings its unique sweetness and flavor.
- Nutty Crunch: Replace sprinkles with chopped nuts for an added crunch and healthy fats. This will elevate the texture and boost the nutrition of your pops.
- Chocolate Drizzle: Drizzle melted dark chocolate over the yogurt coating for a decadent touch. This rich addition can satisfy any sweet tooth.
- Flavor Boost: Experiment with flavored yogurts such as strawberry or honey for a different taste sensation. Transform the familiar into something delightfully new!
- Frozen Yogurt Pops: Blend in some berries with the yogurt before coating for a fruity fusion. A berry twist not only tastes amazing but looks stunning too!
- Granola Coating: Roll the finished pop in granola instead of sprinkles for a crunchy, wholesome option. This adds delightful texture while keeping it healthy.
- Spicy Kick: Add a sprinkle of cinnamon or cayenne pepper to the yogurt for a surprising heat! This twist will keep everyone guessing as they enjoy these flavors.
Discover more healthy dessert ideas with playful textures like our Baked Yogurt Berries or create delightful snacks like Greek Yogurt Bagels to enjoy!
Make Ahead Options
These Frozen Yogurt Banana Pops are perfect for meal prep, making them an excellent choice for busy weeknights! You can cut the bananas and insert popsicle sticks up to 24 hours in advance; simply keep them covered in the refrigerator until you’re ready to dip. The Greek yogurt mixture can also be prepared up to 1 day ahead—just stir until smooth and refrigerate it. To maintain the quality and texture, make sure to dip the bananas in yogurt just before adding sprinkles and freezing. When ready to serve, coat them in yogurt and toppings, then freeze for at least 2 hours, and enjoy a refreshing, guilt-free treat that’s just as delicious as freshly made!
Frozen Yogurt Banana Pops Recipe FAQs
How do I choose the best bananas for freezing?
Absolutely! When selecting bananas for your Frozen Yogurt Banana Pops, look for ones that are ripe but not overly bruised. Ripe bananas have a sweet flavor and creamy texture, which enhances the overall taste of your pops. Aim for bananas that have a nice yellow hue with minimal dark spots. If you’re feeling adventurous, slightly overripe bananas work too, just ensure they’re not too mushy!
What’s the best way to store these banana pops?
Very simple! After making your Frozen Yogurt Banana Pops, place them in an airtight container and store them in the freezer for up to a month. This method preserves their creamy texture and prevents freezer burn. You can also wrap each pop in plastic wrap for added protection, making them easy to grab on hot days. Just be sure to let them sit for a minute at room temperature before enjoying for the best experience!
Can I freeze these banana pops for longer?
Yes, you can! Although they taste best within a month, Frozen Yogurt Banana Pops can be stored in the freezer for up to 3 months. Just make sure they’re in a well-sealed container or wrapped individually. When you’re ready to enjoy them, you might want to leave them out for a few minutes to soften slightly, allowing for easier biting.
What if my yogurt is too thick when coating the bananas?
No worries! If your Greek yogurt appears too thick for smooth dipping, simply add a splash of milk, almond milk, or water to thin it out. Mix well until you reach your desired consistency. A thinner yogurt will coat the bananas more evenly and make for a delightful pop. Just remember, you want it smooth to avoid clumping!
Are there any allergy considerations I should keep in mind?
Definitely! If you’re making these pops for kids or have dietary concerns, be mindful of allergies. You can easily make these pops nut-free by selecting toppings like sprinkles or coconut. For dairy allergies, swap the Greek yogurt with coconut yogurt, which provides a similar creaminess without the dairy. Always check ingredient labels to ensure safety for any specific allergies!
Frozen Yogurt Banana Pops for a Delightfully Healthy Treat
Ingredients
Equipment
Method
- Start by selecting ripe bananas for your Frozen Yogurt Banana Pops, as they offer optimal sweetness and creaminess. Carefully cut each banana in half, creating uniform pieces ideal for dipping. Line a baking sheet with parchment paper and position the banana halves on it.
- Take wooden popsicle sticks and gently insert them into the cut end of each banana half. Make sure to push the stick in deep enough for stability.
- In a large mixing bowl, scoop out your vanilla Greek yogurt and stir until creamy and smooth without clumps.
- Dip each banana pop into the creamy yogurt, ensuring it's fully coated. Remove excess yogurt to avoid clumping.
- Generously sprinkle rainbow sprinkles over the yogurt-covered bananas while the yogurt is still wet for a fun touch.
- Place the baking sheet in the freezer and allow them to freeze for at least 2 hours until the yogurt is solid and set.
Leave a Reply