
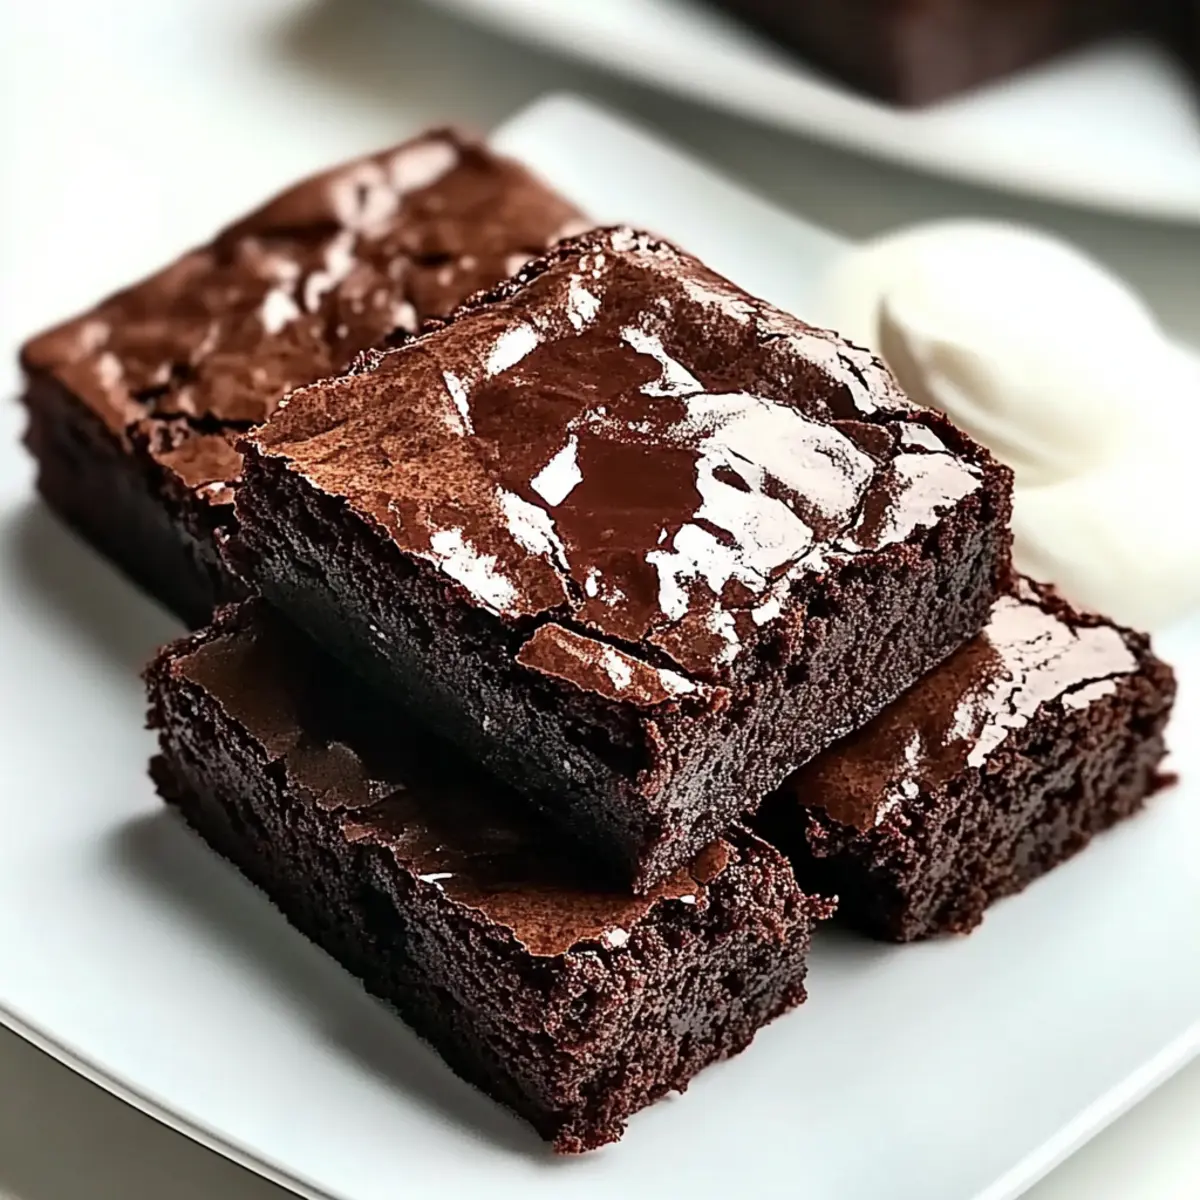
A little secret about baking is that you can indulge without compromising your health. These Guilt-Free Flourless Greek Yogurt Brownies are the perfect testament to that! Rich and fudgy, they blend the creamy decadence of Greek yogurt with the natural sweetness of honey, making them a delightful treat that’s also gluten-free. Not only can you whip them up in just 35 minutes, but you’ll also find them to be the ultimate solution for your sweet cravings without the guilt. Whether you’re looking for a quick dessert to impress guests or simply a healthier option to satisfy your chocolate dreams, these brownies will hit the spot. Curious about how to bring this deliciousness to life? Let’s dive into the recipe!
Why Choose Greek Yogurt Brownies?
Indulgence Redefined: These brownies offer a guilt-free treat that satisfies your sweet tooth without sacrificing health.
Quick and Easy: With just a 35-minute prep time, these treats are perfect for spontaneous cravings or last-minute guests.
Versatile Variations: Adapt the recipe easily to fit vegan or gluten-free diets, ensuring everyone can enjoy.
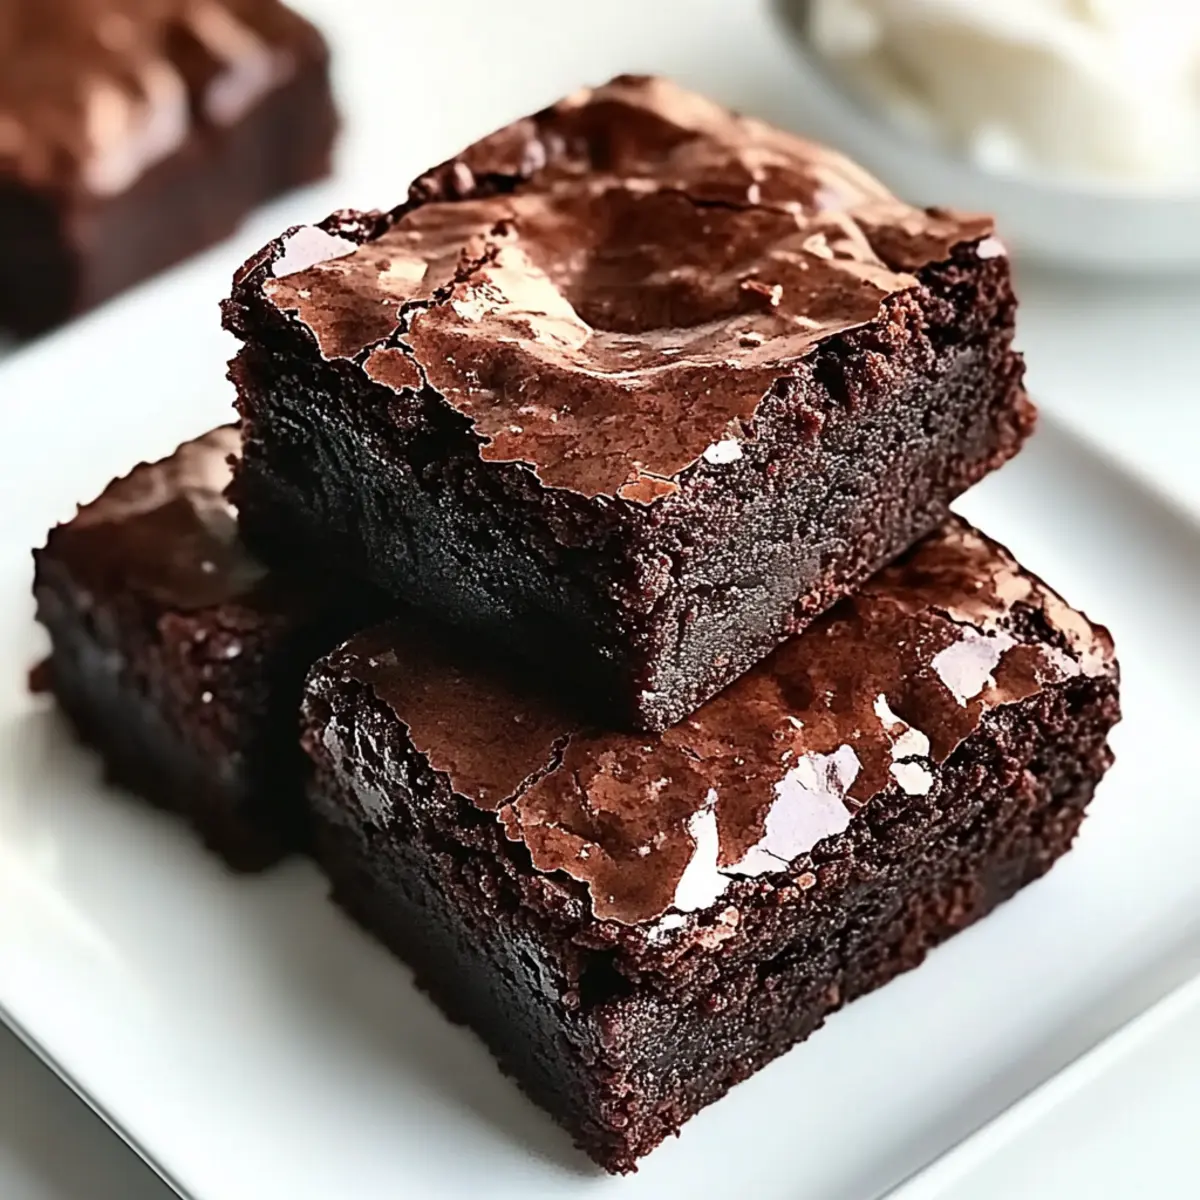
Decadence in Every Bite: Rich, fudgy texture showcases the magical blend of Greek yogurt and cocoa, making it hard to believe they’re healthy.
Perfect for Any Occasion: Whether you pair them with vanilla frozen yogurt or enjoy them solo, these brownies are sure to impress. Try them alongside our delightful Lemon Brownies Zesty for an unforgettable dessert spread!
Greek Yogurt Brownies Ingredients
• Satisfy your sweet tooth guilt-free!
For the Brownies
- Greek Yogurt – Adds creaminess and moisture, creating a fudgy texture; substitute with dairy-free yogurt for a vegan option.
- Eggs – Provide structure and richness; indispensable for the best results; no substitutes recommended.
- Honey – A natural sweetener that enhances flavor; you can use agave syrup for a vegan alternative.
- Vanilla Extract – Boosts flavor depth; optional, but worth it if you have it on hand.
- Cocoa Powder – Delivers that essential chocolate flavor; swap it with carob powder for a caffeine-free version.
- Baking Soda – Helps the brownies rise; ensure it’s gluten-free if necessary.
- Salt – Balances sweetness; just a pinch enhances all the flavors beautifully.
For Serving (Optional)
- Vanilla Frozen Yogurt – Pairs wonderfully, adding a creamy contrast to the fudgy brownies.
- Whipped Cream – Elevates the dessert experience, offering an indulgent touch.
Step‑by‑Step Instructions for Guilt-Free Greek Yogurt Brownies
Step 1: Preheat and Prepare
Begin by preheating your oven to 350°F (175°C). While the oven heats, grab an 8×8-inch baking pan and line it with parchment paper, allowing some overhang for easy removal later. This will ensure that your Guilt-Free Greek Yogurt Brownies come out smoothly after baking.
Step 2: Mix Base Ingredients
In a large mixing bowl, combine 1 cup of Greek yogurt, 2 large eggs, 1/3 cup of honey, and 1 teaspoon of vanilla extract. Use a whisk to blend these ingredients together until you achieve a creamy and smooth consistency, which should take about 2-3 minutes. This mixture forms the rich base for your brownies.
Step 3: Combine Dry Ingredients
Next, sift in 1/2 cup of cocoa powder, 1/2 teaspoon of baking soda, and a pinch of salt directly into the wet mixture. Using a rubber spatula, gently fold the dry ingredients into the wet ones until just combined—be careful not to overmix as this will help your Guilt-Free Greek Yogurt Brownies maintain their fudgy texture.
Step 4: Spread and Bake
Once combined, pour the brownie batter into your prepared pan and use the spatula to spread it evenly, smoothing the top. Place the pan in the preheated oven and bake for 20-25 minutes. The brownies are ready when a toothpick inserted at the center comes out with moist crumbs—it should not be wet with batter.
Step 5: Cool and Cut
After baking, remove your Guilt-Free Greek Yogurt Brownies from the oven and allow them to cool completely in the pan for about 30 minutes. Use the parchment overhang to lift the brownies out of the pan, then place them on a cutting board to slice into squares. Cooling completely will help ensure clean cuts and better structure.
Step 6: Serve or Store
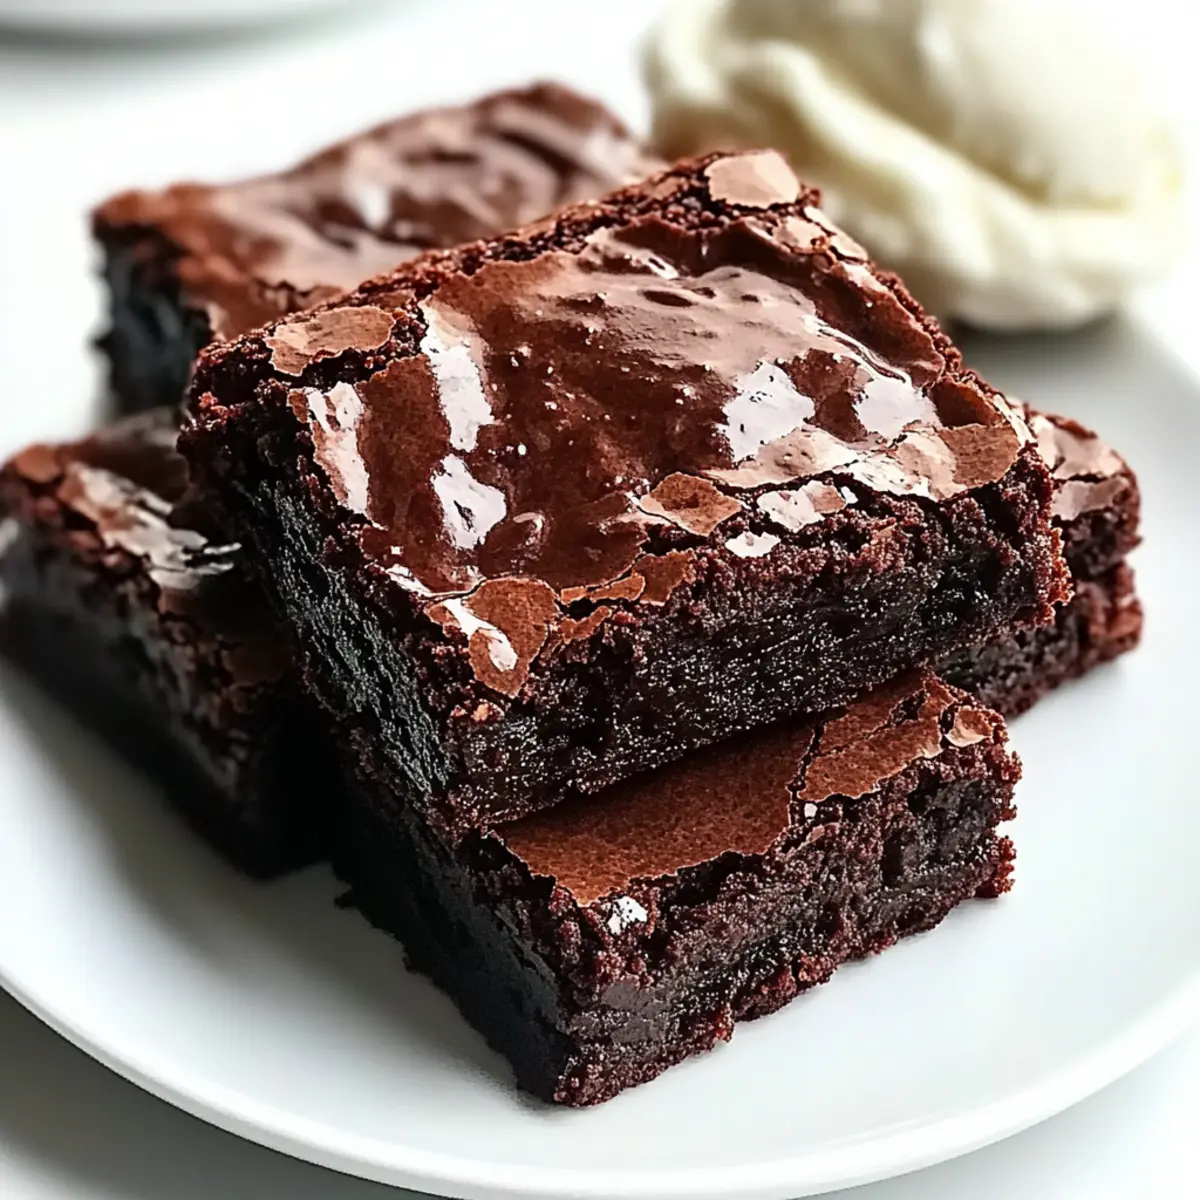
You can enjoy these decadent brownies on their own or with a scoop of vanilla frozen yogurt for a delightful treat. If you have any leftovers, store them in an airtight container at room temperature for up to 5 days, allowing the flavors to deepen. Enjoy the guilt-free pleasure of your homemade Greek Yogurt Brownies!
What to Serve with Guilt-Free Flourless Greek Yogurt Brownies
Create a delightful meal experience that perfectly complements these rich and fudgy brownies!
-
Vanilla Frozen Yogurt: This creamy delight contrasts beautifully with the dense brownies, creating a blissful dessert harmony.
-
Fresh Berries: Ripe strawberries or raspberries add a refreshing burst of flavor and a pop of color, enhancing visual appeal.
-
Whipped Cream: A dollop of lightly sweetened whipped cream elevates the experience, making each bite feel indulgent.
-
Mint Tea: The lightness of mint tea clears the palate, refreshing the senses between bites of decadently chocolatey goodness.
-
Roasted Nuts: Crushed almonds or walnuts sprinkle on top for a crunchy texture, adding a nutty richness that complements the fudgy base.
-
Chocolate Sauce Drizzle: For the true chocolate lover, a drizzle of rich chocolate sauce offers an extra layer of indulgence and pizzazz.
Pairing these elements with the Greek Yogurt Brownies can create an unforgettable dessert experience that balances flavors and textures. Enjoy the delicious possibilities!
Expert Tips for Greek Yogurt Brownies
- Quality Ingredients: Use plain, unsweetened Greek yogurt for the best flavor and texture; flavored varieties can skew sweetness.
- Gentle Mixing: Overmixing will lead to tough brownies; fold dry ingredients gently into the wet mixture.
- Check for Doneness: Remember, a toothpick should come out with moist crumbs, not wet batter—this ensures fudginess in your Greek yogurt brownies.
- Cool Completely: Allow the brownies to cool fully in the pan before cutting; this helps maintain their structure for perfect slices.
- Experiment with Add-Ins: Enhance flavor and texture by adding dark chocolate chips or nuts to the batter for a delightful twist on your guilt-free treat.
Make Ahead Options
These Guilt-Free Flourless Greek Yogurt Brownies are perfect for meal prep enthusiasts! You can mix the brownie batter and refrigerate it up to 24 hours before baking, ensuring that the flavors meld beautifully without sacrificing quality. Alternatively, you can bake the brownies in advance and store them in an airtight container at room temperature for up to 5 days or freeze individual portions for up to 3 months. To maintain their fudgy texture, make sure they cool completely in the pan, then slice and store properly. When ready to serve, just thaw overnight in the fridge or warm briefly in the microwave for that freshly baked experience. Enjoy having these delightful treats ready at your convenience!
How to Store and Freeze Greek Yogurt Brownies
Fridge: Store your Guilt-Free Greek Yogurt Brownies in an airtight container in the fridge for up to 5 days. This allows the flavors to deepen while keeping them fresh.
Freezer: For longer storage, you can freeze individual brownie squares. Wrap each piece in plastic wrap, then place them in a freezer-safe bag or container, where they can last for up to 3 months.
Thawing: When ready to enjoy, simply thaw the brownies overnight in the fridge or warm them in the microwave for about 10-15 seconds until just soft.
Reheating: To bring back that fresh-baked goodness, reheat your brownies in the oven at 350°F (175°C) for 5-7 minutes before serving.
Greek Yogurt Brownies Variations
Feel free to play around with this recipe and make it your own, enhancing your treats with delightful twists!
-
Dairy-Free: Substitute Greek yogurt with plant-based yogurt to enjoy a rich, creamy texture without dairy.
-
Sweetener Swap: Replace honey with maple syrup for a perfect vegan alternative that adds a unique flavor profile. You’ll find this brings an enticing hint of warmth to the brownies.
-
Add-Ins: Fold in dark chocolate chips, nuts, or a splash of espresso to elevate the richness. Imagine biting into a fudgy brownie, bursting with molten chocolate goodness—pure bliss!
-
Flavor Twists: Try adding citrus zest, like orange or lemon, to brighten and enhance the chocolate flavors. A pinch of cayenne pepper could add an unexpected kick, making your brownies a conversation starter!
-
Grain-Free: For a truly gluten-free experience, swap in almond flour or coconut flour for the cocoa powder. It’ll introduce a nutty flavor while keeping these brownies delightfully fudgy.
-
Nut Butter Boost: Stir in a couple of tablespoons of peanut or almond butter to create a luscious, nutty layer of flavor, marrying beautifully with the chocolate.
-
Chocolate Variations: Use white chocolate or caramel cocoa powder in place of traditional cocoa for a sweeter, creamier version that turns heads at dessert time.
-
Mini Brownie Bites: Pour the batter into a mini muffin pan and bake for bite-sized treats. Perfect for gatherings and easy to pop in your mouth on a busy day! They would pair perfectly with a scoop of Baked Yogurt Berries for a refreshing treat.
Greek Yogurt Brownies Recipe FAQs
What type of Greek yogurt should I use for the brownies?
I recommend using plain, unsweetened Greek yogurt for the best flavor and texture. Flavored yogurts can add unwanted sweetness, so stick to the basics!
How long can I store my Greek Yogurt Brownies in the fridge?
You can keep your Guilt-Free Greek Yogurt Brownies in an airtight container in the fridge for up to 5 days. This way, they stay fresh and even the flavors can deepen over time. Perfect for enjoying a little sweet treat every day!
Can I freeze these brownies for later?
Absolutely! For longer storage, wrap each brownie individually in plastic wrap and then place them in a freezer-safe bag. They can last up to 3 months in the freezer. When you’re ready to indulge, just thaw them overnight in the fridge or warm them in the microwave for a quick treat.
What should I do if my brownies turn out too dense?
If your brownies come out denser than you’d like, it’s likely due to overmixing. Make sure when you’re combining the wet and dry ingredients, you gently fold them together until just combined. This helps maintain that fudgy texture you’re aiming for!
Are there any dietary considerations I should keep in mind?
Yes! If you need a dairy-free option, simply substitute Greek yogurt with plant-based yogurt to make it vegan. Additionally, if you have allergies, check the labels on your cocoa powder and baking soda to ensure they meet your dietary needs. Always a good idea to be cautious in the kitchen!
Can I add other ingredients for extra flavor?
The more the merrier! Feel free to mix in some dark chocolate chips, nuts, or even a dash of espresso for a richer flavor. You can also experiment with zesting citrus or adding a pinch of cayenne pepper if you’re feeling adventurous. Your brownies, your rules!
Guilt-Free Greek Yogurt Brownies That Satisfy Your Cravings
Ingredients
Equipment
Method
- Preheat your oven to 350°F (175°C) and line an 8x8-inch baking pan with parchment paper.
- In a large mixing bowl, combine 1 cup of Greek yogurt, 2 large eggs, 1/3 cup of honey, and 1 teaspoon of vanilla extract. Whisk until creamy and smooth.
- Sift in 1/2 cup of cocoa powder, 1/2 teaspoon of baking soda, and a pinch of salt into the wet mixture, folding gently until just combined.
- Pour the brownie batter into the prepared pan, spreading it evenly. Bake for 20-25 minutes until a toothpick comes out with moist crumbs.
- Cool the brownies in the pan for 30 minutes before lifting them out using the parchment overhang and slicing into squares.
- Enjoy the brownies on their own or with vanilla frozen yogurt.
Leave a Reply