
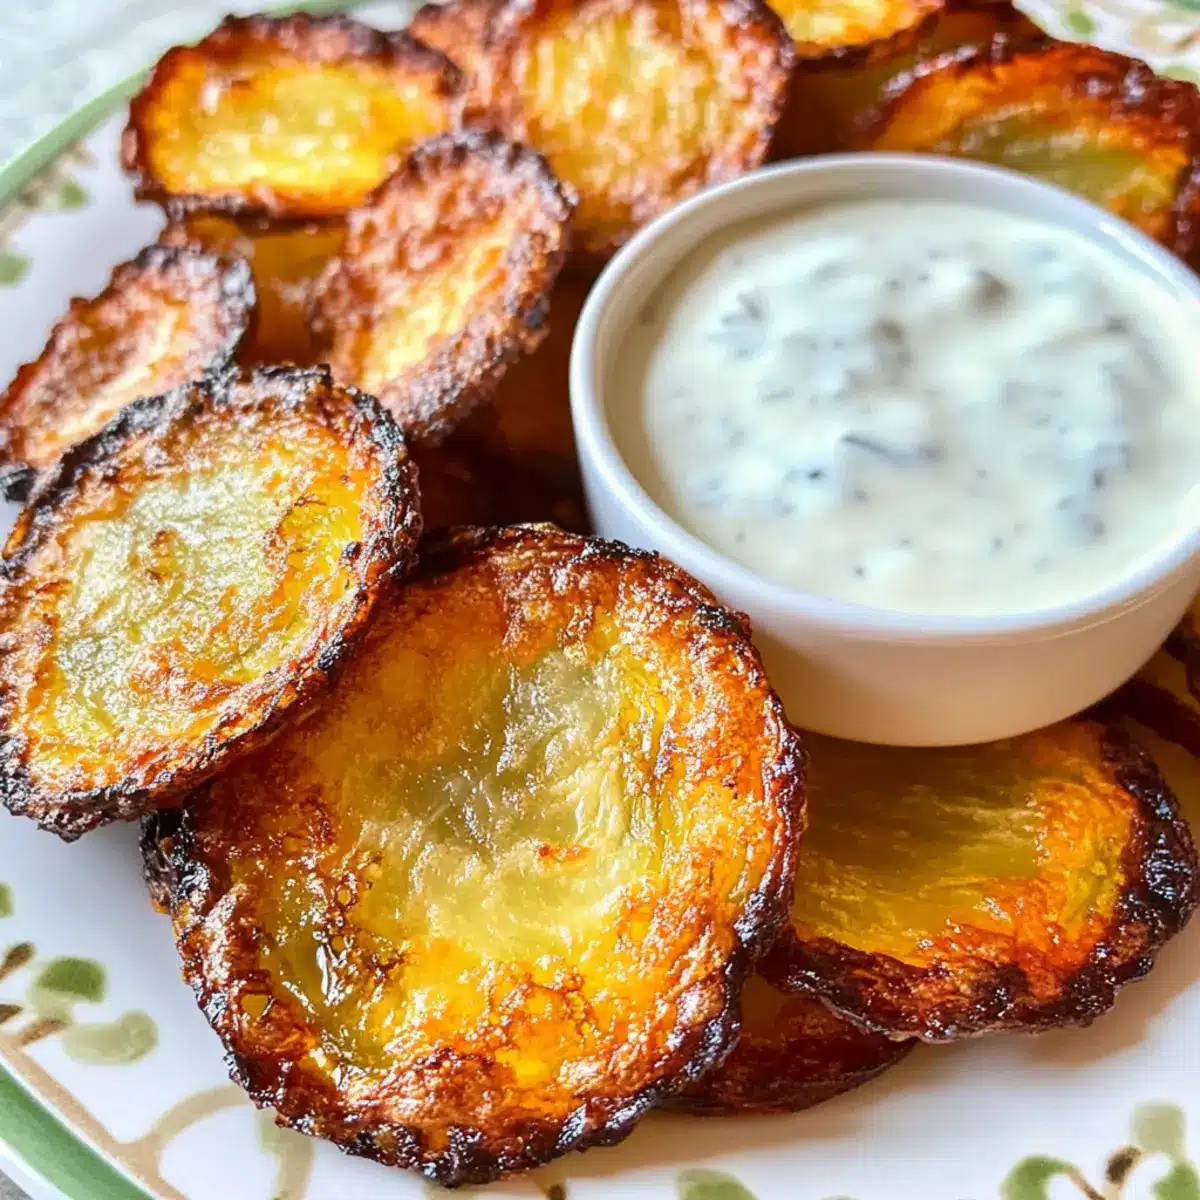
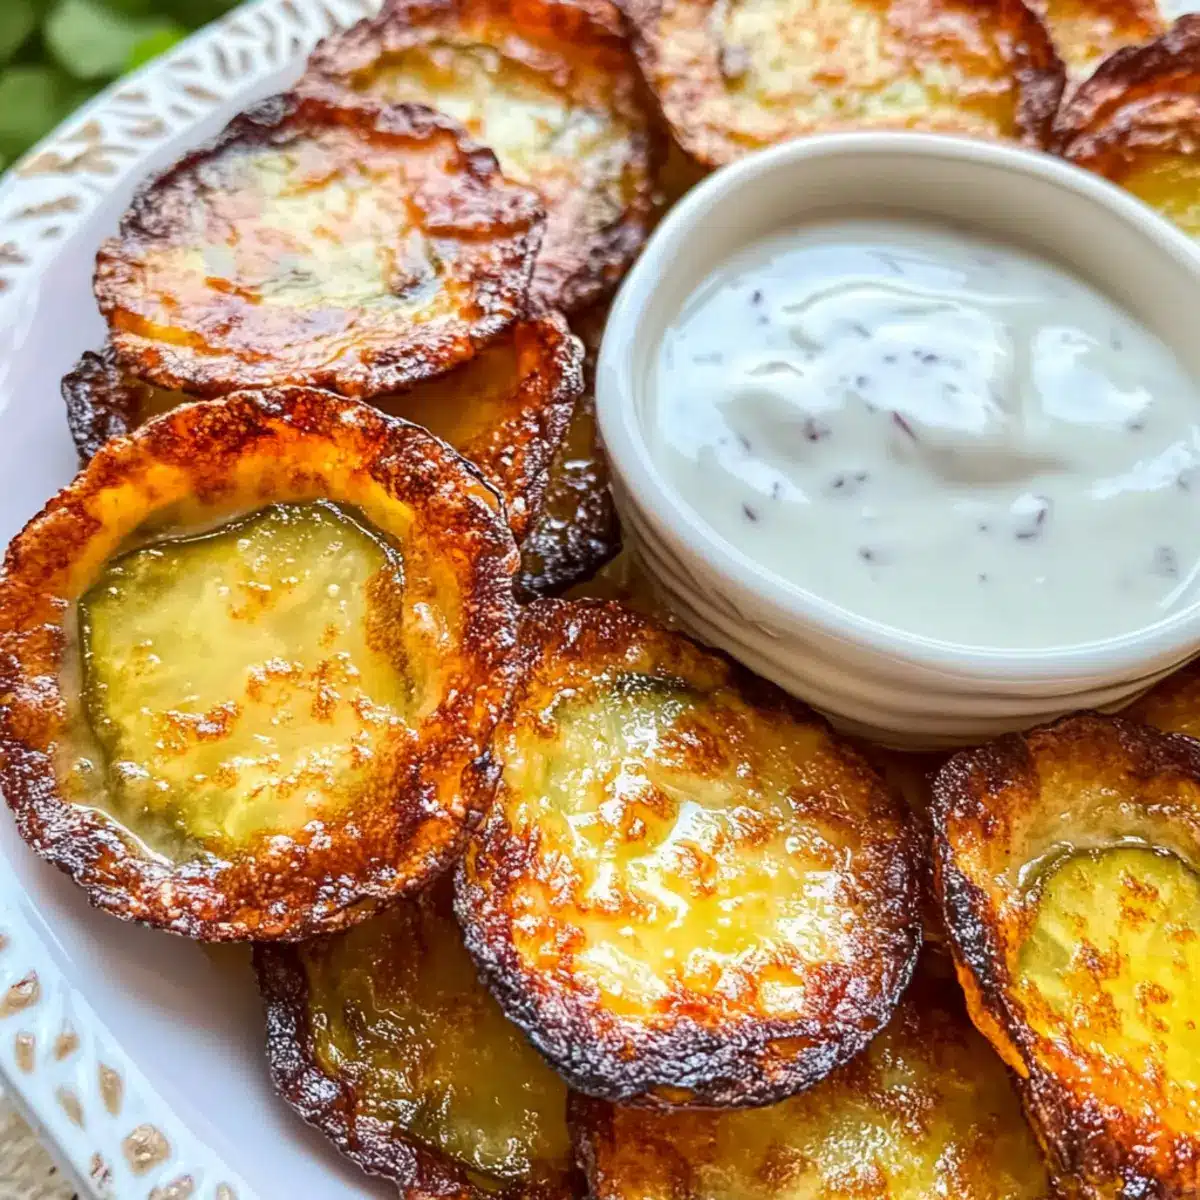
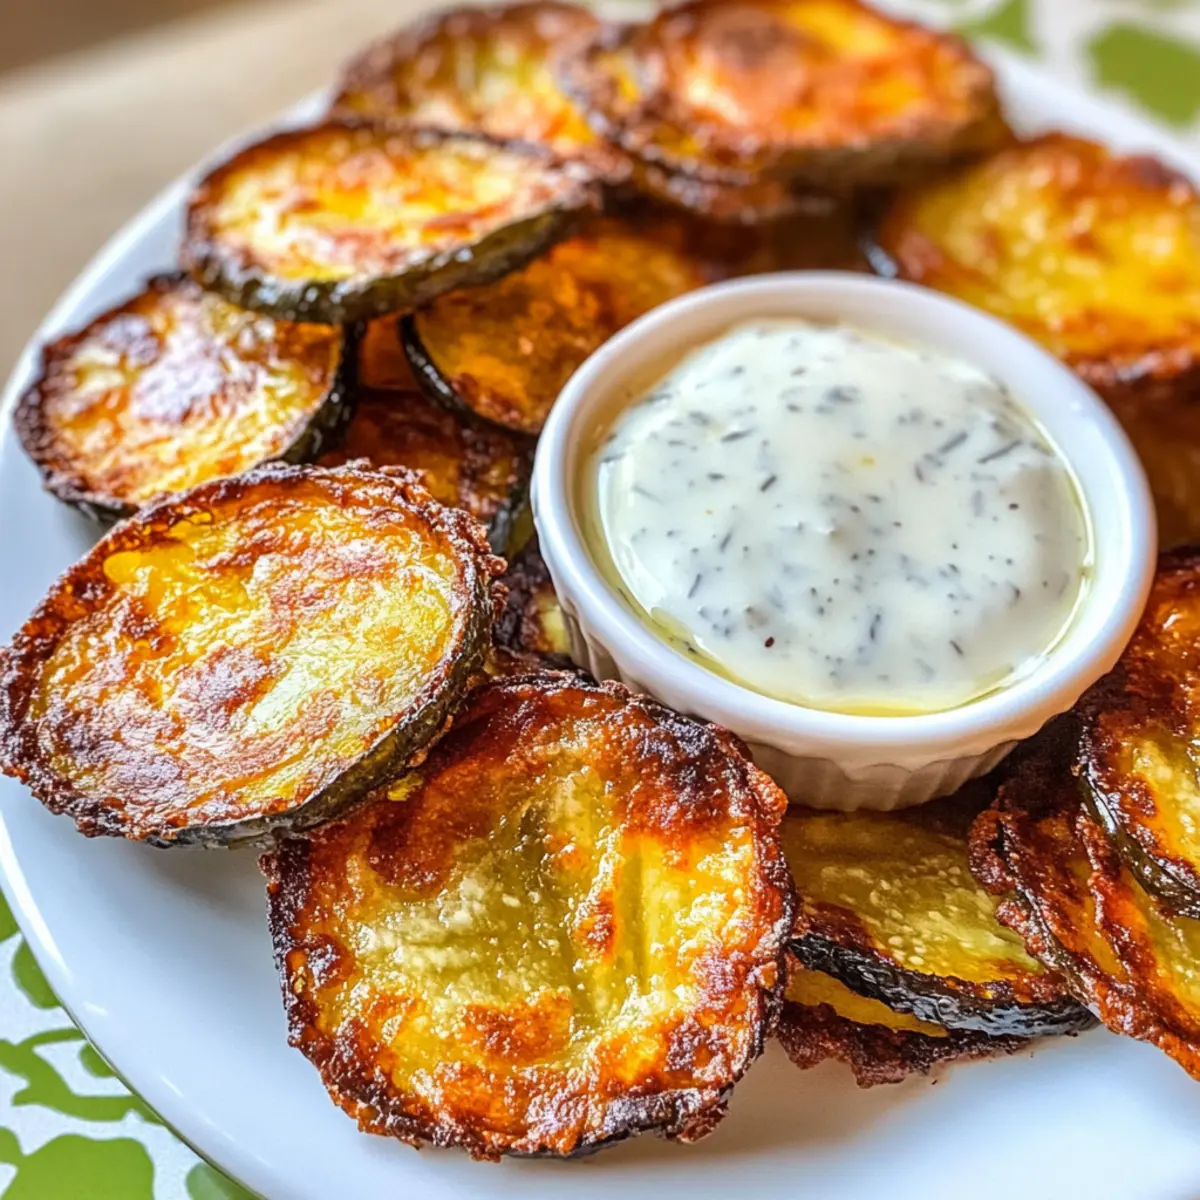
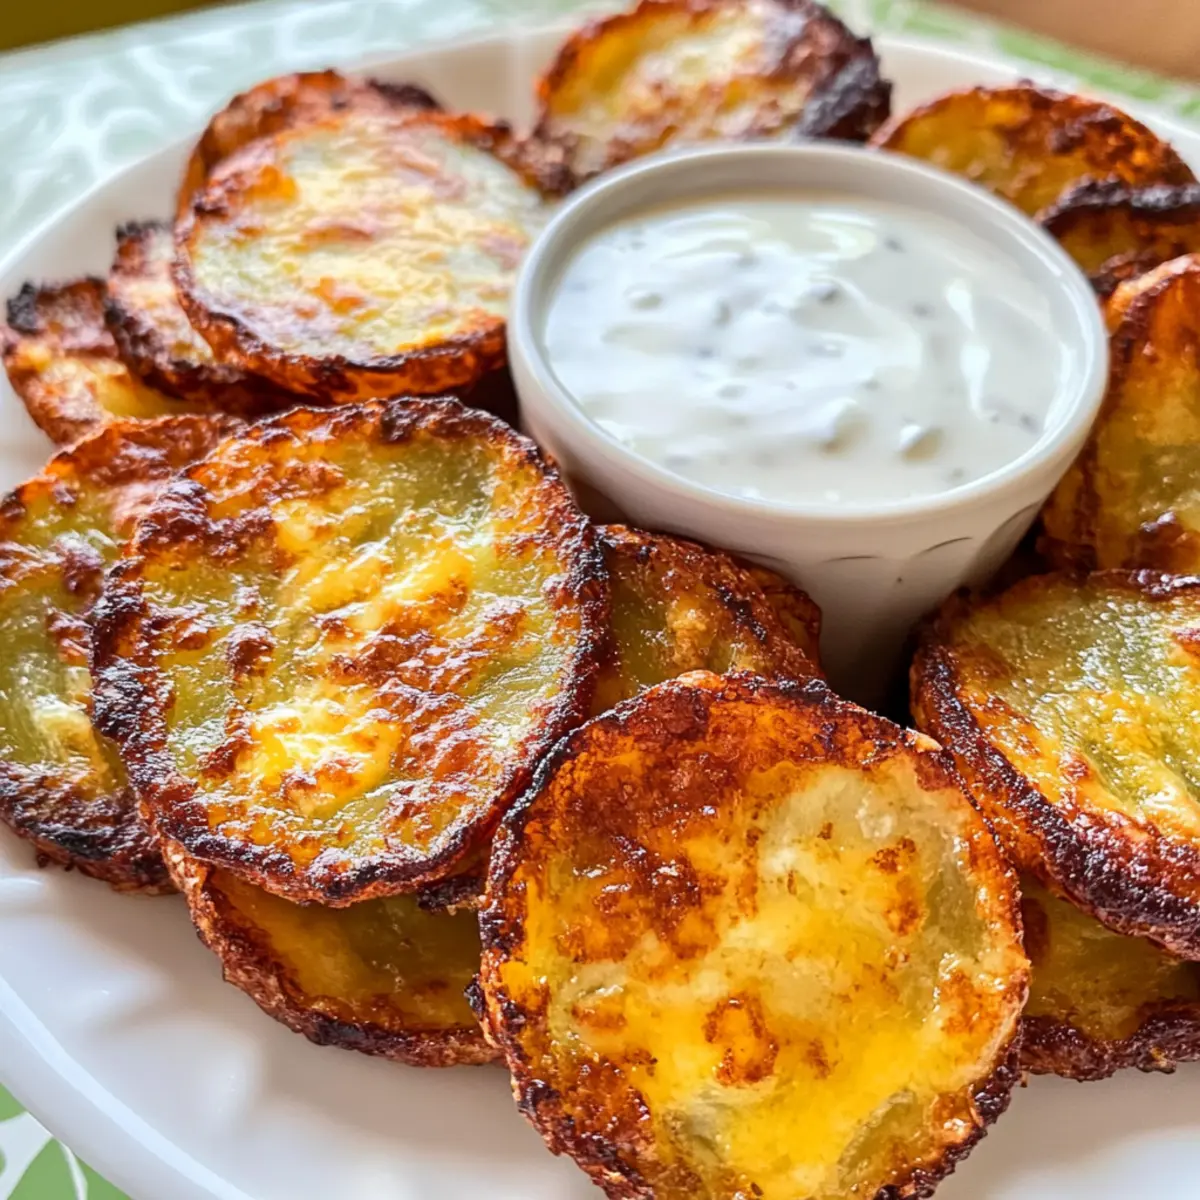
As I stood in my kitchen, the air filled with a delightful crunch, I realized I was onto something special—Crispy Cheesy Dill Pickle Chips! This sensational snack perfectly marries the tangy zest of dill pickles with the gooey goodness of melted cheese, all while being a low-carb hero for your diet. In just 20 minutes and using only three ingredients, you can whip up a delicious treat that’s perfect for game days or a quick afternoon pick-me-up. Not only are these air-fried bites a fantastic way to satisfy cravings with guilt-free indulgence, but they also tempt your taste buds with endless variations. Let’s dive into this playful recipe—what creative twists will you try?
Why Are These Pickle Chips a Must-Try?
Crispy Texture: Each bite offers a delightful crunch, a perfect contrast to the creamy cheese.
Quick to Make: In just 20 minutes, you can enjoy a delicious snack that requires only three ingredients.
Endless Variations: Feel free to experiment with different cheeses like mozzarella or spicy pepper jack for unique twists.
Keto Friendly: These chips fit seamlessly into a low-carb diet, allowing you to indulge guilt-free!
Crowd Pleaser: Perfect for game nights or casual gatherings, they’re sure to impress friends and family alike.
And if you love cheesy flavors, check out our delicious Cheesy Garlic Chicken or enjoy a side of Cucumber Dill Salad with these bites for a refreshing touch!
Crispy Cheesy Dill Pickle Chips Ingredients
• Perfect for your air fryer adventures!
For the Chips
- Shredded Cheese – This adds a rich, gooey texture; consider using Colby Jack or mozzarella for a mild flavor experience.
- Dill Pickle Chips – The star ingredient, providing that delightful tang; feel free to swap for sweet or spicy varieties for a twist!
- Blackening Seasoning – A blend of spices that takes the flavor up a notch; any seasoning you love can enhance the taste even more.
Now that you’re armed with the essentials, let’s make these crispy cheesy dill pickle chips a reality!
Step‑by‑Step Instructions for Crispy Cheesy Dill Pickle Chips
Step 1: Preheat the Oven
Start by preheating your oven to 400°F (200°C). This creates the perfect environment for your Crispy Cheesy Dill Pickle Chips to bake evenly and achieve that golden, bubbly exterior. While the oven heats up, gather all your ingredients and equipment, including a non-stick muffin tin.
Step 2: Prepare the Dill Pickle Chips
To ensure your dill pickle chips achieve maximum crispiness, pat them dry using paper towels. This will help remove excess moisture, allowing the cheese to melt beautifully without becoming soggy. Aim to dry 24-36 pickle chips, depending on your muffin tin size.
Step 3: Grease the Muffin Tin
Lightly grease a 12-cup muffin tin using cooking spray or a small amount of olive oil. This step is essential for preventing your cheesy pickle chips from sticking. If you prefer, you can use parchment liners in each cup for easier cleanup and serving.
Step 4: Add Cheese to the Muffin Cups
Sprinkle a generous pinch of shredded cheese into each greased muffin cup. The cheese forms the base of your Crispy Cheesy Dill Pickle Chips, binding everything together and providing that mouthwatering gooeyness. Aim for a layer that covers the bottom evenly, setting the stage for the pickles.
Step 5: Layer on the Pickles
Carefully position two to three dill pickle chips on top of the cheese in each muffin cup. Make sure the chips overlap slightly without overcrowding the cup, allowing the cheese to surround them as they bake. This layering is crucial for achieving a crispy bite with delicious flavors.
Step 6: Season and Add More Cheese
Sprinkle your choice of blackening seasoning over the layers of pickle chips. This spice blend will add a delightful kick! Then, top the pickles with another layer of shredded cheese, ensuring the pickles are fully covered. This second cheese layer helps achieve that irresistibly crispy finish while melting down beautifully.
Step 7: Bake the Chips
Place the muffin tin in the preheated oven and bake for about 15 minutes, or until the cheese is melty and golden brown. Keep an eye on them as they bake; the visual cue of bubbly cheese will guide you toward perfect doneness. The aroma filling your kitchen will be a sign that something special is happening.
Step 8: Air Fry for Extra Crispiness
For an added crunch, transfer the baked chips to your air fryer and cook at 400°F (200°C) for an additional 5 minutes. This step is optional, but it elevates your Crispy Cheesy Dill Pickle Chips to an entirely new level of deliciousness. When finished, they should be perfectly crispy and ready to serve.
Step 9: Serve Immediately
Once your Crispy Cheesy Dill Pickle Chips are out of the air fryer, let them cool for a minute, then carefully remove them from the muffin tin. Serve these delectable snacks warm, ideally with a side of ranch dressing or your favorite dipping sauce to complement their flavor. Enjoy the delightful crunch and cheesy goodness!
Expert Tips for Crispy Cheesy Dill Pickle Chips
-
Cheese Selection: Choose the right cheese: Opt for a cheese that melts well, like Colby Jack or mozzarella, to achieve gooeyness.
-
Pickle Drying: Don’t skip drying: Pat your dill pickle chips dry thoroughly to prevent excess moisture that can lead to soggy chips.
-
Muffin Tin Prep: Grease well: Ensure your muffin tin is properly greased to avoid sticking; consider using parchment liners for the easiest removal.
-
Layering Technique: Layer wisely: Arrange your pickles without overcrowding to allow the cheese to envelop them for maximum crispiness in your crispy cheesy dill pickle chips.
-
Air Fryer Boost: Final crisp in the air fryer: For an extra crunch, briefly air fry your baked chips; this elevates the texture and flavor beautifully.
-
Watch the Time: Keep an eye on baking: The baking time may vary based on your oven, so monitor until the cheese is bubbly and golden brown for perfect results.
What to Serve with Cheesy Air-Fried Dill Pickle Chips
Elevate your snacking experience with delightful pairings that hit all the right notes of flavor and texture.
-
Creamy Ranch Dip: Perfect for dipping, its coolness complements the warm, cheesy bites for an irresistible contrast.
-
Tangy Coleslaw: The crunch and tang of coleslaw add freshness, balancing the richness of the dill pickle chips beautifully.
-
Spicy Chicken Wings: Pair with some fiery wings to satisfy cravings for something bold and savory on game day!
-
Sweet Potato Fries: Their natural sweetness and fluffy texture offer a delightful contrast to the crispy, cheesy chips, making for a perfect combo.
-
Classic Burgers: Serve alongside juicy burgers for a casual meal that’s bursting with flavor and comfort.
-
Sparkling Lemonade: A refreshing, bubbly drink that cuts through the richness of the cheese while enhancing the joyful vibe of snacking.
Indulging in these flavorful friends not only completes your snack spread but also brings warmth and satisfaction to every bite. Let the mingling of textures and tastes inspire your next gathering!
Make Ahead Options
These Crispy Cheesy Dill Pickle Chips are perfect for meal prep, allowing busy cooks to save time during hectic weekdays! You can prepare the muffin cups filled with cheese and pickle layers and refrigerate them for up to 24 hours before baking. To maintain quality, keep the assembled chips tightly covered to prevent moisture from impacting the crispiness. When you’re ready to indulge, simply bake them for 15 minutes at 400°F as instructed; for an extra crunch, air fry for an additional 5 minutes. This way, you’ll enjoy grilling up a batch of delicious, cheesy bites without the last-minute rush!
How to Store and Freeze Crispy Cheesy Dill Pickle Chips
Room Temperature: Keep any leftover crispy cheesy dill pickle chips at room temperature for up to 1 hour to maintain their crunch before transferring them to the fridge.
Fridge: Store cooled chips in an airtight container for up to 3 days. To preserve their texture, consider placing a paper towel in the container to absorb moisture.
Freezer: For longer storage, freeze the chips in a single layer on a baking sheet. Once frozen, transfer them to an airtight bag for up to 2 months.
Reheating: To restore crispiness, reheat the frozen or refrigerated crispy cheesy dill pickle chips in an air fryer or oven at 400°F (200°C) for about 5-7 minutes.
Variations & Substitutions for Crispy Cheesy Dill Pickle Chips
Feel free to let your creativity shine with these easy swaps and twists for your crispy cheesy dill pickle chips!
-
Dairy-Free: Use cashew cheese or a dairy-free cheese blend for a delectable plant-based option that everyone can enjoy. They melt beautifully and mimic the cheese texture while keeping it vegan-friendly.
-
Spicy Twist: Substitute jalapeño slices for the dill pickles to crank up the heat! The spicy zing will create an exhilarating bite that adds excitement to every crunch.
-
Different Cheese: Experiment with smoked gouda or sharp cheddar for unique flavor profiles. Smoked varieties can elevate the taste, giving your chips a barbecue-like twist that’s sure to impress guests.
-
Sweet Salty Fusion: Swap dill pickles for sweet pickles to create a tasty balance of sweet and salty. This unexpected combination may just become a new favorite for those who love contrasting flavors.
-
Crunchy Toppings: Sprinkle some crushed pork rinds or breadcrumbs over the top before baking for added texture. This will give a delightful crunch that pairs perfectly with the cheesy goodness.
-
Herb Infusion: Add dried herbs like oregano or thyme to your blackening seasoning for an aromatic twist. Fresh herbs elevate the flavor, making these chips vibrant and aromatic!
-
Nuts for Crunch: For an extra crunch, toss in some finely chopped pecans or walnuts with the cheese layer. They not only enhance the texture but also bring a nutty flavor that complements the pickles.
And when you’re contemplating sides to serve alongside these chips, don’t forget to pair them with our delightful Cucumber Dill Salad or grab some Cheesy Thumbprint Appetizers that everyone will love!
Cheesy Air-Fried Dill Pickle Chips Recipe FAQs
How can I choose the best dill pickles for this recipe?
Absolutely! When selecting dill pickles, opt for chips that are firm and have no dark spots to ensure the best texture. Look for pickles labeled as “crispy” at the store or try making your own pickles for a personal touch. If you’re feeling adventurous, spicy or sweet pickles can also create delightful variations in flavor that your taste buds will love!
What’s the best way to store leftover crispy cheesy dill pickle chips?
You can store your cooled crispy cheesy dill pickle chips in an airtight container in the fridge for up to 3 days. To help maintain their crunch, place a paper towel inside the container to absorb moisture. While they’re best enjoyed fresh, enjoying leftovers is still a tasty option!
Can I freeze the cheesy dill pickle chips for later?
Yes! For freezing, first, place the crispy cheesy dill pickle chips in a single layer on a baking sheet and freeze them for about 1 to 2 hours. Once frozen, transfer them into an airtight bag, labeling it with the date. They can be stored for up to 2 months. When you’re ready to enjoy them again, reheat in an air fryer or oven at 400°F for around 5-7 minutes to restore their crispiness.
What should I do if my chips become soggy?
Soggy chips can be a bummer! To avoid this, ensuring your dill pickle chips are patted dry before assembly is crucial. If your chips are already soggy, try reheating them in an air fryer at 400°F for about 5-7 minutes to help crisp them back up. Remember, the drying step is essential for achieving that delicious crunch!
Are these cheesy dill pickle chips suitable for my gluten-free diet?
Very! These cheesy air-fried dill pickle chips are gluten-free, making them a perfect treat for those following a gluten-free diet. Just be sure to check the labels on your cheese and seasoning to confirm they are gluten-free as well. Enjoy without worry!
Can I make these chips dairy-free?
Absolutely! If you’re looking for a dairy-free option, you can use plant-based cheese alternatives that melt well. Just ensure they are gluten-free and suitable for your dietary preferences. It may alter the taste slightly, but you’ll still get that delightful crunch and flavor!
Crispy Cheesy Dill Pickle Chips for Irresistible Snacking Delight
Ingredients
Equipment
Method
- Preheat your oven to 400°F (200°C).
- Pat the dill pickle chips dry with paper towels.
- Grease a 12-cup muffin tin with cooking spray or olive oil.
- Sprinkle shredded cheese into each greased muffin cup.
- Layer two to three dill pickle chips on top of the cheese in each cup.
- Sprinkle blackening seasoning over the pickles and top with more shredded cheese.
- Bake for about 15 minutes, until cheese is melty and golden brown.
- Transfer to an air fryer and cook at 400°F (200°C) for 5 minutes for extra crispiness.
- Let cool for a minute before removing from muffin tin and serve warm.
Leave a Reply