
There’s something almost magical about the first bite of a freshly baked cookie that melts in your mouth. These Sweetened Condensed Milk Snowball Cookies are the perfect embodiment of that sweet dream, inviting you to savor the comforting warmth of the holiday season. With just a handful of simple ingredients, this easy-to-make recipe is not only a crowd-pleaser but also customizable to fit everyone’s taste—whether you’re a chocolate lover or a fan of zesty citrus. Plus, you can easily make them gluten-free to accommodate all your friends and family. Grab your mixing bowl, and let’s create these delightful treats that will fill your home with joy. Which variation will you try first?
Why are Snowball Cookies a Must-Try?
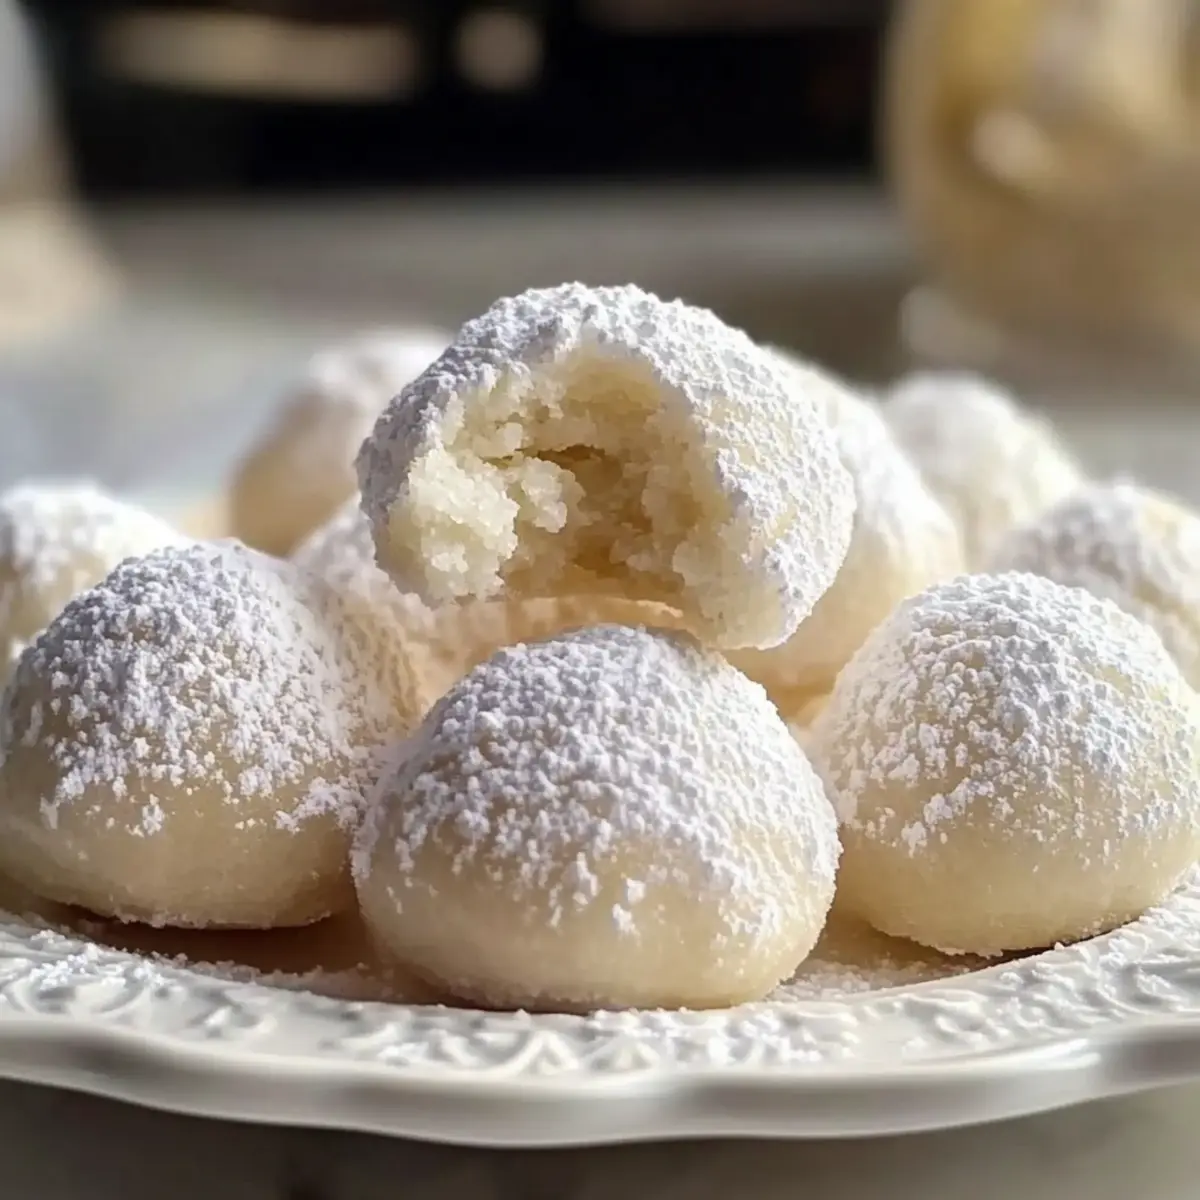
Melt-in-your-mouth texture: These Sweetened Condensed Milk Snowball Cookies are a dreamy, soft delight that disappear in seconds.
Quick and easy: With just a handful of ingredients and simple steps, you can whip up these treats in no time!
Customizable varieties: Whether you prefer the rich indulgence of chocolate or a citrus twist, options abound for personalization. Consider experimenting with variations like Cherry Shortbread Cookies to keep things exciting.
Perfect for gatherings: Their delectable taste and beautiful presentation make them a hit in festive settings.
Gluten-free friendly: Easily swap for a gluten-free blend, ensuring everyone can join in. These cookies are not just treats; they are the heart of your holiday celebrations!
Snowball Cookies Ingredients
For the Dough
- Butter – Provides richness and moisture; use unsalted for better control of salt levels.
- Sweetened Condensed Milk – Adds sweetness and contributes to the cookies’ tender texture; can substitute with evaporated milk mixed with sugar if needed.
- All-Purpose Flour – Forms the structure of the cookies; for a gluten-free version, swap with a gluten-free blend.
- Baking Powder – Provides leavening for a light and airy texture.
For the Coating
- Confectioner’s Sugar – Adds sweetness and a beautiful dusting; granulated sugar can be used as an alternative, though it will give a different texture.
Embrace the simplicity and joy of making these Snowball Cookies that are sure to be a favorite at every holiday gathering!
Step‑by‑Step Instructions for Snowball Cookies
Step 1: Cream the Butter
In a large mixing bowl, beat 1 cup of softened unsalted butter using an electric mixer on medium speed until the mixture is smooth and fluffy, about 2-3 minutes. The consistency should be light and airy, which will help create that melt-in-your-mouth texture in your Snowball Cookies.
Step 2: Combine Ingredients
Gradually add in 1 cup of sweetened condensed milk while continuing to mix at low speed until everything is thoroughly combined, about 1-2 minutes. The batter should be creamy and uniform. This step ensures the sweetness and moisture are evenly distributed throughout your cookie dough.
Step 3: Prepare the Dough
Sift in 2 cups of all-purpose flour along with 1 teaspoon of baking powder into the butter and milk mixture. Mix on low speed until a soft dough forms, usually taking about 2-3 minutes. The dough should be cohesive and slightly sticky to the touch, indicating that it’s ready for shaping.
Step 4: Preheat Oven
Preheat your oven to 350°F (175°C) while allowing the dough to rest. Meanwhile, prepare a baking sheet by lining it with parchment paper. This will prevent your Snowball Cookies from sticking and help them bake evenly.
Step 5: Form Cookies
Using your hands, roll small portions of dough into balls, about 1 inch in diameter, and place them evenly spaced on the prepared baking sheet. You should be able to fit about 12 cookies per tray. This spacing allows for proper baking and ensures they won’t merge into each other while cooking.
Step 6: Bake
Slide the baking sheet into the preheated oven and bake the cookies for 10-12 minutes or until they are lightly golden at the edges. Keep a close eye on them; they should be soft in the center but firm enough to hold their shape.
Step 7: Dust with Sugar
Once baked, remove the Snowball Cookies from the oven and allow them to cool on the baking sheet for 5 minutes. After cooling slightly, dust them generously with confectioner’s sugar, ensuring an even coating. This will create that recognizable festive look and add a delightful sweetness to every bite.
Make Ahead Options
These Sweetened Condensed Milk Snowball Cookies are perfect for meal prep enthusiasts! You can prepare the cookie dough up to 24 hours in advance. Simply mix the dough as instructed, then cover it tightly with plastic wrap or seal it in an airtight container and refrigerate. This helps the flavors meld and also prevents any browning. When you’re ready to bake, just scoop out the dough, roll it into balls, and bake as directed. If you want to make these treats even further ahead, you can freeze the rolled dough for up to 3 months. Just thaw in the refrigerator overnight before baking, and you’ll enjoy fresh, melt-in-your-mouth cookies with minimal effort!
Snowball Cookies Variations & Substitutions
Feel free to personalize your snowball cookie experience with these exciting variations that will tantalize your taste buds!
- Chocolate Snowball: Add 1/4 cup cocoa powder or mix in chocolate chips for a rich twist. For extra indulgence, consider a sprinkling of chocolate shavings on top!
- Nutty Snowball: Fold in 1/2 cup of chopped nuts, like pecans or walnuts, and roll the formed cookies in more nuts before baking for an added crunch.
- Citrus Snowball: Incorporate the zest of one orange or lemon into the dough for a fresh citrus burst. A drizzle of citrus glaze after baking can elevate them even further!
- Coconut Snowball: Mix in 1/2 cup of shredded coconut or roll the cookies in it before baking for a tropical touch that brings warmth and nostalgia.
- Spiced Snowball: Add a teaspoon of your favorite spice, like cinnamon or nutmeg, to the dough for a cozy, warm flavor—perfect for a holiday treat that makes your home smell amazing!
- Pumpkin Snowball: Replace some condensed milk with 1/2 cup pure pumpkin and add a teaspoon of pumpkin spice for a delightful autumnal twist. These cookies are guaranteed to be a seasonal hit!
- Minty Snowball: Stir in 1 teaspoon of peppermint extract for a refreshing, holiday-themed cookie. Pair these with a cup of hot cocoa for the ultimate winter treat.
- Chewy Snowball: For a chewier texture, experiment by using only half the amount of flour and mixing in oats—this adds a delightful heartiness to every bite!
As you explore these tasty alternatives, think about the delicious Mini Sugar Cookies or even some fun Peppermint Swirl Cookies for further inspiration. Enjoy the journey of baking and the joy of sharing, because homemade cookies are practically family traditions in the making!
Storage Tips for Snowball Cookies
- Room Temperature: Keep Snowball Cookies in an airtight container at room temperature for up to 1 week, ensuring they stay fresh and delicious.
- Fridge: For longer storage, refrigerate the cookies in an airtight container for up to 2 weeks; just make sure to keep them well-sealed to prevent drying out.
- Freezer: Freeze Snowball Cookies for up to 3 months; place them in a freezer-safe container or bag. Thaw them before serving for the best taste and texture.
- Reheating: If desired, warm the cookies in the oven at a low temperature (around 300°F or 150°C) for a few minutes to regain their soft, melt-in-your-mouth quality.
Expert Tips for Snowball Cookies
• Chill the Dough: If your cookies spread too much during baking, chill the dough for 30 minutes before forming them into balls.
• Perfectly Softened Butter: Make sure your butter is at room temperature; this creates the airy texture that makes your Snowball Cookies melt in your mouth.
• Cooling Before Dusting: Allow your cookies to cool on the baking sheet for a few minutes before dusting with confectioner’s sugar to prevent it from melting into the warm cookies.
• Mix-in Caution: Get creative with add-ins, but stick to a maximum of ½ cup of extra ingredients to maintain the intended texture of your Snowball Cookies.
• Flavor Variations: Don’t hesitate to experiment! Adding spices or zest can personalize your cookies and make each batch uniquely delightful.
What to Serve with Sweetened Condensed Milk Snowball Cookies
Indulge in a delightful meal experience that perfectly complements the sweet, melt-in-your-mouth bliss of these cookies.
-
Creamy Hot Chocolate: The rich, velvety flavor of hot chocolate enhances the sweetness of the cookies, creating a cozy pairing perfect for chilly evenings.
-
Vanilla Ice Cream: A scoop of creamy vanilla ice cream creates a lovely contrast in temperature and texture, making bites feel indulgently decadent.
-
Spiced Apple Cider: Warm spiced apple cider brings festive notes that harmonize beautifully with the cookie’s delicate sweetness, evoking holiday cheer.
-
Festive Fruit Salad: A bright fruit salad with citrus and berries offers refreshing brightness against the cookies’ richness, balancing flavors delightfully.
-
Coffee or Espresso: The boldness of a freshly brewed cup of coffee or espresso provides a delightful counterpoint, enhancing your snack time experience.
-
Chocolate Dipped Strawberries: These sweet, juicy treats pair perfectly with the sweetened cookies, adding a romantic twist to your gatherings—ideal for celebrations!
Each of these pairings enhances the overall taste experience while creating a warm, inviting atmosphere perfect for sharing with loved ones.
Snowball Cookies Recipe FAQs
How do I select the best sweetened condensed milk for my Snowball Cookies?
Absolutely! Look for a brand that has a creamy texture and rich flavor. Check the expiration date to ensure freshness, and if possible, choose a can that doesn’t show any dents or leaks, as this can affect the quality of the milk.
What is the best way to store my Snowball Cookies?
To keep your Snowball Cookies fresh, store them in an airtight container at room temperature for up to 1 week. If you want them to last longer, refrigerate them for up to 2 weeks, ensuring the container is properly sealed to prevent dryness.
Can I freeze Snowball Cookies, and how do I do it properly?
Yes, you can freeze your Snowball Cookies for up to 3 months! First, allow them to cool completely. Then, place them in a single layer in a freezer-safe container with parchment paper in between layers to prevent sticking. When you’re ready to enjoy them, simply thaw at room temperature before serving—no need to bake again!
What should I do if my Snowball Cookies spread during baking?
Very! If you notice the cookies spreading too much, it could be due to the butter being too warm. I recommend chilling the dough for 30 minutes before rolling them into balls. This will help the cookies hold their shape during baking and maintain that delightful melt-in-your-mouth texture.
Can Snowball Cookies be made gluten-free?
Absolutely! You can easily make this recipe gluten-free by substituting the all-purpose flour with a gluten-free flour blend. Ensure that the blend you use is suitable for baking to achieve the same delightful texture and structure. Enjoy cookies that everyone can savor!
Are there any dietary restrictions I should consider when making Snowball Cookies?
It’s wise to consider allergies since these cookies contain dairy and gluten. For vegan options, you can replace the butter with coconut oil or vegan butter and use a plant-based sweetened condensed milk alternative. Always check ingredient labels to ensure your mix-ins align with the dietary needs of your guests!
Delicious Snowball Cookies - Melt-in-Your-Mouth Bliss
Ingredients
Equipment
Method
- Cream the unsalted butter using an electric mixer on medium speed until smooth and fluffy, about 2-3 minutes.

- Gradually add in sweetened condensed milk while continuing to mix at low speed until well combined, about 1-2 minutes.
- Sift in all-purpose flour and baking powder, mixing on low speed until a soft, cohesive dough forms, about 2-3 minutes.
- Preheat your oven to 350°F (175°C) and line a baking sheet with parchment paper.
- Roll small portions of dough into balls (about 1 inch in diameter) and place on the prepared baking sheet, spacing evenly.
- Bake the cookies for 10-12 minutes or until lightly golden at the edges; they should be soft in the center.
- Let the cookies cool on the baking sheet for 5 minutes before dusting them with confectioner’s sugar.
Leave a Reply