
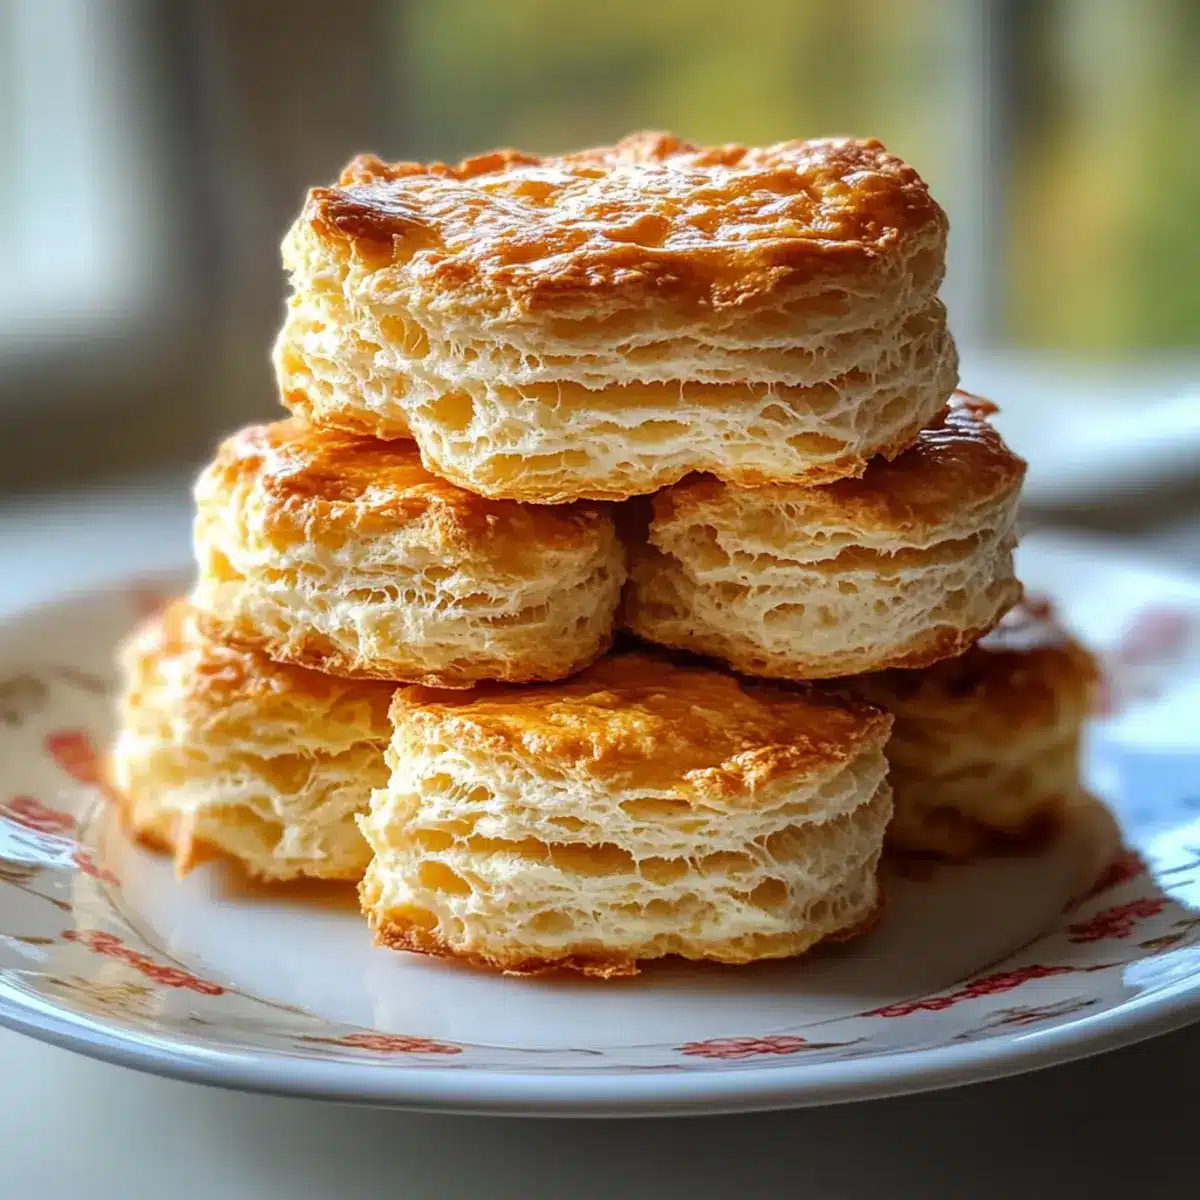
As I stood in my kitchen, the aroma of fresh baking wafted through the air, conjuring memories of family breakfasts crowded around the table. Today, I’m thrilled to share my recipe for Fluffy Gluten-Free Biscuits, a delightful way to bring warmth and comfort back into your home. Made with just five simple ingredients, these biscuits are not only incredibly easy to whip up but also a fantastic option for anyone looking to enjoy soft, fluffy baked goods without gluten. Whether you serve them alongside your favorite soup or pile them high with toppings for a hearty breakfast sandwich, they promise to impress everyone, from the gluten-sensitive to the enthusiastic eater. Are you ready to elevate your baking game? Let’s dive in!
Why Are These Biscuits So Irresistible?
Quick, effortless baking: With only five ingredients, these gluten-free biscuits can be whipped up in no time, making them perfect for busy mornings or last-minute gatherings. Fluffy and airy: Each bite delivers a light, fluffy texture, resembling traditional biscuits but without the gluten. Versatile flavors: Experiment with various add-ins like cheese or herbs to create a unique twist every time. Crowd-pleasing: Perfectly suited for any audience, these biscuits will impress both gluten-sensitive and gluten-loving friends alike. Whether served warm with soup or as a breakfast sandwich base, they’re sure to be a hit! If you want to make ahead, check out the storage tips to keep them fresh!
Fluffy Gluten-Free Biscuits Ingredients
• Here’s everything you need for irresistible fluffy gluten-free biscuits!
For the Dough
- Gluten-Free Flour – Provides the right texture and structure; opt for a blend that includes xanthan gum for the best results.
- Cold Butter – Essential for flakiness; ensure it’s cold to maintain layers, or use vegan butter for a dairy-free treat.
- Baking Powder – A crucial leavening agent; make sure it’s fresh for maximum rise and fluffiness in your gluten-free biscuits.
- Salt – Balances the flavors; an integral ingredient that enhances taste, so don’t skip it!
- Milk – Hydrates the dough; use cold milk or any non-dairy milk for a creamy texture without gluten.
Step‑by‑Step Instructions for Fluffy Gluten-Free Biscuits
Step 1: Preheat the Oven
Begin by preheating your oven to 425°F (220°C). This crucial step helps create that delightful golden crust on your Fluffy Gluten-Free Biscuits. While the oven heats, gather your baking equipment, including a mixing bowl and a baking sheet lined with parchment paper, ensuring you’re ready for the next steps.
Step 2: Prepare the Dry Ingredients
In a large mixing bowl, combine your gluten-free flour, baking powder, and salt. Use a whisk to blend these dry ingredients thoroughly, ensuring an even distribution, which is key for proper rising. As you mix, visualize the light, fluffy texture you’re aiming for in your biscuits, and let that encourage you as you work.
Step 3: Incorporate the Cold Butter
Next, take your cold butter and cut it into the dry mixture using a pastry cutter or your fingertips. Aim for a crumbly texture that resembles coarse sand. This step is vital for achieving the flaky layers in your Fluffy Gluten-Free Biscuits, so keep the butter cold and don’t rush this process.
Step 4: Mix in the Milk
Now, add your cold milk to the mixture, stirring gently until just combined. Be cautious not to overmix, as that could lead to dense biscuits. You should see a cohesive dough forming; it may be slightly sticky, which is okay. This step is where the magic begins, turning your dry ingredients into a delightful dough.
Step 5: Shape the Biscuits
Turn the dough onto a floured surface, gently patting it down to about 1-inch thickness. Use a sharp knife or biscuit cutter to cut the dough into your desired shapes, such as squares or triangles. Handle the dough with care to maintain its fluffy integrity, and see how every cut holds the potential for a perfectly baked biscuit.
Step 6: Bake the Biscuits
Place your shaped biscuits on the prepared baking sheet, ensuring they have some space between them for air circulation. Bake in your preheated oven for 10-15 minutes, or until they turn golden brown on top. Keep an eye on them, as the aroma will signal they’re nearing doneness, promising warmth and flavor.
Step 7: Cool Slightly Before Serving
After baking, remove the Fluffy Gluten-Free Biscuits from the oven and allow them to cool on the baking sheet for a few minutes. This brief cooling period enhances their texture and makes them easier to handle. Once slightly cooled, they’re ready to be served, showcasing that lovely golden crust and fluffy interior you’ve worked to achieve.
Fluffy Gluten-Free Biscuits Variations
Feel free to make these biscuits your own with some exciting variations that will enchant your taste buds and elevate your baking experience!
-
Cheesy Delight: Add a cup of shredded cheddar cheese to the dough for a savory twist. The melted cheese brings a delightful richness, making breakfast or brunch absolutely irresistible!
-
Herb-Infused: Sprinkle in a tablespoon of fresh chopped herbs like rosemary or thyme. The aromatic flavors will transform your biscuits into a fragrant delight, perfect for serving alongside soups or salads.
-
Sweet Touch: Stir in a couple of tablespoons of honey to the dough for a hint of sweetness. This touch is especially lovely for breakfast or tea time, paired with jam or butter.
-
Spicy Kick: For a heat boost, add chopped jalapeños or a pinch of cayenne pepper. This twist will wake up your taste buds, making your biscuits an exciting addition to any meal!
-
Nutty Addition: Mix in finely chopped walnuts or pecans for added texture and flavor. The nuts not only add a satisfying crunch but also provide healthy fats, enhancing the overall nutrition of your biscuits.
-
Cocoa Beauties: For a unique flavor twist, try adding cocoa powder and chocolate chips for a sweet treat. These chocolatey biscuits are a fun way to enjoy a dessert-style biscuit that no one will suspect is gluten-free!
-
Dairy-Free Option: Substitute the cold butter with vegan butter and use almond or oat milk instead. This way, you can cater to a dairy-free lifestyle while keeping the biscuits fluffy and delightful.
-
Zesty Lemon: Incorporate a teaspoon of lemon zest into the dough for a fresh and citrusy flavor. The bright notes of lemon will bring a lightness that pairs beautifully with a variety of dishes from breakfast to dinner.
Whichever variation you choose, these fluffy gluten-free biscuits will be a treasured addition to your recipe arsenal, so don’t hesitate to experiment! For more delicious ideas, check out my tips for serving up something memorable on your dining table.
Make Ahead Options
These Fluffy Gluten-Free Biscuits are perfect for meal prep enthusiasts! You can prepare the dough up to 24 hours ahead of time by mixing the dry ingredients and cutting in the cold butter. Just wrap the bowl tightly with plastic wrap and refrigerate. When you’re ready to bake, simply stir in the cold milk, shape the biscuits, and bake them directly from the fridge, adding a couple of extra minutes to the baking time if necessary. For even longer storage, consider shaping the dough into biscuits and freezing them for up to 3 months. When baking from frozen, no need to thaw—just add an extra few minutes in the oven for those same fluffy results that are just as delicious. Enjoy the benefits of quick and easy baking any day of the week!
What to Serve with Fluffy Gluten-Free Biscuits
These delightful biscuits are the perfect starting point for a comforting, satisfying meal that everyone will love.
- Savory Sausage Gravy: This rich, creamy gravy pairs beautifully, soaking into the biscuits to create a hearty breakfast that warms the soul.
- Fresh Garden Salad: A light, crisp salad adds a refreshing, crunchy contrast to the fluffy gluten-free biscuits, making them feel lighter and brighter on your plate.
- Creamy Butternut Squash Soup: The sweetness and warmth of this creamy soup complements the buttery biscuits perfectly, offering a cozy dining experience.
- Egg and Cheese Sandwich: Stack a fluffy biscuit with scrambled eggs and cheese for a satisfying breakfast sandwich that everyone will enjoy.
- Crispy Bacon: The smoky, salty flavor of bacon adds a delightful crunch and pairs wonderfully with the fluffy, buttery texture of the biscuits.
- Fruit Preserves: A smear of homemade fruit preserves, like strawberry or raspberry, adds sweetness that contrasts beautifully with the biscuit’s savory notes.
- Hot Tea or Coffee: Serve with a warm cup of tea or coffee to enhance the sensory experience. Their warmth will complement the biscuit’s fluffy bliss, making breakfast truly special!
Storage Tips for Fluffy Gluten-Free Biscuits
Room Temperature: Store leftover biscuits in an airtight container at room temperature for up to 3 days to maintain their delicious texture and flavor.
Fridge: If you’ve made them ahead, keep the biscuits in the fridge for up to a week. Reheat them gently in the oven to restore their fluffiness before serving.
Freezer: For long-term storage, freeze the shaped dough for up to 3 months. Bake directly from the freezer, adding a few extra minutes to the baking time, and enjoy fresh Fluffy Gluten-Free Biscuits whenever you crave!
Reheating: To reheat, place the biscuits in a preheated oven at 350°F (175°C) for about 5-7 minutes. This will help restore that soft, fluffy texture!
Expert Tips for Fluffy Gluten-Free Biscuits
- Ingredient Temperature: Keep all your ingredients, especially the butter and milk, very cold. This helps achieve maximum fluffiness in your biscuits.
- Mixing Technique: Avoid overmixing the dough! Stir just until combined to prevent dense biscuits. A gentle touch is key to fluffy results.
- Correct Baking Powder: Always check the freshness of your baking powder; expired powder can lead to flat biscuits. Freshness is essential for rising!
- Shaping Wisely: When shaping, handle the dough minimally to retain air pockets, contributing to biscuit lightness. Aim for gentle pats instead of rolling.
- Experiment with Flavors: Don’t hesitate to add your favorite flavors, like cheddar or herbs, to these fluffy gluten-free biscuits. Personalize them to suit your taste!

Fluffy Gluten-Free Biscuits Recipe FAQs
What type of gluten-free flour should I use?
I recommend using a gluten-free all-purpose blend that contains xanthan gum. This ensures that your biscuits have the right structure and texture. Look for a blend that’s specifically designed for baking, as it will give you the best results.
How should I store leftover biscuits?
To keep your Fluffy Gluten-Free Biscuits fresh, store them in an airtight container at room temperature for up to 3 days. If you want to keep them longer, place them in the fridge for up to a week. Just remember to reheat them gently in the oven to restore that airy fluffiness before you enjoy!
Can I freeze the biscuit dough?
Absolutely! You can freeze the shaped dough for up to 3 months. Just shape the biscuits as instructed, then place them on a baking sheet to freeze individually before transferring them to an airtight container or freezer bag. When you’re ready to bake, preheat your oven and bake directly from the freezer, adding a few extra minutes to the baking time.
What if my biscuits turn out dense?
If your biscuits come out dense, it may be due to overmixing the dough or not using fresh baking powder. Always mix the ingredients just until combined and check the expiration date on your baking powder before starting. Aim for a crumbly texture when cutting in the butter, and handle the dough gently.
Are these biscuits suitable for people with dairy allergies?
Yes! You can easily make these Fluffy Gluten-Free Biscuits dairy-free by substituting cold butter with vegan butter and using any non-dairy milk. Just ensure that all other ingredients, like your flour and baking powder, are also dairy-free to keep your recipe safe for those with dairy allergies.
Fluffy Gluten-Free Biscuits That Everyone Will Love
Ingredients
Equipment
Method
- Preheat your oven to 425°F (220°C). Gather your mixing bowl and baking sheet lined with parchment paper.
- In a large mixing bowl, combine gluten-free flour, baking powder, and salt. Whisk together well.
- Cut the cold butter into the dry mixture using a pastry cutter until crumbly.
- Stir in the cold milk gently until just combined to form a cohesive dough.
- Turn the dough onto a floured surface, pat it down to about 1-inch thickness, and cut into shapes.
- Place shaped biscuits on the baking sheet and bake for 10-15 minutes until golden brown.
- Allow biscuits to cool on the baking sheet for a few minutes before serving.
Leave a Reply