
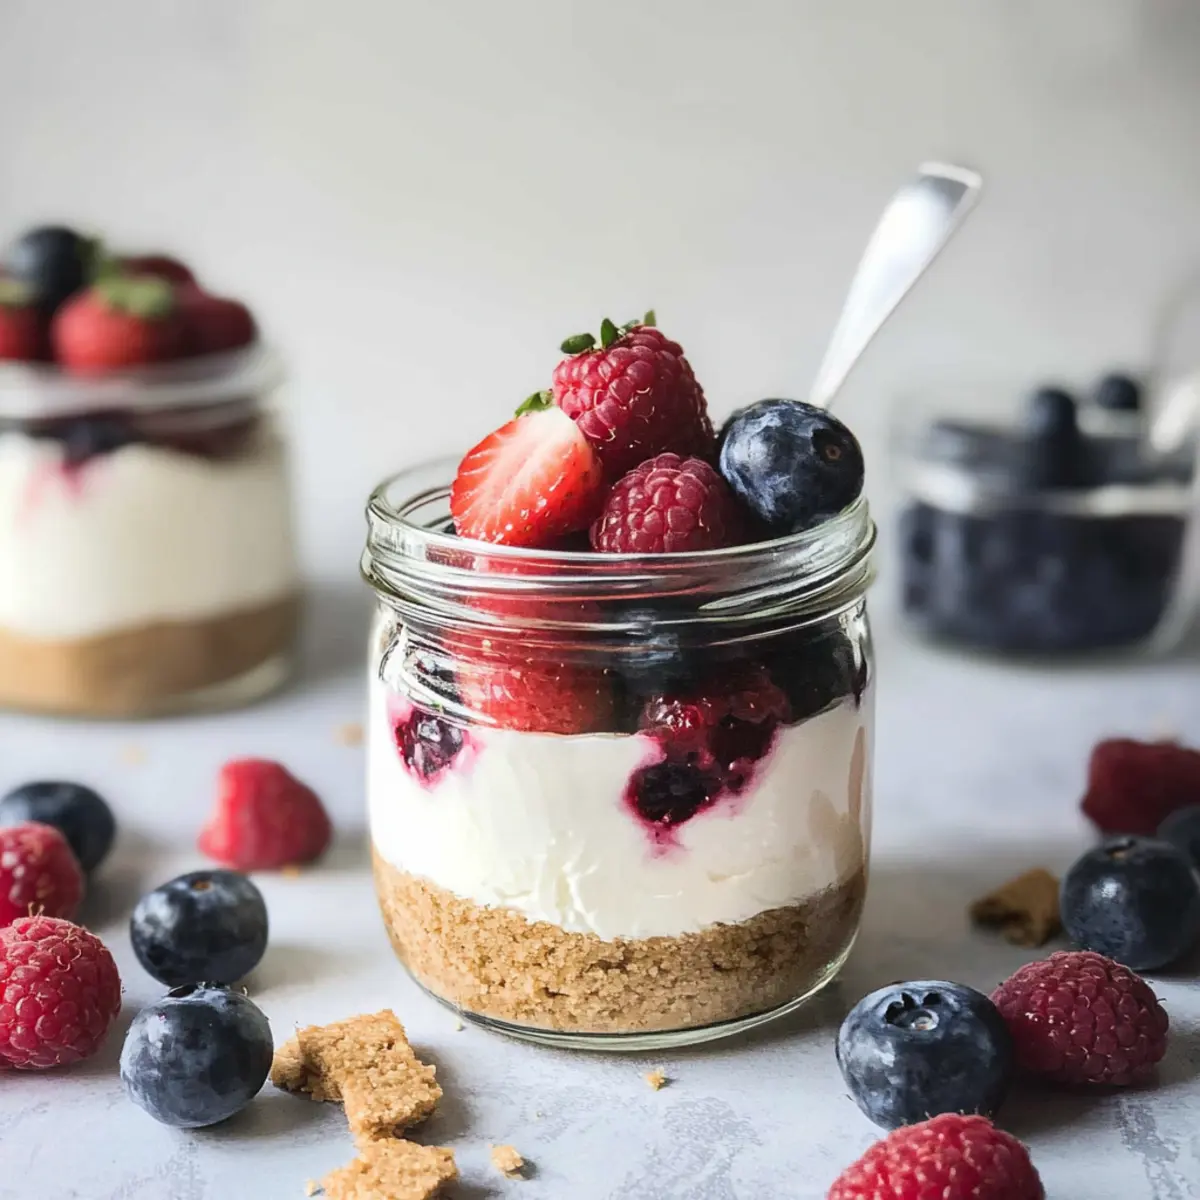
On a hot summer day, nothing beats a cool, creamy dessert that requires minimal effort. That’s why I’m absolutely in love with these No-Bake Cheesecake Jars! They’re a perfect mix of luscious cream cheese and Greek yogurt, offering a lighter take on the classic cheesecake without sacrificing flavor. And the best part? You can whip them up in just 20 minutes! Topped with vibrant, fresh berries, these jars make for a stunning visual treat that’s sure to impress friends and family alike. Whether you’re hosting a garden party or just need a quick sweet fix, these gluten-free delights have got you covered. Curious about how to make this easy dessert your new summer go-to? Let’s dive into the recipe!
Why Are These Cheesecake Jars a Must-Try?
Indulgence with Ease: These No-Bake Cheesecake Jars come together in just 20 minutes, making dessert simple and stress-free.
Gluten-Free Delight: By using gluten-free graham crackers, everyone can enjoy this creamy treat without worry.
Visual Appeal: With layers of fresh berries, these jars not only taste amazing but look stunning for any gathering.
Light Yet Creamy: The combination of cream cheese and Greek yogurt keeps it rich without the heaviness of traditional cheesecake.
Versatile Toppings: Feel free to mix it up with different fruits or even a drizzle of chocolate for added flair, similar to ideas you’ll find in our Baked Yogurt Berries recipe!
These jars are the perfect way to refresh your dessert game this summer.
No Bake Cheesecake Jars Ingredients
For the Crust
- Graham Cracker Crumbs – Provides the base for the cheesecake; use gluten-free graham crackers to keep the dessert gluten-free.
- Softened Butter or Ghee – Binds the crust together and adds richness; substitute with coconut oil for a dairy-free option.
For the Cheesecake Filling
- Cream Cheese – The main ingredient, giving the cheesecake its creamy texture; use low-fat options for a lighter dessert.
- Granulated Sugar – Sweetens the mixture; adjust based on yogurt sweetness and use less if using sweetened yogurt.
- Greek Yogurt or Skyr – Adds a tangy flavor and extra creaminess; can be substituted with dairy-free yogurt for a vegan option.
- Vanilla Extract – Enhances the flavor of the cheesecake; consider using almond extract for a different taste.
- Lemon Juice – Brightens the mixture and balances sweetness; use instant lemon juice if fresh is unavailable.
For the Topping
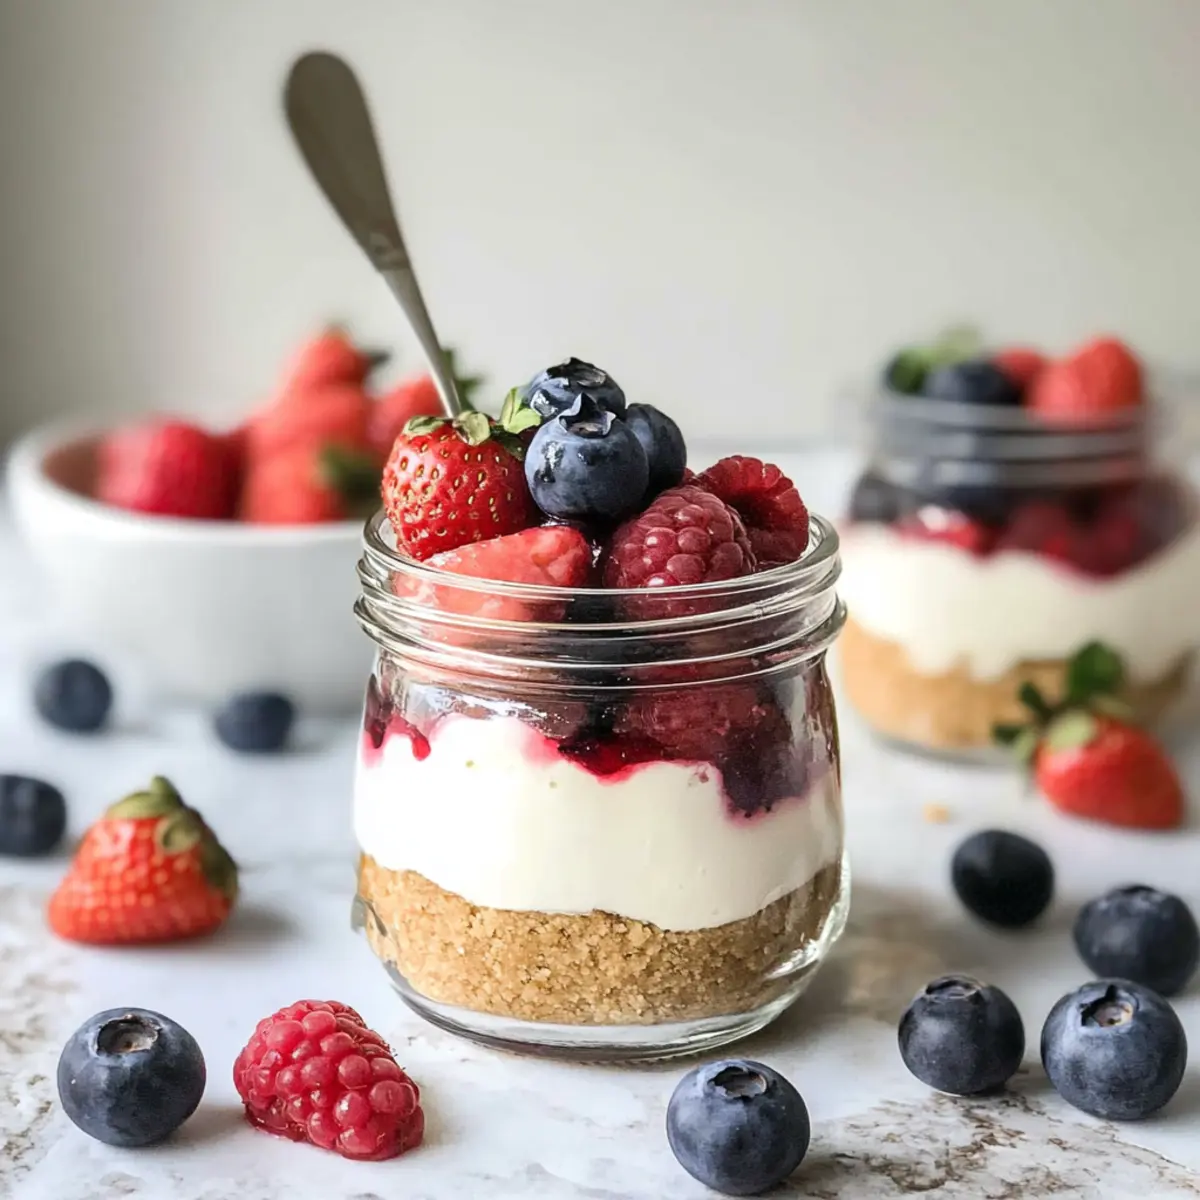
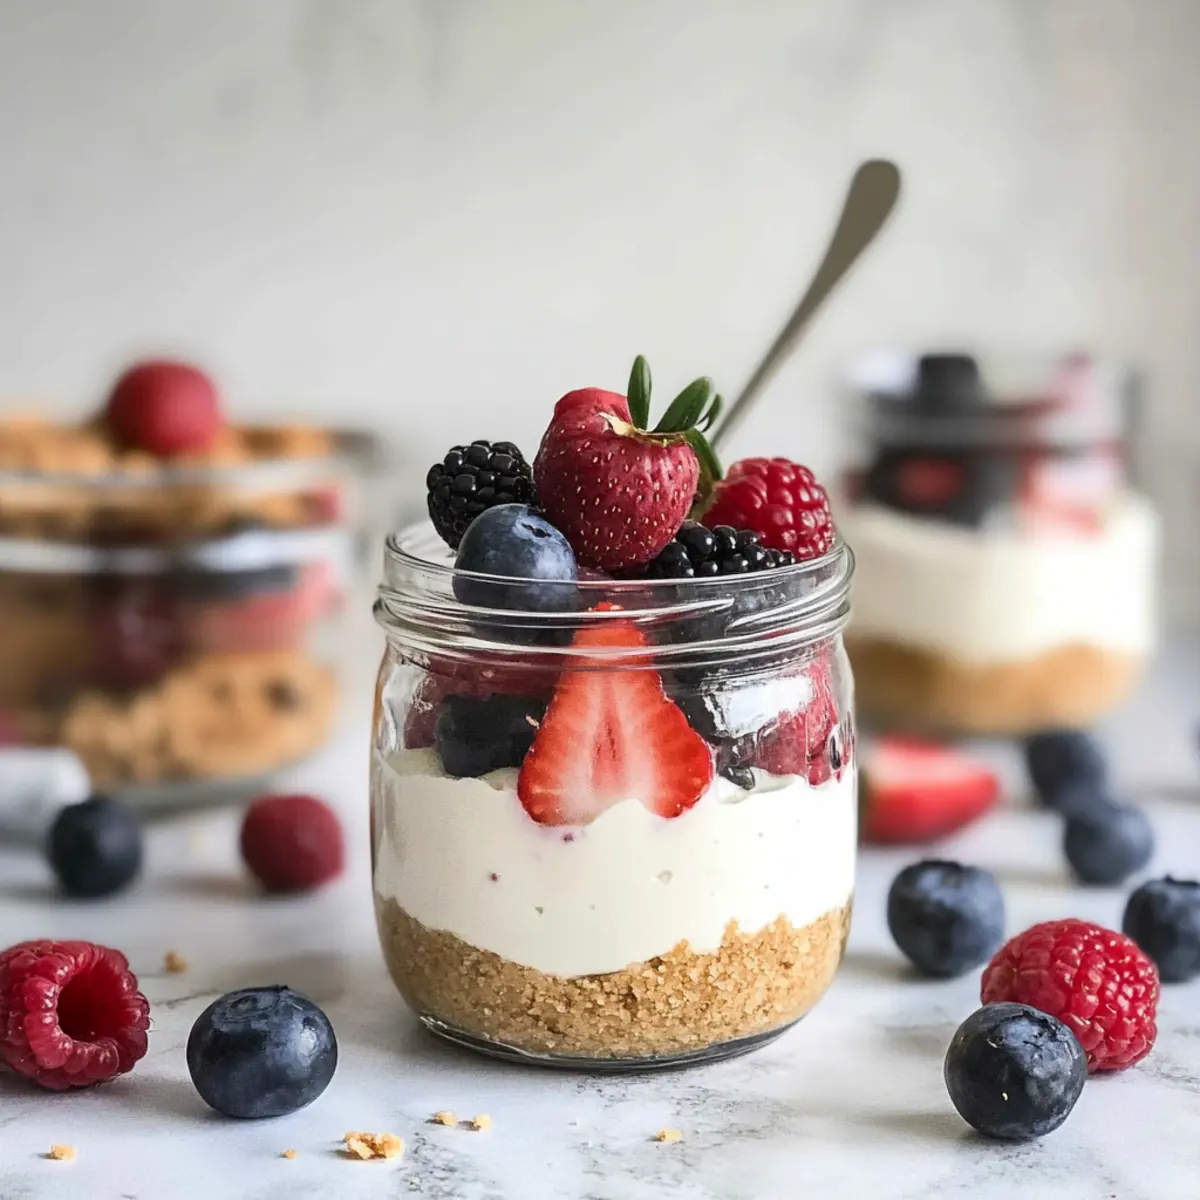
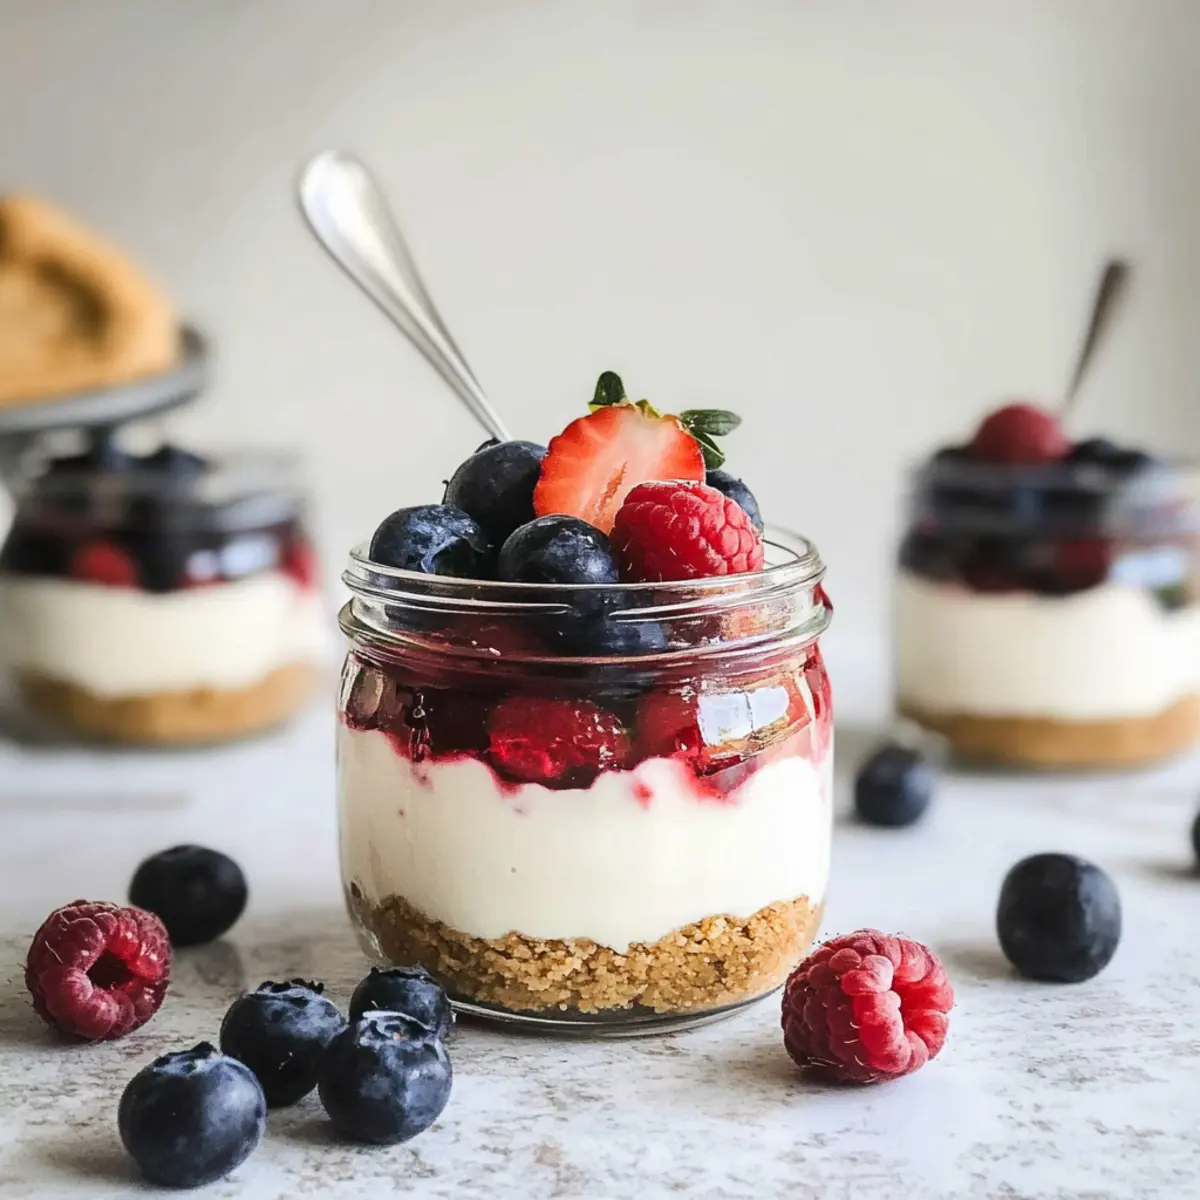
- Fresh Berries – Topping that adds a refreshing bite and color; chopped strawberries, blueberries, and raspberries can be used interchangeably.
Step‑by‑Step Instructions for No Bake Cheesecake Jars
Step 1: Make the crust
Using a food processor, pulse gluten-free graham crackers until they turn into fine crumbs. Combine the crumbs with melted butter in a mixing bowl until the mixture resembles wet sand. This will create a deliciously crumbly base for your No Bake Cheesecake Jars.
Step 2: Assemble the crust
Distribute about 1.5 tablespoons of the crust mixture into the bottom of each jar. Firmly press down the crust with the back of a spoon to ensure it holds together nicely. You want a solid layer that will support the creamy filling and provide that delightful crunch.
Step 3: Prepare the cheesecake filling
In a mixing bowl, beat softened cream cheese and granulated sugar with an electric mixer until the mixture is light and fluffy, achieving a creamy texture. Gradually incorporate Greek yogurt, vanilla extract, and lemon juice, mixing until the filling is smooth and thick, perfect for folding into your jars.
Step 4: Fill the jars
Spoon 3-4 tablespoons of the cheesecake mixture into each jar, layering on top of the crust. Use a spatula to smooth the top for an even finish. This will create the luscious, creamy center component of your No Bake Cheesecake Jars, setting the stage for the final touch.
Step 5: Chill
Allow the jars to stand at room temperature for a few minutes, then place them in the refrigerator to chill for at least 30 minutes. Chilling helps enhance the flavors and sets the filling to a perfect consistency, making each bite a creamy delight topped with vibrant berries.
Expert Tips for No Bake Cheesecake Jars
-
Sweetness Check: Always taste the cheesecake filling before serving; this helps you avoid under- or overpowering sweetness, especially if using sweetened yogurt.
-
Chill Time Is Key: Allow the jars to chill for at least 30 minutes to let flavors meld beautifully and set the filling to a creamy texture.
-
Jar Sizes Matter: Use smaller jars for individual servings or larger ones for sharing. It’s a fun way to present your No Bake Cheesecake Jars!
-
Berry Bliss: Experiment with your choice of fresh berries. Just like the vibrant colors, each variety adds a unique flavor profile!
-
Avoid Overmixing: When combining ingredients for the filling, mix just until smooth to prevent it from becoming too airy, ensuring that rich cheesecake texture.
No Bake Cheesecake Jars Variations
Ready to put your personal touch on these delightful No-Bake Cheesecake Jars? Let your creativity shine as you explore these fun variations!
-
Berry Medley: Swap in your favorite seasonal fruits like peaches or cherries for a unique flavor twist. The vibrant colors will make your jars irresistibly appealing!
-
Nutty Crust: Use crushed nuts like almonds or walnuts instead of graham crackers for a more textured, gluten-free base. This adds a delightful crunch and rich flavor to your dessert.
-
Chocolate Lover’s Delight: Mix in cocoa powder into the cheesecake filling or layer some chocolate ganache on top for a decadent chocolate version. It’s the perfect treat for chocoholics!
-
Tropical Escape: Incorporate canned coconut milk into the filling for a tropical vibe, then top with diced pineapple and shredded coconut to transport your taste buds to paradise.
-
Zesty Lemon: Add extra lemon zest to the filling for a bright, citrusy flavor burst. It will create a refreshing take that’s perfect for summer gatherings!
-
Vegan Option: Replace cream cheese and yogurt with a blend of silken tofu and coconut cream for a beautifully creamy, dairy-free treat. You won’t miss the dairy one bit!
-
Layer with Compote: Add a layer of your favorite fruit preserves or a homemade berry compote between the cheesecake and crust layers to elevate your jars. The sweetness complements the tang perfectly.
-
Spicy Kick: For those who like a little heat, introduce a pinch of cayenne pepper or chili powder into the crust for an unexpected flavor twist that will surprise your guests!
These variations make it easy to adapt the recipe to your taste, so feel free to mix and match ideas. For more delicious dessert inspirations, check out our lovely Mini Baked Potatoes or the warm, gooey Baked Cranberry Brie. Enjoy creating your own spin on these easy-to-make cheesecake jars!
Make Ahead Options
These No-Bake Cheesecake Jars are a fantastic option for meal prep enthusiasts! You can prepare the crust (graham cracker crumbs mixed with melted butter) and filling (cream cheese, yogurt, sugar, and flavorings) up to 24 hours in advance. Just store the crust in an airtight container at room temperature, and keep the filling tightly covered in the fridge to maintain its creamy texture. When you’re ready to serve, simply layer the cheesecake filling into the jars atop the crust, add your fresh berries, and allow them to chill for at least 30 minutes before enjoying. This method allows you to save time and still enjoy delicious dessert that’s just as delightful as when freshly made!
How to Store and Freeze No-Bake Cheesecake Jars
Fridge: Keep your No-Bake Cheesecake Jars covered in the refrigerator for up to 4 days. This ensures they remain fresh and creamy for enjoying.
Freezer: If you want to freeze them, wrap each jar tightly with plastic wrap and then aluminum foil. They can last up to 3 months in the freezer.
Thawing: When ready to enjoy, transfer the jars to the fridge 6-8 hours before serving to allow them to thaw slowly while maintaining texture.
Serving: Serve chilled for the best flavor and creaminess. If desired, add fresh berries just before serving for maximum freshness and color.
What to Serve with No-Bake Cheesecake Jars
Elevate your dessert experience by pairing these jars with delightful sides and treats that add variety and flavor.
- Fresh Fruit Salad: A colorful medley of seasonal fruits balances the creamy cheesecake, adding lightness and a refreshing crunch.
- Chocolate-Dipped Strawberries: Combining a bit of decadence with the lightness of the cheesecake, these treats offer a delicious contrast in flavor and texture.
- Mini Graham Cracker Cups: For those who prefer a more classic feel, serve these jars with extra graham cracker cups for delightful scooping and crunch.
- Iced Tea or Lemonade: A glass of chilled tea or lemonade helps cleanse the palate and complements the rich flavors of the cheesecake, refreshingly.
- Whipped Cream: A dollop of freshly whipped cream adds an airy element that enhances the cheesecake’s smooth texture while offering a familiar topping.
- Chilled Rose or Sparkling Wine: For a touch of sophistication, pair these jars with a light, fruity wine that echoes the sweet notes of the berries.
- Vanilla Ice Cream: A scoop of vanilla ice cream on the side brings a cool, creamy finish to the dessert, making it extra indulgent.
- Toasted Coconut Flakes: These add a pleasant crunch and nutty flavor, working beautifully alongside the creamy and fruity layers of the cheesecakes.
- Homemade Berry Sauce: Drizzle a sweet berry sauce over the jars to enhance the flavors and offer an additional sweetness that ties everything together.
- Chocolate Mousse: For a more indulgent experience, serve a small cup of airy chocolate mousse alongside for a rich contrast to the No-Bake Cheesecake Jars.
No-Bake Cheesecake Jars Recipe FAQs
How do I choose the right berries for my cheesecake jars?
Absolutely! When selecting berries, look for ones that are vibrant, plump, and free from dark spots or mushy areas. Fresh strawberries, blueberries, and raspberries work wonderfully. Avoid ones that are too soft or have signs of mold to ensure your dessert is as fresh and tasty as possible.
What’s the best way to store these cheesecake jars?
To keep your No-Bake Cheesecake Jars fresh, cover them tightly with plastic wrap or place them in an airtight container in the refrigerator. They can last up to 4 days, allowing you to prepare them in advance and enjoy this delightful dessert over a few days.
Can I freeze No-Bake Cheesecake Jars for later?
Definitely! To freeze, wrap each jar well in plastic wrap and then cover with aluminum foil for extra protection. They can be stored in the freezer for up to 3 months. Just remember to transfer them to the fridge 6-8 hours before serving for gentle thawing, which helps maintain that smooth consistency.
What should I do if my cheesecake filling is too runny?
Very! If your filling turns out too runny, try chilling it longer to help it set. Alternatively, you can mix in more cream cheese or Greek yogurt to thicken the mixture. Always mix just until combined to avoid air bubbles, which can affect the firmness of your filling.
Are these cheesecake jars suitable for people with dietary restrictions?
Absolutely! By using gluten-free graham crackers and dairy-free yogurt, you can easily make these jars suitable for various dietary needs. Just ensure to check packaging for allergens, especially if serving to guests who may have food sensitivities. To keep these jars vegan, substitute honey with maple syrup or agave nectar instead of sugar.
How do I enhance the flavor of my cheesecake jars?
You can infuse your cheesecake filling with different flavors! Consider adding a splash of almond extract instead of vanilla for a delicious twist, or mix in some cocoa powder for a chocolate version. Layer preserves or compote beneath the cheesecake for an extra burst of flavor, similar to ideas featured in our Baked Yogurt Berries recipe.
Delicious No Bake Cheesecake Jars Ready in 20 Minutes
Ingredients
Equipment
Method
- Using a food processor, pulse gluten-free graham crackers until they turn into fine crumbs. Combine the crumbs with melted butter in a mixing bowl until the mixture resembles wet sand.
- Distribute about 1.5 tablespoons of the crust mixture into the bottom of each jar. Firmly press down the crust with the back of a spoon.
- In a mixing bowl, beat softened cream cheese and granulated sugar until light and fluffy. Gradually incorporate Greek yogurt, vanilla extract, and lemon juice.
- Spoon 3-4 tablespoons of the cheesecake mixture into each jar, layering it on top of the crust. Smooth the top with a spatula.
- Allow the jars to stand at room temperature for a few minutes, then place them in the refrigerator to chill for at least 30 minutes.
Leave a Reply