
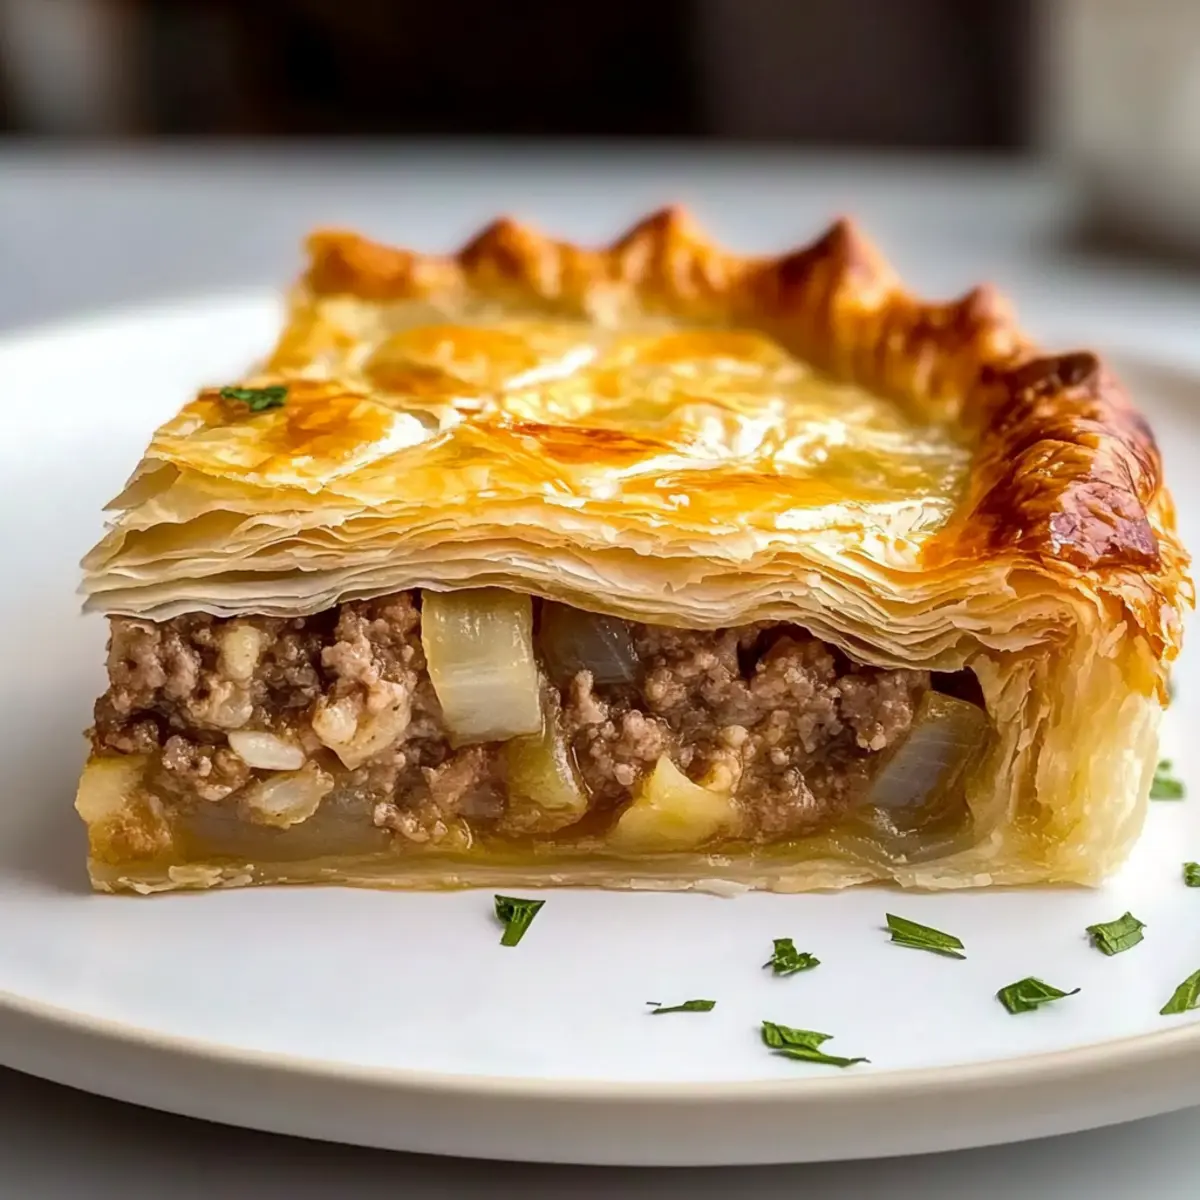
The aroma of freshly baked phyllo wafting through the kitchen instantly transports me to sun-drenched Greek islands, where every bite tells a story. This Kreatopita recipe has been a cherished tradition in my family, a savory meat pie cradled in golden, flaky layers that is as comforting as a hug on a chilly evening. Whether you’re looking for a quick weeknight dinner or something special for a gathering, this dish checks all the boxes. It’s not only a delightful crowd-pleaser but also an excellent make-ahead option, allowing the complex flavors to meld beautifully while you focus on creating memories with loved ones. Who’s ready to dive into the savory layers of this classic Greek delight?
Why is Kreatopita a Must-Try Recipe?
Comforting Tradition: This classic dish embodies the heart of Greek cuisine, offering a nostalgic taste that warms the soul.
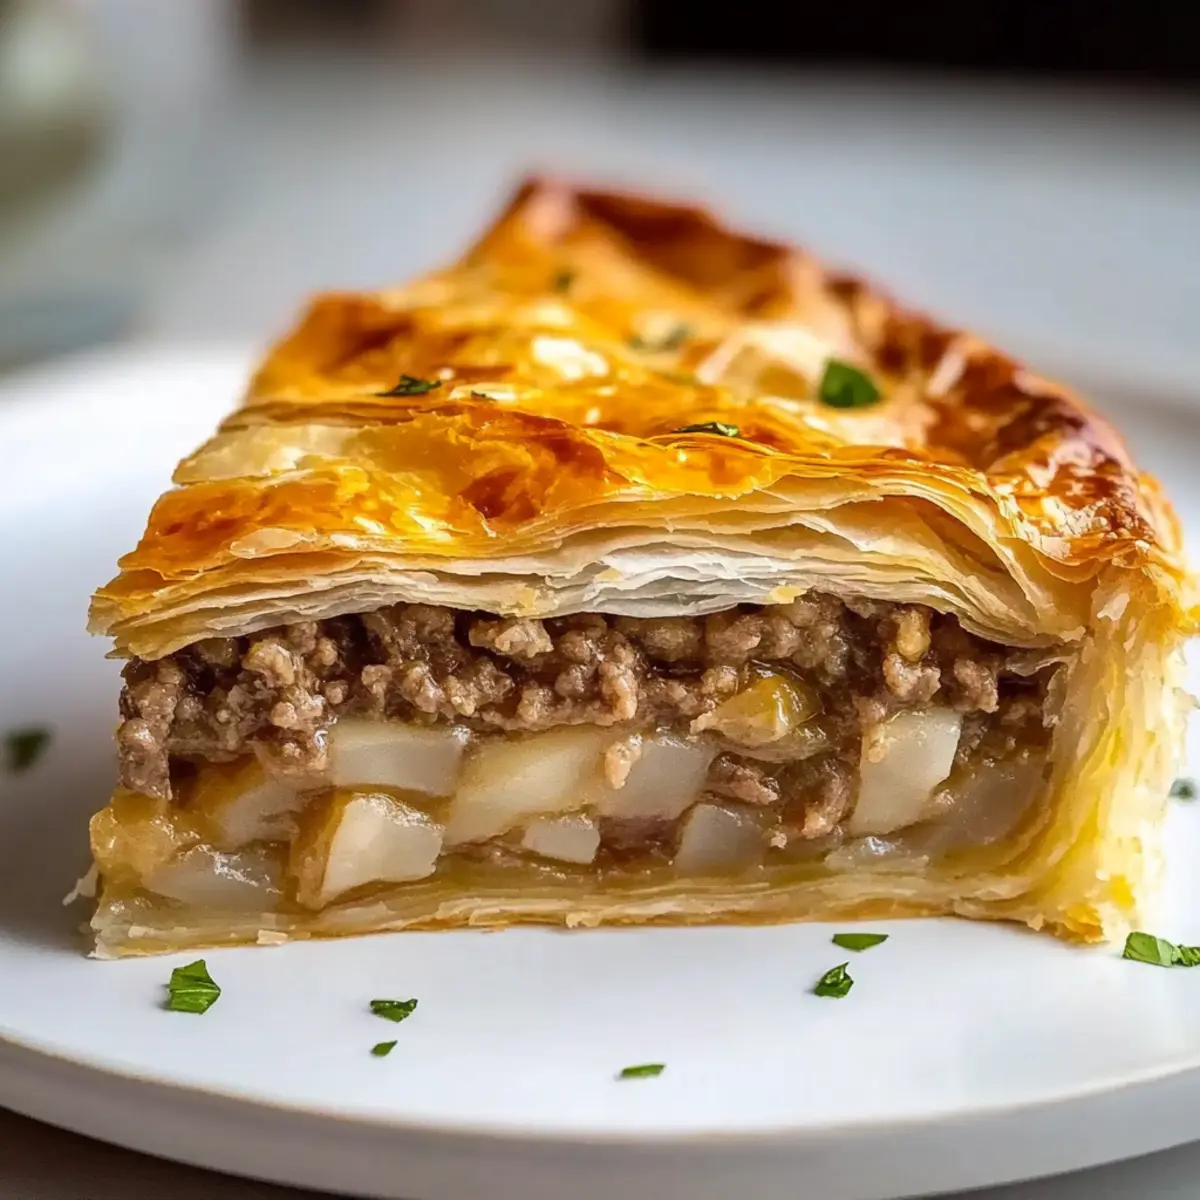
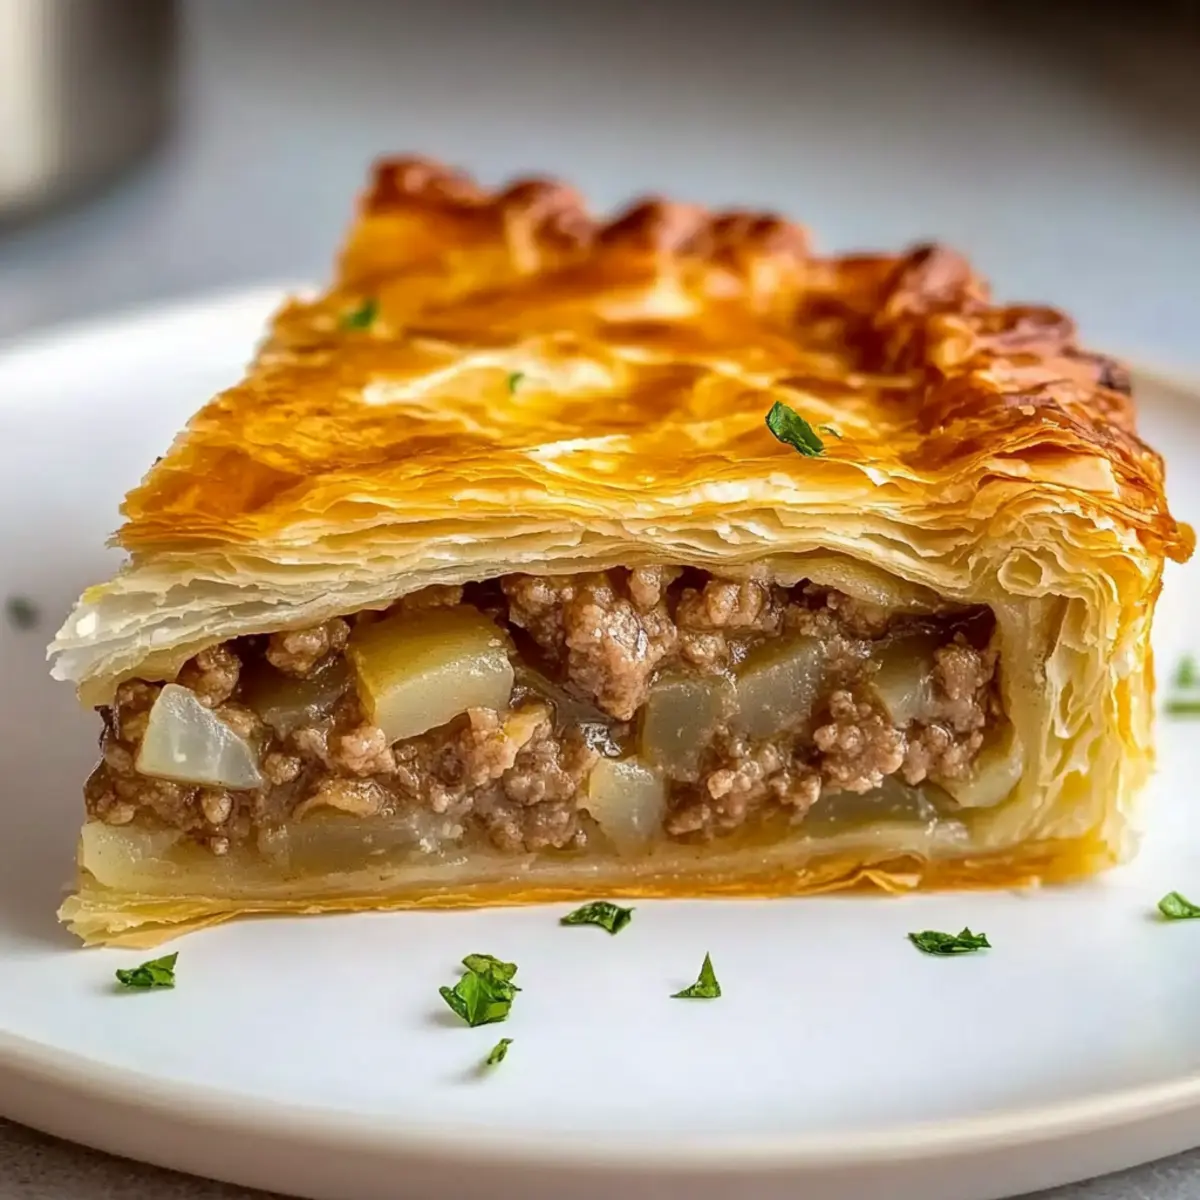
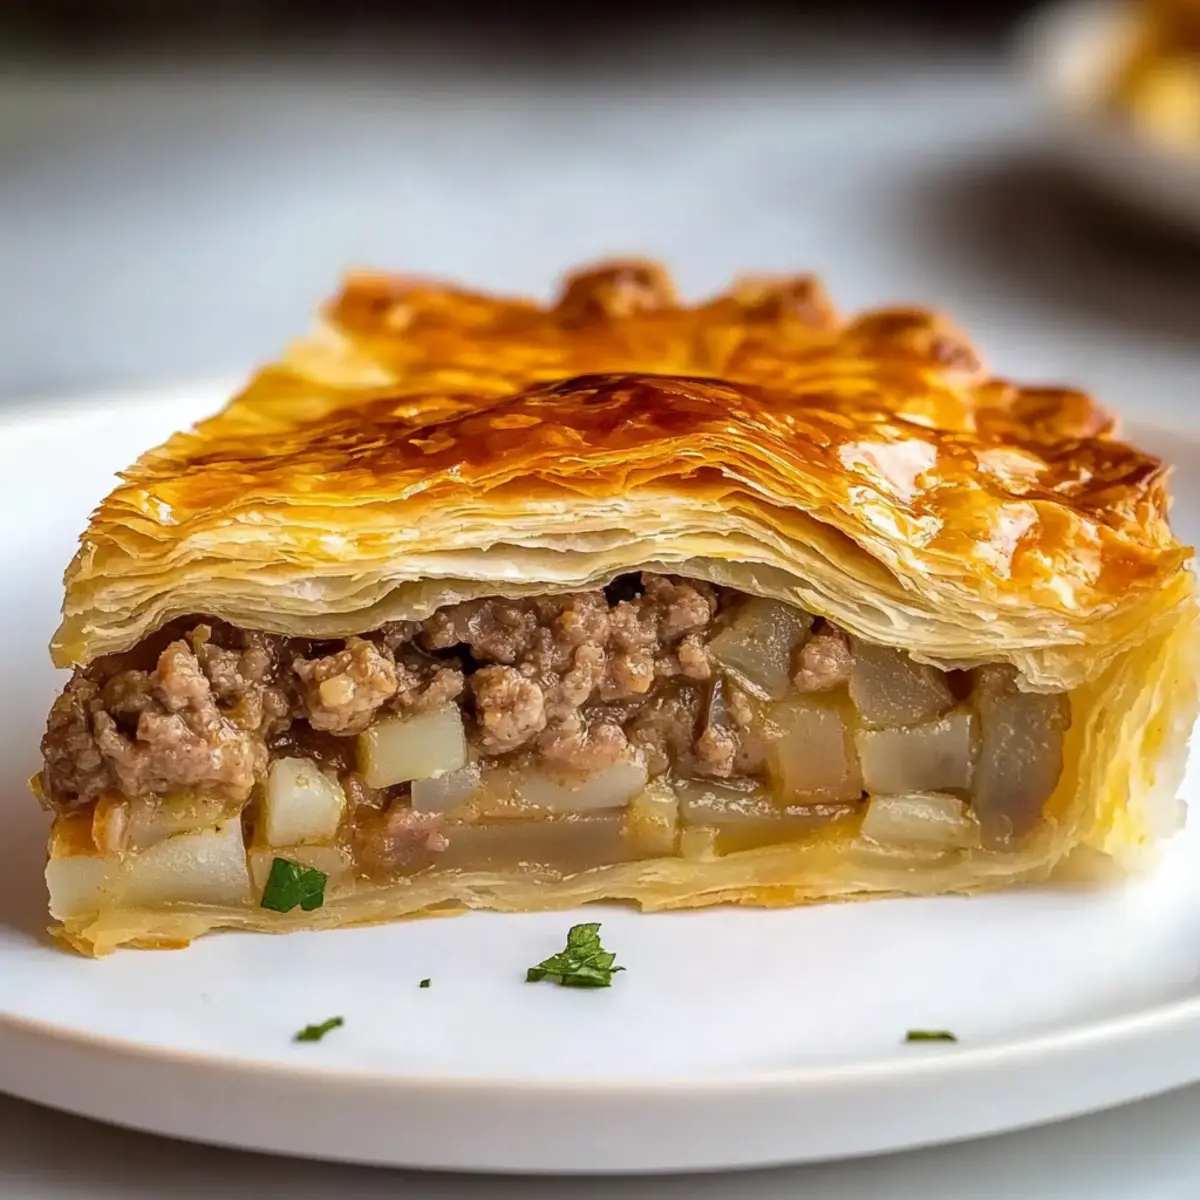
Flaky Perfection: Golden phyllo layers create an irresistible crunch, complementing the savory meat and rice filling that’s simply divine.
Customizable Delight: Whether you prefer ground beef, lamb, or even quinoa, this recipe adapts to your taste, making it perfect for every palate.
Easy to Prepare: With straightforward steps, you can whip up this delightful pie without breaking a sweat, perfect for busy weeknights!
Make-Ahead Convenience: Assemble in advance and store it in the fridge; bake fresh for gatherings. It pairs fabulously with a side of Greek salad or a dollop of tzatziki!
Kreatopita Recipe Ingredients
For the Filling
• Ground Beef – Provides rich protein and flavor; you can swap it for ground lamb for a more authentic taste.
• Onion – Adds sweetness and depth to the filling; ensure it’s finely chopped for even cooking.
• Rice – Acts as a filler and absorbs flavor; use par-cooked brown rice for a healthier twist.
• Tomato Sauce – Introduces acidity and moisture; substitute tomato paste if you prefer a thicker filling.
• Oregano – This herb enhances the Mediterranean essence; fresh or dried works perfectly.
• Salt & Pepper – Essential for enhancing flavors; adjust according to your taste preferences.
For the Phyllo Layers
• Phyllo Dough – Creates that beloved flaky texture; cover unused sheets with a damp towel to prevent drying out.
• Butter/Oil – Used for layering phyllo to add richness and aid in browning; olive oil is a great flavorful choice.
With these ingredients at hand, you’re poised to create a spectacular Kreatopita recipe that will transport you straight to Greece with every bite!
Step‑by‑Step Instructions for Kreatopita Recipe
Step 1: Sauté Onions
In a large skillet, heat a drizzle of olive oil over medium heat. Add the finely chopped onion and sauté for about 5-7 minutes, stirring occasionally, until it becomes soft and translucent. This will create a sweet foundation for your filling, contributing to the overall flavor of the Kreatopita.
Step 2: Cook Beef
Once the onions are ready, add the ground beef to the skillet, breaking it apart with a spoon. Cook for about 8-10 minutes, or until the meat is browned and no longer pink. This step is crucial as it develops a rich, savory flavor that will shine in the final dish.
Step 3: Combine Other Ingredients
Stir in the par-cooked rice, tomato sauce, oregano, salt, and pepper. Mix well and add a splash of water if needed to keep the mixture moist. Allow it to simmer on low heat for about 10 minutes, enabling the flavors to meld together. You’ll know it’s ready when the filling is thick but still juicy.
Step 4: Prepare Dish
Preheat your oven to 180°C (350°F) while you prepare the baking dish. Brush a generous amount of melted butter or oil on the bottom and sides of a large baking dish to prevent sticking and enhance the golden color of the Kreatopita.
Step 5: Layer Phyllo
Take five sheets of phyllo dough and layer them in the prepared dish, brushing each sheet with melted butter or oil. Allow the edges to hang over the sides; this will create a beautiful, flaky crust when folded over later. Be gentle with the phyllo to keep its delicate texture intact.
Step 6: Add Filling
Spread the savory beef and rice filling evenly over the layered phyllo in the baking dish. Use a spatula to ensure the filling is evenly distributed, making sure it reaches the corners. This ensures each bite of your Kreatopita is packed with flavor.
Step 7: Top with Phyllo
Cover the filling with the remaining five sheets of phyllo, again brushing each layer with butter or oil and tucking the edges under to seal in the filling. This will create a lovely, flaky top that is golden brown and crunchy when baked.
Step 8: Bake
Place the baking dish in the preheated oven and bake for 40-45 minutes. Keep an eye on the Kreatopita; it should be beautifully golden brown and crispy on top. Once done, remove it from the oven and let it rest for about 10 minutes before slicing, allowing the filling to set for a perfect presentation.
What to Serve with Greek Kreatopita?
Indulging in a warm slice of Kreatopita is just the beginning of a hearty meal experience. Let’s explore delightful accompaniments that elevate your dinner to a culinary journey.
-
Greek Salad:
A fresh medley of cucumbers, tomatoes, olives, and feta cheese drizzled with olive oil; its bright flavors balance the savory richness of the pie. -
Tzatziki Sauce:
This creamy yogurt dip infused with garlic and cucumber adds a refreshing touch, perfect for cooling down the palate after each delicious bite. -
Warm Pita Bread:
Soft and pillowy, warms up the meal; perfect for scooping up any filling left on your plate while enhancing the Mediterranean experience. -
Roasted Vegetables:
Caramelized bell peppers, zucchini, and eggplant bring delightful textures and flavors, complementing the meat pie beautifully with a hint of earthiness. -
Stuffed Grape Leaves:
Dolmas offer a zesty, herbal side that pairs wonderfully with Kreatopita; the tartness from the lemon zest adds an extra layer of flavor. -
Feta Cheese Crumbles:
A sprinkle of this tangy cheese on the plate introduces an additional savory note and ties beautifully with the flavors of your meat pie. -
Wine Pairing:
A chilled glass of Rosé or a light-bodied red wine enhances the meal, balancing the rich flavors of the Greek Kreatopita while uplifting the dining experience.
With these side dishes, your meal becomes an inviting feast steeped in tradition and bursting with flavor. Enjoy each moment surrounded by family and warmth!
Kreatopita Recipe Variations & Substitutions
Feel free to tweak this recipe to match your preferences and pantry staples!
-
Meat Choices: Try swapping ground beef for ground lamb or pork for a unique flavor twist. Each meat offers a different depth of taste, bringing its own character to the dish.
-
Grain Alternatives: Consider using quinoa instead of rice for a nuttier flavor and a boost in protein. Quinoa adds a delightful texture that complements the savory filling beautifully.
-
Herb Infusion: Add fresh herbs like parsley or dill to the filling for an extra layer of freshness. Their fragrant notes will elevate the overall flavor and transport you to a sunny Greek garden.
-
Spice It Up: Incorporate spices like cinnamon or allspice for a warm, aromatic touch. A sprinkle of these spices will deepen the complexity of your filling and surprise your guests with an exotic twist.
-
Vegetarian Variation: Replace the meat with roasted vegetables and a mix of beans for a heartier vegetarian option. Just ensure the filling is well-seasoned to create a satisfying dish that everyone will love.
-
Saucy Touch: Try adding a dollop of tzatziki sauce or yogurt on the side for a creamy contrast. It not only complements the Kreatopita’s rich flavors but also adds a refreshing coolness with every bite.
-
Cheesy Delight: For those who love cheese, sprinkle feta or shredded mozzarella in the filling for a creamy, melty surprise that pairs perfectly with the flaky phyllo. The added richness elevates this comfort food to a whole new level!
-
Kick of Heat: If you crave a bit of spice, toss in some diced jalapeño or red pepper flakes. This final touch can turn your delectable pie into a spicy adventure that’s sure to delight heat seekers.
These variations offer enticing shifts to the traditional Kreatopita recipe, making it a versatile canvas for celebration, comfort, or quiet dinners at home. Pair with a refreshing side of Greek salad or a warm piece of pita as you embark on this culinary journey!
Expert Tips for Your Kreatopita Recipe
-
Phyllo Handling: Keep unused sheets under a damp towel to prevent them from drying out, ensuring your Kreatopita has that delightful flaky texture.
-
Avoid Overfilling: Be cautious not to overfill your pie; a thick layer can make it hard to bake evenly and result in a soggy bottom.
-
Resting Time: Allow your Kreatopita to rest for 10 minutes post-baking. This helps the filling set and makes for cleaner slices.
-
Make-Ahead Magic: Assemble your Kreatopita up to 24 hours in advance, storing it in the fridge. Bake fresh before serving to enjoy the best flavors.
-
Flavor Variations: Don’t hesitate to experiment with ground meats like lamb or pork, or even substitute quinoa for rice for a unique twist on this classic comfort dish.
Make Ahead Options
These Kreatopita are perfect for meal prep enthusiasts! You can assemble the entire pie up to 24 hours in advance and refrigerate it before baking, allowing the flavors to meld beautifully. To do this, prepare the filling as instructed, then layer the phyllo and filling in your baking dish. Cover the assembled dish tightly with plastic wrap to prevent the phyllo from drying out. When you’re ready to serve, simply bake it directly from the fridge, adding an extra 5-10 minutes to the original baking time for best results. This way, you’ll enjoy the same delicious, flaky texture and savory filling without the last-minute rush!
How to Store and Freeze Kreatopita
Fridge: Store leftover Kreatopita covered in aluminum foil or plastic wrap for up to 3 days, ensuring it maintains its delicious flavor and flaky texture.
Freezer: To freeze, wrap individual slices tightly in plastic wrap, then in foil. Place in an airtight container and keep for up to 2 months—perfect for a quick future meal.
Reheating: For the best results, reheat in the oven at 180°C (350°F) for about 20-25 minutes, allowing the crust to regain that crispy goodness while warming the savory filling through.
Make-Ahead Tip: Assemble the Kreatopita in advance and store in the fridge overnight. Just remember to bake fresh for gatherings, enhancing flavors beautifully!
Kreatopita Recipe FAQs
What type of meat is best for Kreatopita?
Absolutely! Ground beef is commonly used for its rich flavor, but you can also opt for ground lamb or pork for a traditional twist. Each type of meat brings its own unique flavor profile, making this recipe wonderfully adaptable.
How should I store leftovers?
Leftover Kreatopita should be tightly wrapped in aluminum foil or plastic wrap and stored in the fridge for up to 3 days. This helps maintain its delectable flaky texture while keeping it moist and delicious for your next meal.
Can I freeze Kreatopita?
Yes! To freeze your Kreatopita, wrap individual slices tightly in plastic wrap, followed by a layer of aluminum foil, and place them in an airtight container. It can be frozen for up to 2 months. This way, you can enjoy this savory delight whenever you have a craving!
What if my phyllo dough starts to dry out?
Very! If your phyllo dough begins to dry out, keep the unused sheets covered with a damp towel while working. This moisture helps maintain the necessary flexibility for layering and prevents the dough from becoming brittle.
Can I modify the recipe for dietary restrictions?
Of course! If you’re looking for a gluten-free option, substitute regular phyllo dough with gluten-free phyllo or use a different crust altogether. Additionally, for a vegetarian version, consider using cooked lentils or quinoa as a filling instead of meat.
How long does it take to prepare Kreatopita?
From start to finish, you can expect to spend about 1 hour making this delectable dish. It’s a time investment that’s rewarded with comforting flavors and a delightful experience, perfect for gatherings or weeknight meals!
Delicious Kreatopita Recipe: Greek Comfort in Every Bite
Ingredients
Equipment
Method
- In a large skillet, heat olive oil over medium heat. Sauté finely chopped onion for 5-7 minutes until soft and translucent.
- Add ground beef to the skillet, breaking it apart. Cook for 8-10 minutes until the meat is browned.
- Stir in par-cooked rice, tomato sauce, oregano, salt, and pepper. Simmer on low heat for about 10 minutes.
- Preheat oven to 180°C (350°F). Brush a baking dish with melted butter or oil.
- Layer five sheets of phyllo in the dish, brushing each with butter or oil, letting edges hang over.
- Spread the beef and rice filling evenly over the phyllo layers.
- Cover filling with five more sheets of phyllo, brushing with butter or oil, and tuck edges under.
- Bake for 40-45 minutes until golden brown. Let rest for 10 minutes before slicing.
Leave a Reply