
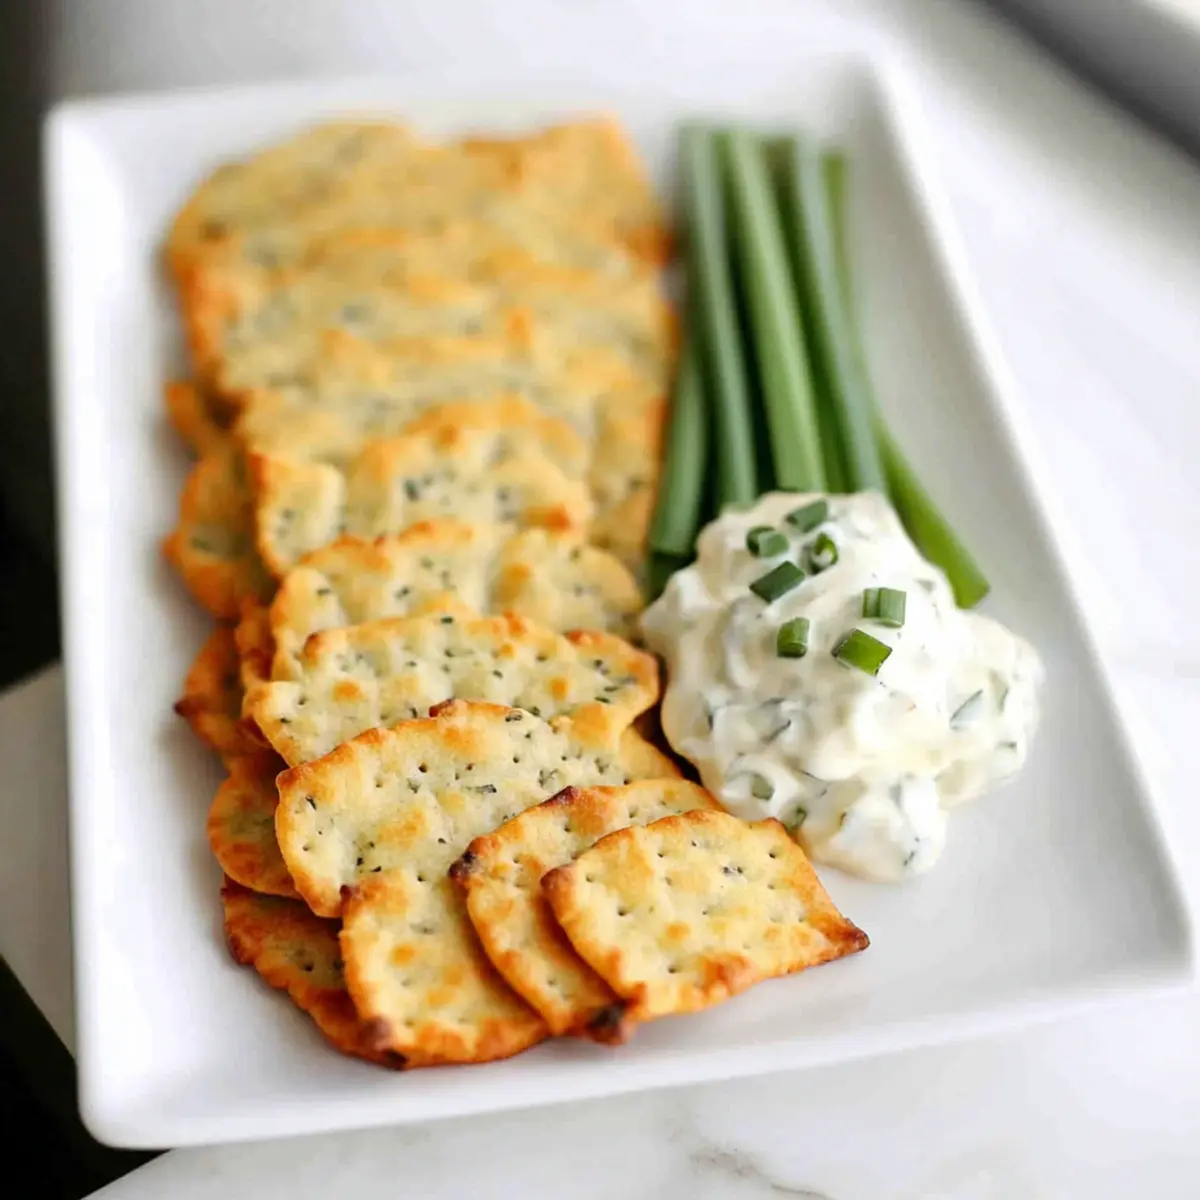
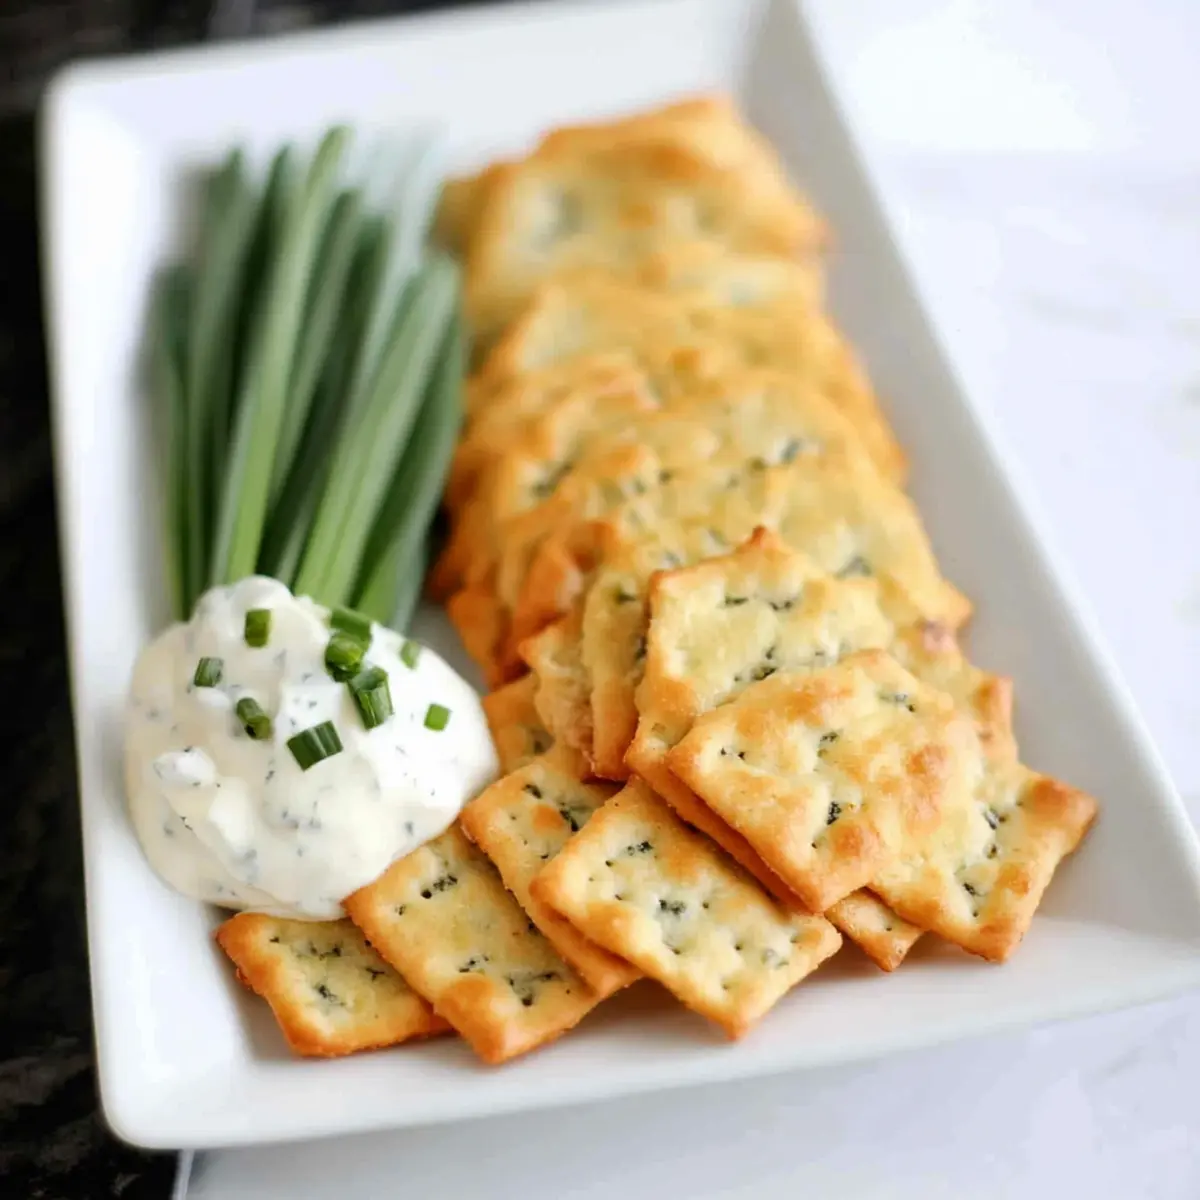
The delightful smell of freshly baked crackers wafting through the kitchen transports me back to cozy afternoons filled with laughter and great company. Today, I’m excited to share my Keto Sour Cream and Chive Crackers, a simple yet satisfying snack that’s perfect for anyone looking to enjoy guilt-free treats. This keto cracker recipe requires just half an hour to whip up, making it an effortless choice for your next gathering or a cozy night in. Not only do these low-carb snacks pack a punch of flavor, but they also offer a crispy texture that makes them a fantastic companion for dips or spreads. Ready to elevate your snack game? Let’s dive into the wonderful world of these crunchy sour cream and chive crackers!
Why Are These Crackers So Irresistible?
Easy to Make: You only need 30 minutes to whip up these delightful snacks, making them perfect for spontaneous cravings or unexpected guests.
Packed with Flavor: The combination of sour cream and chives creates a satisfying taste that rivals traditional crackers, without the guilt.
Versatile Pairing: Whether you’re enjoying these crackers with your favorite dips or as a crunchy side to a salad, they’re ready to elevate any meal!
Low-Carb Delight: Designed for keto lifestyles, these crackers ensure you can enjoy snacking without compromising your health goals—each serving boasts a mere 1.9g net carbs.
Great for Meal Prep: Bake a batch ahead of time, and store them for later. They can last a few days in an airtight container or even be frozen for longer storage.
Transform your snack time with these Keto Sour Cream and Chive Crackers, and if you’re looking for more tasty ideas, check out my Cranberry Cream Cheese bites or learn how to make Blueberry Cream Cheese treats that are sure to impress!
Keto Sour Cream and Chive Cracker Ingredients
For the Crackers
- Mozzarella Cheese – This provides structure and crispiness; use shredded for optimal melting.
- Sour Cream – Adds flavor and moisture; it can be swapped with cream cheese or Greek yogurt for a twist.
- Egg – Acts as the binding agent; essential for keeping your crackers together.
- Almond Flour – Serves as the low-carb base; substitute with coconut flour if you need a nut-free option (1–2 tbsp less due to absorbency).
- Coconut Flour – Contributes texture and richness; use only if avoiding almond flour, or stick to an equal amount of almond flour for the nut-based version.
- Chives – Enhances the flavor profile; choose freeze-dried or fresh based on your preference or substitute with herbs like dill.
- Butter – Adds flavor and gives a glossy finish; brushing with melted butter helps elevate crispiness.
- Salt – Provides essential seasoning; adjust to taste, and consider garlic salt for an extra kick.
Get ready to experience these Keto Sour Cream and Chive Crackers that bring flavor and fun to your snacking routine!
Step‑by‑Step Instructions for Keto Sour Cream and Chive Crackers
Step 1: Preheat the Oven
Begin by preheating your oven to 400°F (200°C). This ensures a properly heated environment for baking your Keto Sour Cream and Chive Crackers. Preheating allows the crackers to crisp perfectly as they bake, so make sure you give your oven ample time to reach the right temperature.
Step 2: Melt the Cheese
In a medium frying pan over medium heat, melt the shredded mozzarella cheese, stirring frequently until it is fully melted and smooth. Alternatively, you can microwave the cheese in a bowl at 30-second intervals, stirring until melted. This step is crucial, as it creates the perfect cheesy base for your crackers.
Step 3: Combine with Sour Cream
Once the mozzarella is melted, remove it from heat and immediately mix in the sour cream. Stir until the mixture is uniformly combined and smooth. The sour cream adds moisture and flavor to the Keto Sour Cream and Chive Crackers, creating that delicious blend which will be the foundation of your dough.
Step 4: Mix the Dry Ingredients
In a separate mixing bowl, whisk together the almond flour, coconut flour, egg, and chives. Gradually add the cheese and sour cream mixture to the dry ingredients, combining everything until you achieve a cohesive dough. This step is essential for ensuring that the flavors meld together beautifully in your crackers.
Step 5: Chill the Dough
Wrap the dough tightly in plastic wrap and place it in the refrigerator for 10-15 minutes. Chilling the dough allows it to firm up, making it easier to roll out later. This slight rest time is vital for achieving the right texture in your finished crackers.
Step 6: Roll Out the Dough
After chilling, remove the dough from the refrigerator and place it between two sheets of parchment paper. Use a rolling pin to roll the dough out until it is very thin, about 1/8 inch thick. This consistency is crucial for achieving that delightful crunch in your Keto Sour Cream and Chive Crackers.
Step 7: Cut the Crackers
Carefully peel away the top sheet of parchment paper and use a cookie cutter or a sharp knife to cut the dough into your desired shapes. Feel free to get creative with designs! The uniformity of the shapes will ensure even baking, so take your time with this step.
Step 8: Prepare for Baking
Transfer the cut-out dough onto a parchment-lined baking sheet, ensuring they are spaced out to allow for expansion. Brush the tops of the crackers lightly with melted butter and sprinkle with salt for added flavor. This step will enhance the taste and help your crackers develop a golden hue as they bake.
Step 9: Bake the Crackers
Place the baking sheet in the preheated oven and bake the crackers for 8-10 minutes, or until they are golden brown. Keep a close eye on them to prevent burning, as they can quickly transition from golden to overdone. You’ll know they’re ready when they smell irresistibly good!
Step 10: Cool and Crisp
Once baked, remove the crackers from the oven and let them cool completely on the baking sheet. For extra crispiness, you may choose to bake them again at 250°F (120°C) for an additional 20 minutes. Cooling allows them to firm up, and that second bake elevates their crunch factor even more!
Variations & Substitutions for Cream and Chive Crackers
Feel free to experiment with these suggestions to make the recipe truly your own and delight your taste buds even further!
-
Herb Swaps: Swap chives with herbs like dill, basil, or oregano for a unique flavor profile. Each herb brings its own special twist, enhancing the overall taste of your crackers.
-
Dairy-Free Option: Use plant-based cream cheese or coconut yogurt in place of sour cream for a delightful dairy-free version. This works beautifully for anyone with lactose intolerance, ensuring everyone can indulge!
-
Flavored Cheese: Substitute shredded mozzarella with flavored cheeses such as cheddar or pepper jack for an extra layer of savory delight. Each cheese adds its own character, turning your crackers into a gourmet snack.
-
Nut-Free Alternative: For a nut-free version, replace almond flour with sunflower seed flour. Adjust the moisture slightly, as seed flours can retain different amounts of liquid.
-
Spiced Up: Add garlic powder or smoked paprika to the dough for a zesty kick. This small change can transform your crackers into a flavorful experience that pairs fantastically with dips.
-
Cheesy Extravaganza: Mix in grated Parmesan or nutritional yeast for a nutty flavor boost. This adds richness and enhances the irresistible cheese flavor of your crackers.
-
Whole Grain Option: Experiment with oat flour for a slightly different texture while keeping it gluten-free. You’ll increase the nutritional profile while offering a hearty taste to your snacks.
-
Texture Twist: For an extra crunch, fold in some sesame seeds or poppy seeds into the dough before rolling. This texture will add dimension and surprise to each bite!
Let your creativity soar in the kitchen! These variations not only elevate your Keto Sour Cream and Chive Crackers, but can also inspire you to craft new snacks like my Brie Filo Crackers and Blueberry Cream Cheese Puff Pastry treats that everyone will love!
How to Store and Freeze Keto Sour Cream and Chive Crackers
Airtight Container: Store your baked Keto Sour Cream and Chive Crackers in an airtight container at room temperature for up to 3 days to maintain their crispiness.
Freezing Unbaked Dough: For longer storage, wrap the unbaked dough tightly in plastic wrap and freeze for up to 3 months. Thaw in the fridge before rolling and baking.
Reheating Tips: If your baked crackers lose their crunch, reheat them in a preheated oven at 250°F (120°C) for about 10 minutes for a refreshing crisp.
Serving Fresh: Enjoy these delicious low carb snacks right out of the oven for the best flavor experience, pairing them with your favorite dips!
Expert Tips for Perfect Crackers
-
Thin Dough: Roll the dough very thin, about 1/8 inch thick, to ensure your Keto Sour Cream and Chive Crackers are perfectly crispy—thicker pieces will yield softer results.
-
Watch the Oven: Keep a close eye while baking. Crackers can go from perfectly golden to burnt very quickly, so set a timer and check frequently!
-
Storage Tips: Store baked crackers in an airtight container at room temperature for optimal freshness. If you want to extend their life, try freezing the unbaked dough for future use.
-
Flavor Boost: Enhance the taste by mixing in spices or different cheese varieties, such as Parmesan, directly into the dough for an extra layer of flavor.
-
Shape with Care: When cutting shapes, try to make them uniform for even baking, which ensures that they all crisp up nicely.
-
Experiment with Herbs: Feel free to swap chives with other herbs like dill or basil for flavor variety in your Keto cracker recipe—it’s a fun way to keep things interesting!
Make Ahead Options
These Keto Sour Cream and Chive Crackers are a fantastic choice for meal prep! You can prepare the dough up to 24 hours in advance by mixing and rolling it out, then wrapping it tightly in plastic wrap and refrigerating. Alternatively, you can bake the crackers and store them in an airtight container at room temperature for up to 3 days without losing their crunch. If you want to keep them even longer, consider freezing the unbaked dough for up to 3 months. When you’re ready to enjoy them, simply bake from frozen, adding a few extra minutes to the cooking time for perfectly crispy results. This way, you can have delicious, homemade low-carb snacks ready at a moment’s notice!
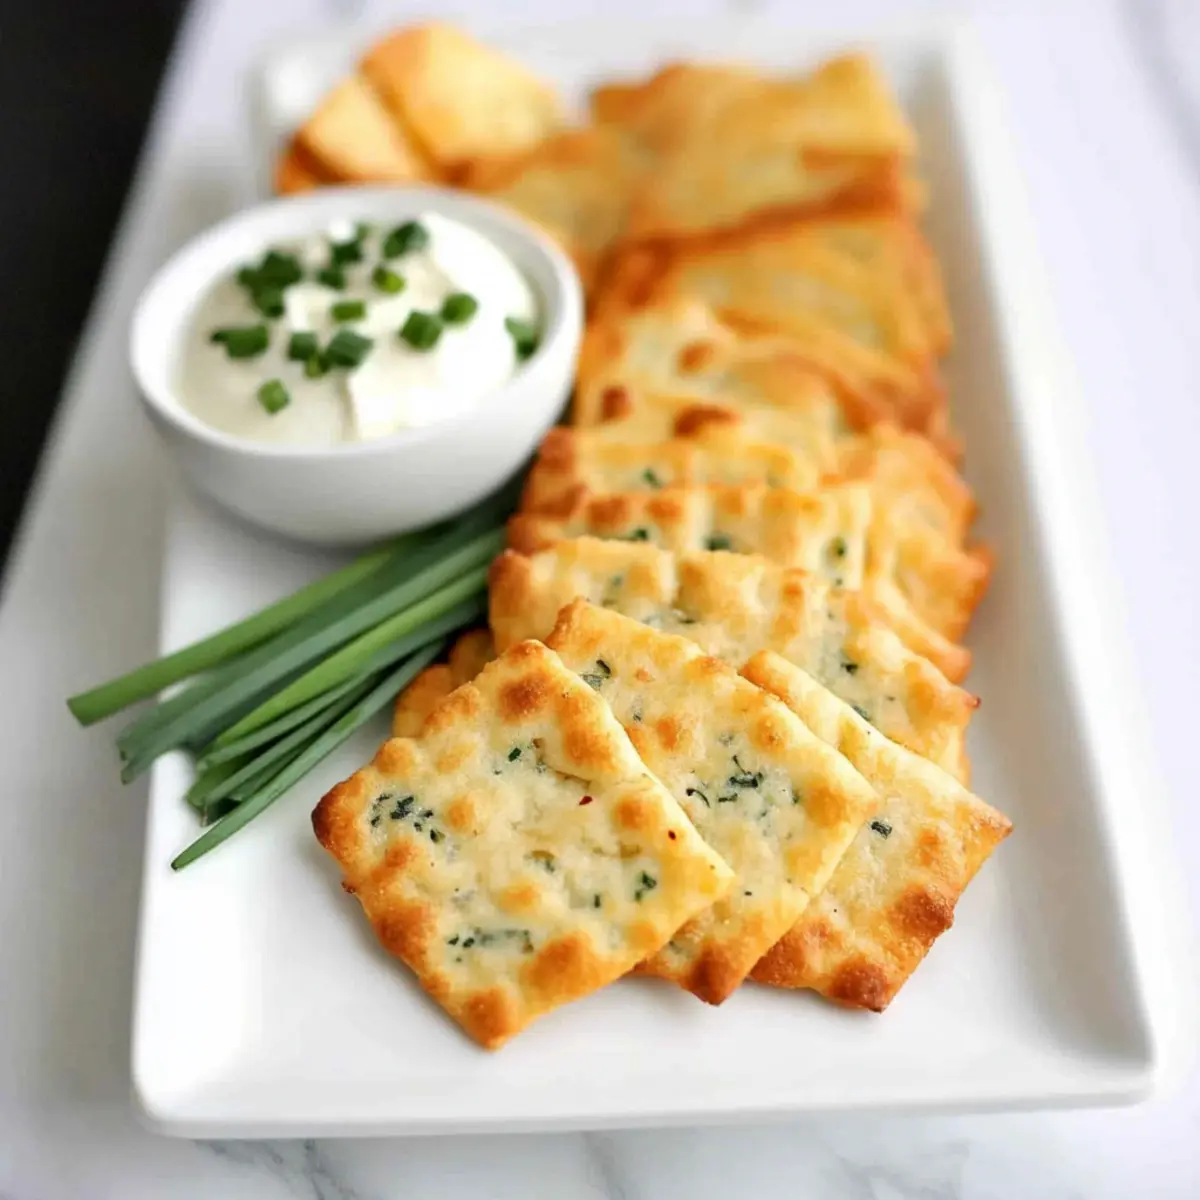
What to Serve with Keto Sour Cream and Chive Crackers
Elevate your snack experience with these delightful crackers by pairing them with complementary flavors and textures. Here are some tasty ideas that will take your meal to the next level.
- Creamy Guacamole: The rich creaminess of guacamole balances the crunch of the crackers beautifully, creating a perfect dip for each bite.
- Savory Cheese Spread: A herbed cheese spread brings a savory twist, enhancing the flavor profile of the crackers while keeping it indulgent yet light.
- Chilled Cucumber Salad: Fresh cucumber salad adds a crisp contrast and refreshing flavor, making it a delightful side to accompany your low-carb snacks.
- Spicy Salsa: A zesty salsa kicks things up a notch, bringing a burst of flavor and a delightful freshness that perfectly complements the crunchy texture.
- Classic Hummus: The smooth, creamy nature of hummus pairs wonderfully, providing a contrast to the crispiness and adding a punch of nutrition to your snack.
- Homemade Spinach Dip: Serve these crackers alongside a warm spinach dip for a warm, comforting option that will have everyone coming back for more.
- Zesty Lemonade: A cool glass of homemade lemonade provides a refreshing palate cleanser, enhancing the overall snacking experience.
- Dark Chocolate Squares: For a sweet finish, dark chocolate offers a rich contrast that complements the savory flavor of the crackers.
Try these pairings to create a delightful and satisfying spread that friends and family will love!

Keto Sour Cream and Chive Crackers Recipe FAQs
How do I select the right mozzarella cheese for the crackers?
Absolutely! Opt for shredded mozzarella for the best melting results. It ensures a smooth texture in your dough, resulting in perfectly crispy crackers. Fresh mozzarella can be used as well, but it may be too moist, so be sure to squeeze out any excess moisture before using.
What is the best way to store the baked crackers?
Very! To keep your Keto Sour Cream and Chive Crackers fresh and crispy, store them in an airtight container at room temperature. They will stay delightful for up to 3 days. Make sure to check for any moisture or signs of softness before snacking.
Can I freeze the unbaked dough?
Absolutely! Freezing the unbaked dough is a fantastic option. Just wrap it tightly in plastic wrap or aluminum foil and store it in your freezer for up to 3 months. When you’re ready to bake, thaw it in the fridge overnight before rolling out and cutting into shapes.
What should I do if my crackers turn out too soft?
If your crackers aren’t as crisp as you’d like, you may have rolled the dough too thick. Next time, aim for a thickness of 1/8 inch. Additionally, you can bake them a second time at 250°F (120°C) for about 20 minutes to help dry them out and enhance the crunch.
Are these crackers suitable for individuals with nut allergies?
Yes! For nut-free versions, simply replace the almond flour with coconut flour. Use 1 to 2 tablespoons less due to its absorbency. Just be mindful that the texture may slightly vary, but they will still be delicious!
Can I add additional flavors to the crackers?
Very much so! Experimenting with spices like garlic powder, paprika, or swapping out chives for other herbs like dill can bring new dimensions to your Keto Sour Cream and Chive Crackers. Each variation adds unique flavor while keeping health-conscious snacking fun!
Crispy Cream and Chive Crackers That Elevate Snack Time
Ingredients
Equipment
Method
- Preheat your oven to 400°F (200°C).
- Melt the shredded mozzarella cheese in a medium frying pan over medium heat, stirring until smooth.
- Remove from heat and mix in the sour cream until combined.
- In a separate bowl, whisk together the almond flour, coconut flour, egg, and chives. Combine with the cheese mixture until a cohesive dough forms.
- Wrap the dough in plastic wrap and refrigerate for 10-15 minutes.
- Remove from refrigerator, place between parchment paper, and roll out to 1/8 inch thick.
- Cut into desired shapes and transfer to a parchment-lined baking sheet.
- Brush tops lightly with melted butter and sprinkle with salt.
- Bake for 8-10 minutes or until golden brown.
- Let cool on the baking sheet for crispiness. Optional: bake again at 250°F (120°C) for 20 minutes for extra crunch.
Leave a Reply