
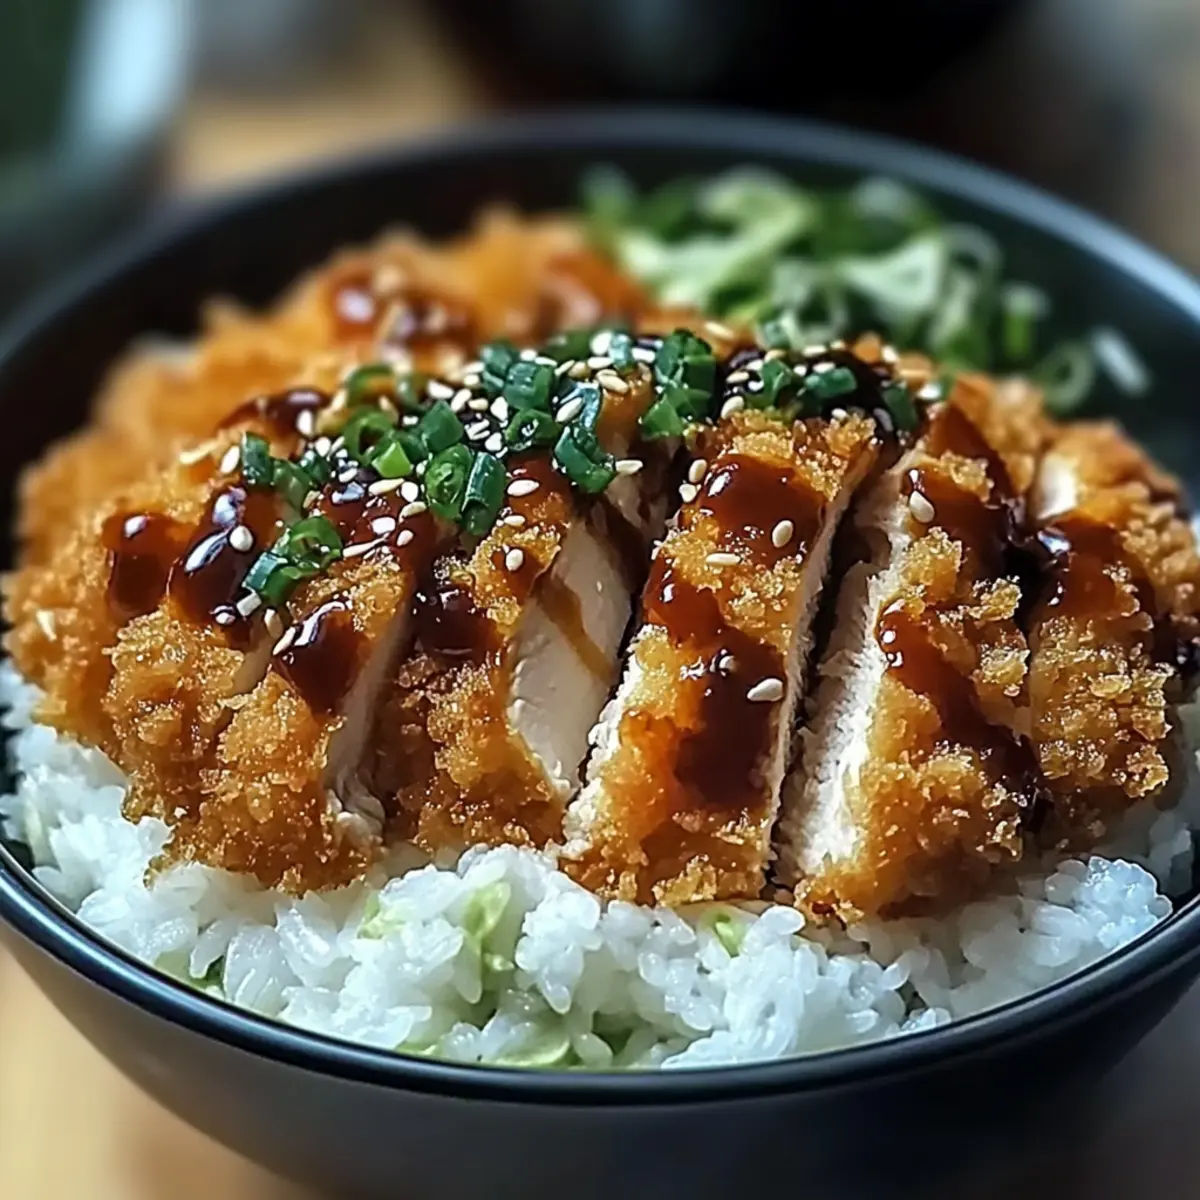
As I stood in my kitchen, the sizzling sound of chicken frying brought back memories of my first bite of an authentic Japanese Katsu Bowl—a warm bowl filled with crispy, golden-brown katsu perched over fluffy rice. This dish has quickly become a weeknight favorite for my family, and it’s easy to see why! With its satisfying crunch and tangy sauce, Japanese Katsu Bowls are a comforting delight that’s both quick to prepare and customizable to your taste. Whether you stick with classic chicken or explore the mouthwatering alternatives like pork or even crispy eggplant and tofu, this recipe offers an irresistible twist that anyone at the dinner table will love. Ready to dive into the delicious world of katsu? Let’s get cooking!
Why are Japanese Katsu Bowls irresistible?
Comforting Crunch: The golden-brown katsu creates a perfectly crispy exterior that contrasts beautifully with the juicy, tender meat inside.
Fluffy Rice Base: Nestled underneath is a bed of fluffy Japanese short-grain rice, seasoned just right to soak up all the delicious flavors.
Customizable Flavors: You can easily tailor this recipe to your tastes—opt for chicken, pork, or even tofu for a delightful vegetarian option.
Quick & Family-Friendly: This dish is not only quick to prepare but also a hit with everyone, making it an ideal choice for busy weeknights.
Crowd-Pleaser: Impress your family and friends with a meal that brings restaurant-quality katsu right to your dining table! Want more comfort food ideas? Check out these Spicy Salmon Bowls for another delicious option!
Japanese Katsu Bowls Ingredients
• Get ready to create an unforgettable meal!
For the Katsu
- Boneless Chicken Breasts – The main protein; feel free to swap with pork loin or opt for vegetarian alternatives like eggplant or tofu.
- Salt and Pepper – Essential seasonings to enhance the chicken’s flavor.
- All-Purpose Flour – The first coating for that crispy texture we all crave.
- Large Eggs – Binds the breadcrumb coating; ensure they’re well beaten for the best coverage.
- Panko Breadcrumbs – These deliver a light, crunchiness that’s ideal for frying.
For Frying
- Vegetable Oil – Use a neutral oil with a high smoke point; canola or sunflower work beautifully.
For the Rice
- Japanese Short-Grain Rice – This is the hearty base of the bowl; sticky rice is a good substitute if needed.
- Water – Necessary for cooking the rice.
- Rice Vinegar – Adds a touch of acidity for seasoning; apple cider vinegar is a good alternative if you’re in a pinch.
- Sugar – Balances out the acidity; both white and brown sugar work well.
- Salt – Enhances and rounds out the flavor of the rice.
For the Sauce
- Tonkatsu Sauce – Infuses depth and savoriness into the dish; use store-bought or make your own for a personal touch.
- Soy Sauce – Adds umami; opt for low-sodium if you’re watching salt intake.
- Worcestershire Sauce – Enhances sauce depth; optional but definitely recommended.
- Ketchup – Brings sweetness to the sauce; tomato paste can substitute for a thicker consistency.
For Garnishing
- Shredded Cabbage – Provides a fresh, crunchy topping; lettuce or other greens work too.
- Green Onions – Adds a fresh, mild onion flavor; chives can also be used as a substitute.
- Sesame Seeds – Optional but adds a delightful nuttiness.
- Pickled Ginger – A zesty condiment commonly served with katsu for an extra flavor contrast.
Now that you know what goes into these mouthwatering Japanese Katsu Bowls, get ready to whip up a comforting meal that will surely be a hit at your table!
Step‑by‑Step Instructions for Japanese Katsu Bowls
Step 1: Prepare Rice
Begin by rinsing 2 cups of Japanese short-grain rice under cold water until the water runs clear, then soak it for 30 minutes. After soaking, drain the rice and place it in a rice cooker with 2.5 cups of water. Cook for about 15 minutes until the water is absorbed, then let it rest covered for another 10 minutes for fluffy texture.
Step 2: Season Rice
In a small bowl, combine 3 tablespoons of rice vinegar, 1 tablespoon of sugar, and ½ teaspoon of salt, stirring until dissolved. Once the rice has rested, gently fold the vinegar mixture into the rice with a spatula to maintain its fluffy texture. This seasoning gives the rice a lovely tang that complements the chicken katsu.
Step 3: Prepare Katsu
While the rice is cooking, pound boneless chicken breasts to about ½ inch thick using a meat mallet for even cooking. Season both sides with salt and pepper. Set up a breading station with three shallow dishes: one with all-purpose flour, one with beaten eggs, and one with panko breadcrumbs. Dredge each chicken piece in flour, dip it in egg, then coat it with panko, ensuring an even layer.
Step 4: Fry Chicken
Heat about ½ inch of vegetable oil in a large skillet over medium heat until it reaches 350°F (175°C). To test, drop in a piece of panko—if it sizzles and bubbles, the oil is ready. Carefully add the breaded chicken pieces to the hot oil, frying for 4-5 minutes on each side until golden brown and cooked through. Drain on paper towels and let it rest before slicing.
Step 5: Make Sauce
In a small bowl, combine ¼ cup of tonkatsu sauce, 1 tablespoon of soy sauce, 1 teaspoon of Worcestershire sauce, and 2 tablespoons of ketchup. Mix well until fully combined, adjusting the ingredients to your taste. This savory sauce will add richness and depth to your Japanese Katsu Bowls, enhancing every bite.
Step 6: Assemble Bowls
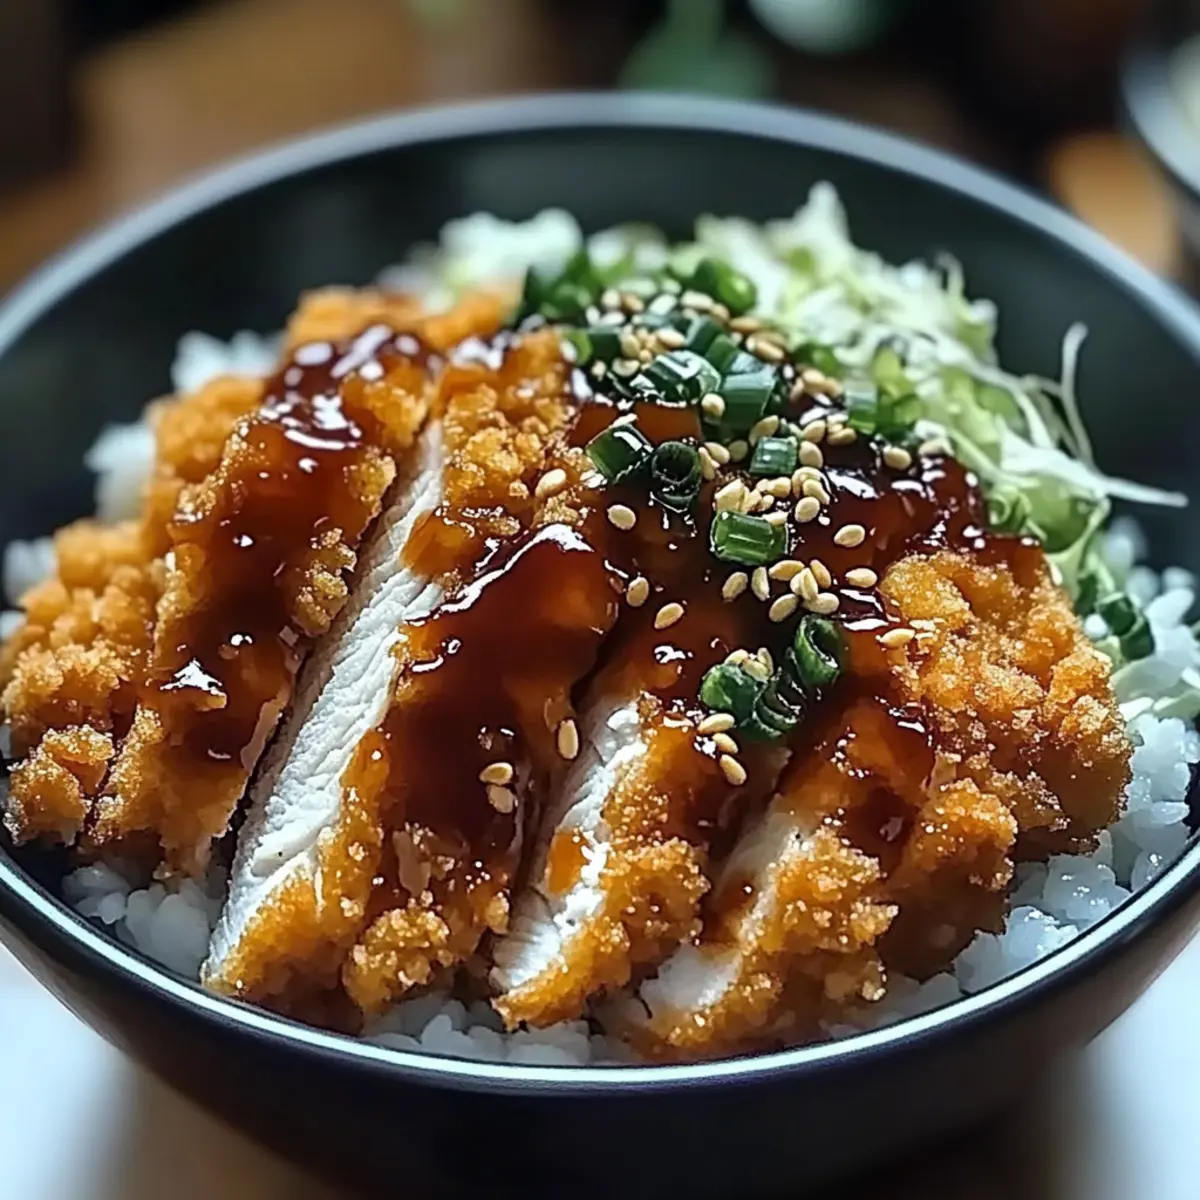
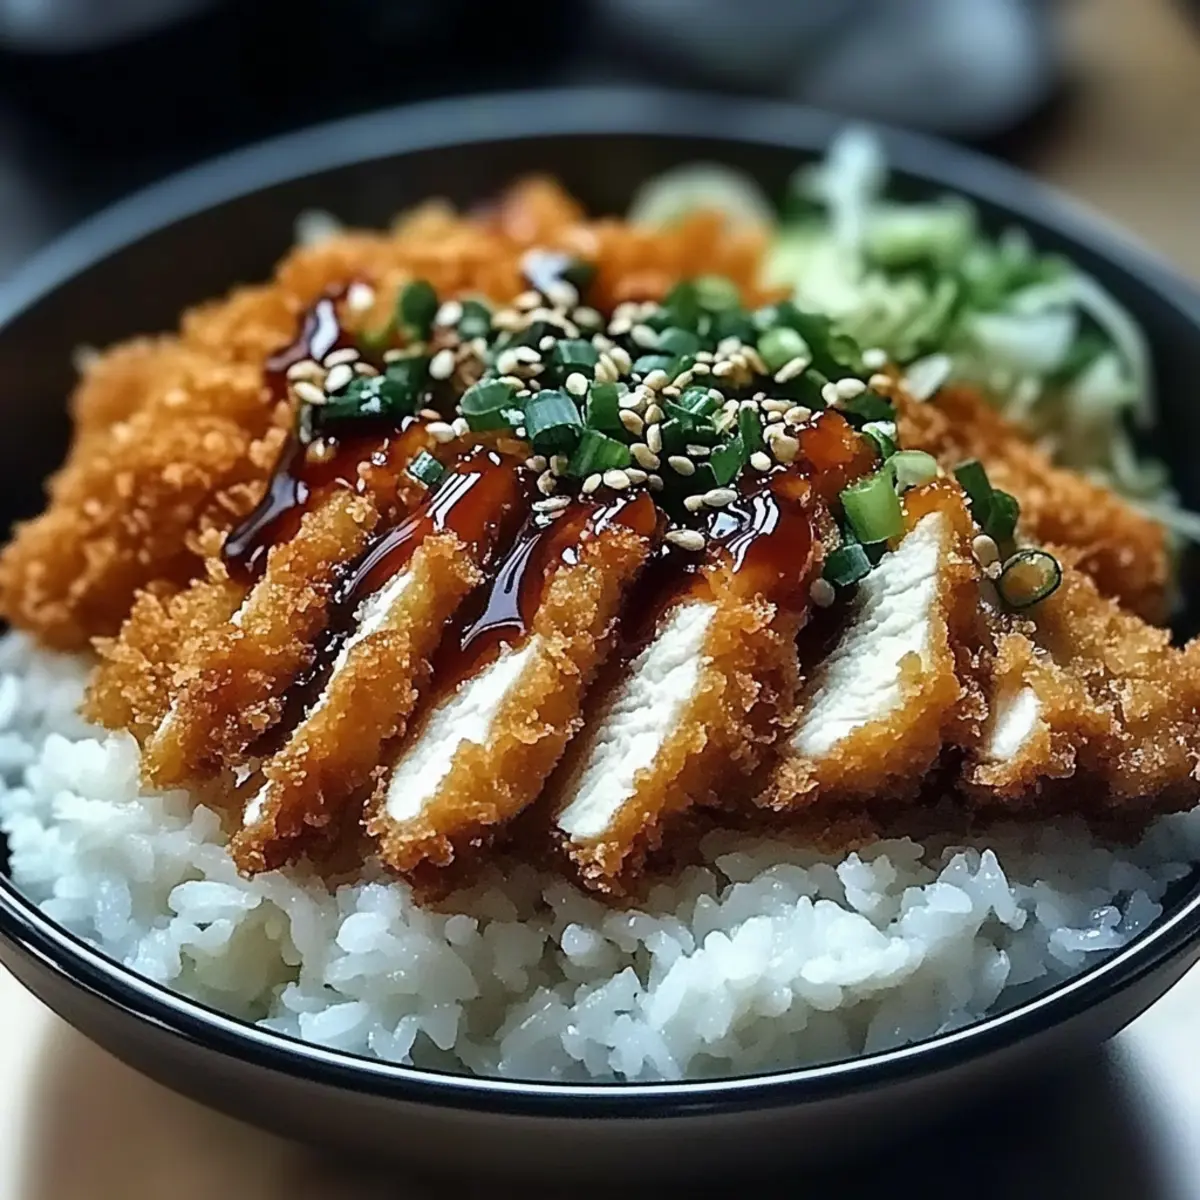
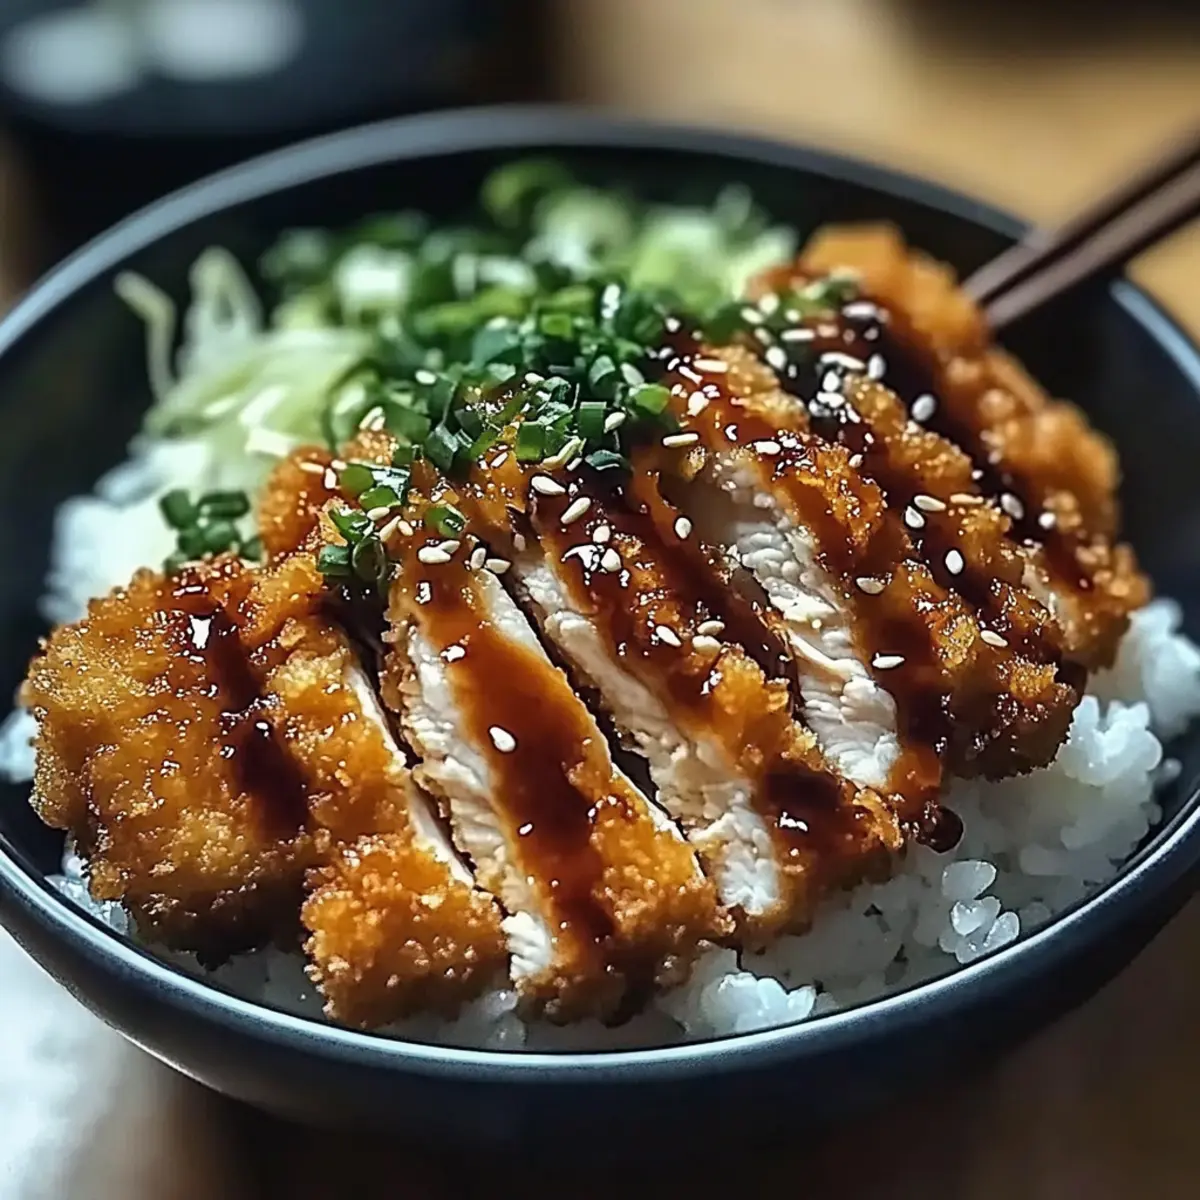
To serve, place a generous scoop of the seasoned rice in each bowl, then lay the sliced chicken katsu on top. Drizzle the prepared sauce over the chicken, and finish with a handful of shredded cabbage, sliced green onions, and a sprinkle of sesame seeds for added crunch. Add pickled ginger on the side for an optional zesty kick.
Variations & Substitutions for Japanese Katsu Bowls
Feel free to unleash your creativity in the kitchen and tailor these delightful bowls to your unique taste preferences!
- Pork Katsu: Swap chicken for pork loin to enjoy a richer flavor that pairs beautifully with the sauce.
- Vegetarian Delight: Use slices of eggplant or crispy tofu instead of chicken for a satisfying plant-based option that still delivers crunch.
- Spicy Kick: Drizzle some sriracha or add a spoonful of gochujang to the sauce for a fiery twist that will ignite your taste buds.
- Topping Ideas: Experiment with soft-boiled eggs or avocado slices to elevate the dish with creaminess that complements the katsu perfectly.
- Rice Alternatives: If Japanese short-grain rice isn’t available, sticky rice or even quinoa can create a hearty base that holds up well under the toppings.
- Flavor Boost: Add a splash of citrus juice, like yuzu or lime, to the sauce for a refreshing zing that brightens the overall flavor.
- Crunchy Slaw: Incorporate a mix of shredded carrots and purple cabbage for a boost of color, flavor, and crunch that rounds out the dish.
- Sauce Variations: Try mixing in a homemade teriyaki sauce for a different flavor profile; it adds sweetness and depth to your katsu.
Each variation is an invitation to explore new tastes and textures! If you need some more inspiration, consider whipping up some delicious Spicy Salmon Bowls for an extra treat in your cooking repertoire. Don’t hesitate to experiment and enjoy every bite!
Make Ahead Options
These Japanese Katsu Bowls are perfect for meal prep enthusiasts! You can prepare the rice up to 24 hours in advance; just cook it, season as mentioned, and refrigerate. The katsu can also be prepped ahead, breading the chicken and keeping it in the fridge for up to 3 days before frying. To maintain quality, ensure the chicken is well-covered to avoid drying out. When you’re ready to serve, fry the chicken until golden brown, assemble with the seasoned rice, and drizzle with sauce. You’ll have a comforting meal ready in no time, all while preserving the delicious flavors of Japanese Katsu Bowls!
Expert Tips for Japanese Katsu Bowls
- Perfect Oil Temperature: Always ensure the oil is hot enough before frying; it should sizzle when you add breadcrumbs. This prevents greasy katsu.
- Even Coating: To avoid uneven frying, don’t skip the dredging process. Each chicken piece should have a thorough coating of flour, egg, and panko.
- Resting Time: Allow fried katsu to rest on paper towels for a few minutes before slicing; this keeps it crispy by draining excess oil.
- Flavor Adjustments: Feel free to customize the sauce proportions to match your taste; adding a touch of spice can take your Japanese Katsu Bowls to the next level.
- Storage Tips: If you have leftovers, store katsu and rice separately in airtight containers for up to 3 days to maintain crispiness when reheating.
Storage Tips for Japanese Katsu Bowls
Fridge: Store leftover katsu and rice separately in airtight containers for up to 3 days to preserve freshness and texture.
Freezer: Katsu can be frozen for up to 2 months; wrap each piece tightly in plastic wrap and then aluminum foil, ensuring no air is trapped to prevent freezer burn.
Reheating: For the best results, reheat the katsu in an oven set to 375°F (190°C) for about 10-15 minutes, keeping it crispy. Microwaving is quicker but may result in sogginess.
What to Serve with Japanese Katsu Bowls
Delight your senses by creating a well-rounded meal that beautifully complements the rich flavors of Japanese Katsu Bowls.
- Creamy Coleslaw: A tangy, crunchy slaw adds a refreshing contrast to the crispy katsu and rich sauce.
- Steamed Broccoli: Tender, steamed broccoli introduces a fresh, green element, balancing the dish while providing essential nutrients.
- Miso Soup: Warm and savory, this classic starter enhances the meal’s comfort factor and prepares your palate for the katsu’s flavor explosion.
Pairing a bright, citrusy Sake Spritzer can elevate your dining experience. It’s light and refreshing, perfect for cutting through the richness.
-
Pickled Vegetables: A colorful array of pickled radishes or cucumbers are zesty options that not only cleanse the palate but also add vibrant color to your plate.
-
Soft-Boiled Eggs: Velvety eggs add creaminess and make each bite of katsu even more indulgent.
Opt for Green Tea as a soothing beverage, enhancing the overall experience with its light bitterness that complements the crispy, savory elements of the katsu.
Japanese Katsu Bowls Recipe FAQs
What type of chicken is best for katsu?
Absolutely! Boneless chicken breasts are ideal for katsu due to their tenderness and quick cooking time. However, if you prefer, pork loin makes a fantastic alternative, and for those looking for vegetarian options, eggplant or tofu can be equally delightful!
How should I store leftover katsu?
Leftover katsu can be refrigerated for up to 3 days. To maintain that delightful crunch, it’s best to store the katsu and rice separately in airtight containers. This helps preserve their textures and flavors.
Can I freeze katsu, and if so, how?
Very! You can definitely freeze katsu for up to 2 months. Wrap each piece tightly in plastic wrap, followed by aluminum foil to lock out air and prevent freezer burn. Make sure to label them with the date!
What should I do if my katsu isn’t crispy?
If your katsu doesn’t come out crispy, it could be due to the oil temperature. Ensure the oil is hot enough (about 350°F or 175°C) before frying. A good test is to drop in a piece of panko; it should sizzle on contact. Additionally, avoid overcrowding the pan, which can lower the oil temperature and leave your katsu soggy.
Are there any dietary considerations for katsu?
Certainly! For those with allergies, it’s essential to note that this recipe contains gluten (from flour and breadcrumbs). If you’re cooking for someone with gluten sensitivities, gluten-free breadcrumbs are a great substitute. As for pets, it’s best not to share any fried foods, as they can be harmful to them.
How can I customize the flavor profile of my sauce?
Feel free to experiment! If you want a spicier kick, consider adding sriracha or chili flakes to the sauce mixture. For a sweeter taste, increase the ketchup or even incorporate a spoonful of honey. Adjusting the ingredients is a fun way to create your own signature flavor!
Crispy Japanese Katsu Bowls: Comfort in Every Bite
Ingredients
Equipment
Method
- Rinse the rice under cold water until clear, soak for 30 minutes. Drain, add to rice cooker with water, and cook for 15 minutes. Let rest covered for 10 minutes.
- Combine vinegar, sugar, and salt in a bowl until dissolved. Gently fold mixture into the rice.
- Pound chicken to ½ inch thick, season with salt and pepper. Set up a breading station: flour, beaten eggs, and panko.
- Heat oil in skillet. Fry chicken for 4-5 minutes on each side until golden brown. Drain on paper towels.
- Mix tonkatsu sauce, soy sauce, Worcestershire sauce, and ketchup in a bowl.
- Assemble bowls with rice, sliced chicken, sauce, cabbage, green onions, sesame seeds, and pickled ginger.
Leave a Reply