
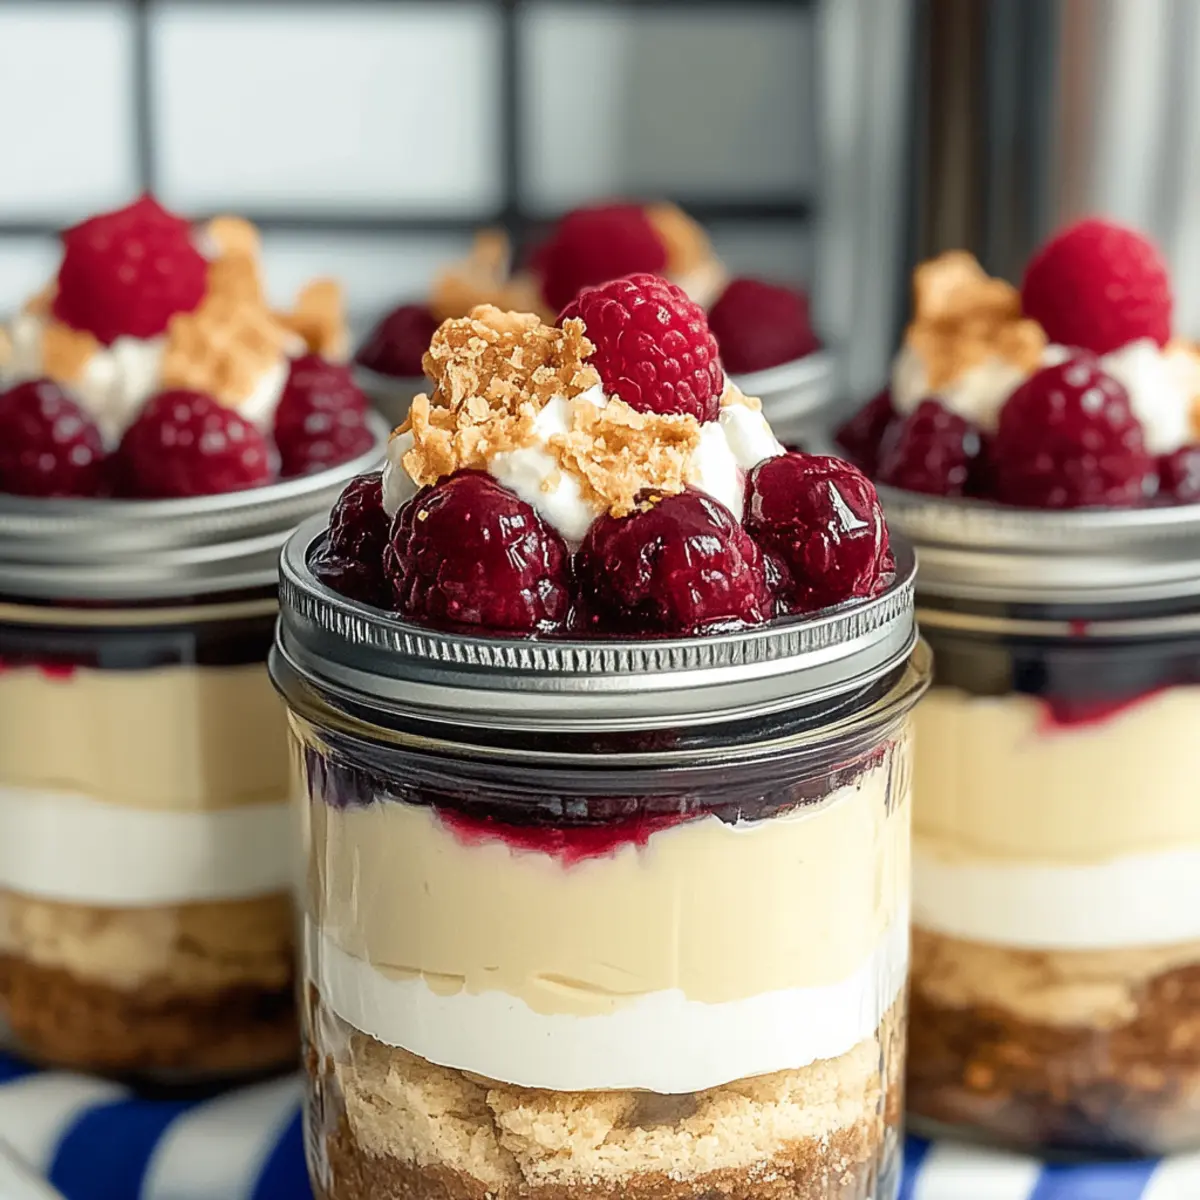
As I stared down at my neglected gym goals and the remnants of last night’s takeout, I felt a mini crisis brewing. I craved something indulgent but also nourishing—a dessert that would satisfy my sweet tooth and align with my fitness aspirations. Enter the Easy High Protein Cheesecake Jars! These delightful little treats provide a guilt-free escape while packing a protein punch, perfect for anyone looking to enhance their muscle gains. What I love most about these jars is their no-bake nature and customizable options, making them a quick and crowd-pleasing solution for busy weekdays. Whether you’re planning a post-workout snack or a light dessert, these jars can easily lift your spirits without derailing your health goals. Curious about how to make these creamy wonders your new favorite treat? Let’s dive in!
Why are High Protein Cheesecake Jars irresistible?
Simplicity: These jars are extremely easy to whip up, requiring no baking and minimal kitchen skills.
Customizable: You can tailor the flavors to your liking – from chocolate to berry or even matcha!
Guilt-Free: Indulge without the remorse; each jar is low-carb and packed with protein to support your muscle gains.
Meal Prep Friendly: Make them ahead of time and store in the fridge for a tasty snack or dessert that’s ready when you are.
Crowd-Pleasing: Whether for a family gathering or meal prep, these jars will impress anyone looking for a wholesome yet delectable treat.
These jars are the perfect addition to your healthy eating plan, combining the joy of dessert with the benefits of lean protein. Need more meal inspiration? Check out these Cottage Cheese Chickpea salads or High Protein Steak recipes for delightful options!
High Protein Cheesecake Jars Ingredients
For the Crust
• Almond Flour – serves as the base for a crunchy yet satisfying texture; can be replaced with oats for a gluten-free option.
• Sweetener (optional) – enhances the crust’s flavor; adjust to your taste using honey or maple syrup for a natural touch.
For the Filling
• Greek Yogurt – provides the creamy, rich base; opt for low-fat yogurt if you prefer a lighter version.
• Cream Cheese – adds the traditional cheesecake flavor; for a dairy-free twist, use vegan cream cheese.
• Protein Powder – boosts the high protein content of these cheesecake jars; any flavor works, but chocolate or strawberry can add unique tastes.
• Vanilla Extract – essential for elevating the overall flavor profile; don’t skip it for a well-rounded taste.
These High Protein Cheesecake Jars are a deliciously nutritious treat you’ll love!
Step‑by‑Step Instructions for Easy High Protein Cheesecake Jars
Step 1: Prepare the Crust
In a mixing bowl, combine almond flour and optional sweetener until well blended. Using a fork or your fingers, mix until the texture resembles sandy crumbs, ensuring an even distribution of the sweetener. This will form a crunchy base for your Easy High Protein Cheesecake Jars. Set aside while you prepare the filling.
Step 2: Combine the Filling
In a separate large mixing bowl, beat together Greek yogurt, cream cheese, protein powder, and vanilla extract using a hand mixer or spatula. Continue mixing until the mixture is completely smooth and creamy, ensuring no lumps remain. This velvety filling will be the heart of your cheesecake jars, so take your time and achieve a uniform texture.
Step 3: Layer the Ingredients
Grab your serving jars and start by adding a layer of the crust mixture at the bottom, pressing it down gently with the back of a spoon to create a firm base. Next, spoon the creamy filling over the crust, filling the jars about three-quarters full. Take care to keep the layers separated for a delightful visual contrast in your Easy High Protein Cheesecake Jars.
Step 4: Chill the Jars
Once layered, cover the jars with lids or plastic wrap and place them in the refrigerator. Allow the cheesecake jars to chill for at least 2 hours, or longer if possible. This chilling time helps the flavors to meld beautifully and firms up the filling to the perfect creamy consistency, creating an indulgent treat ready to be enjoyed.
Step 5: Serve and Enjoy
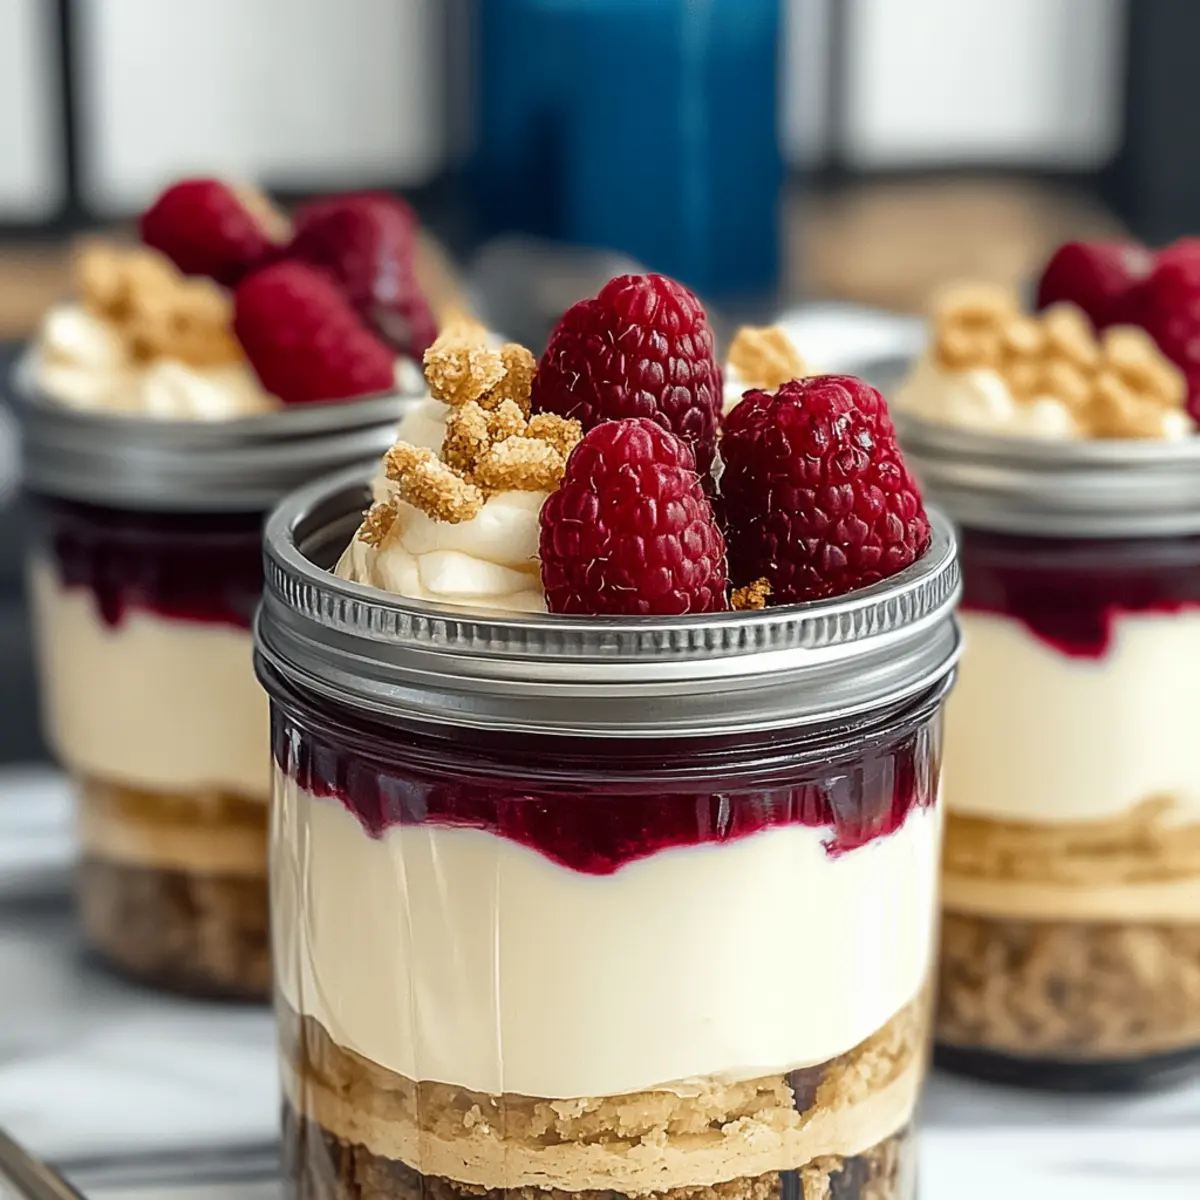
When you’re ready to serve, remove the jars from the fridge. For an extra touch, consider topping your Easy High Protein Cheesecake Jars with fresh fruit, chopped nuts, or a drizzle of chocolate. These simple add-ons not only enhance the flavor but also make your jars look even more appetizing, perfect for sharing or enjoying solo.
Expert Tips for High Protein Cheesecake Jars
-
Room Temperature Ingredients: Ensure all your ingredients are at room temperature before mixing; this helps create a smooth filling without lumps.
-
Chill Time Matters: Don’t rush the chilling process; refrigerate your jars for at least 2 hours to achieve the perfect creamy texture and flavor melding.
-
Layering Technique: When layering, spoon the filling gently over the crust, avoiding mixing the two layers for a visually appealing and indulgent treat in every bite.
-
Flavor Enhancements: Experiment with different protein powder flavors and toppings, but remember to include vanilla extract; it plays a crucial role in flavor balance for your High Protein Cheesecake Jars.
-
Storage Tips: Store these jars in the fridge for up to 5 days, making them ideal for meal prep; just add toppings right before serving for freshness.
How to Store and Freeze High Protein Cheesecake Jars
Fridge: Store these jars in the refrigerator for up to 5 days in airtight containers to maintain freshness and flavor.
Freezer: If you want to store them longer, freeze the jars for up to 3 months. Just make sure to leave some space at the top of the jars, as the filling will expand when frozen.
Thawing: To enjoy frozen High Protein Cheesecake Jars, transfer them to the fridge overnight to thaw. This gentle method preserves the creamy texture.
Reheating: These jars are best enjoyed chilled; avoid microwaving them to maintain their delicious consistency.
What to Serve with Easy High Protein Cheesecake Jars
Elevate your dessert experience with delightful pairings that complement the creamy, indulgent goodness of these cheesecake jars.
-
Fresh Berries: The bright, tart flavors of strawberries or blueberries provide a refreshing contrast, enhancing the sweetness of the cheesecake.
-
Chopped Nuts: Almonds or pecans add a delightful crunch and nutty flavor, balancing the creamy texture with every spoonful.
-
Dark Chocolate Drizzle: A touch of rich dark chocolate elevates the dessert to new heights, bringing a luxurious finish to your cheesecake jars.
-
Matcha Tea: This gentle, earthy beverage complements the sweetness of the cheesecake, offering a soothing warm drink that enhances flavor.
-
Coconut Flakes: Sprinkle toasted coconut on top for a tropical twist; the chewy texture brings an exciting element to each bite.
-
Mint Leaves: Fresh mint leaves offer a burst of brightness, adding an aromatic note that lightens the overall decadent experience.
Pairing these delightful elements with your Easy High Protein Cheesecake Jars creates a memorable dessert experience that satisfies both your palate and your health goals.
High Protein Cheesecake Jars Variations
Feel free to get creative with these delicious cheesecake jars and make them uniquely yours!
-
Dairy-Free: Swap cream cheese for vegan cream cheese to enjoy a dairy-free version without sacrificing flavor.
Experimenting with plant-based options can open up delightful new dimensions in taste! -
Gluten-Free: Replace almond flour with oat flour or crushed gluten-free cookies for a crunchy crust that fits your dietary needs.
This swap ensures that everyone can indulge in the deliciousness without worry. -
Flavored Protein Powder: Use different protein powder flavors, such as chocolate, vanilla, or peanut butter, for exciting twists.
Adjusting flavors can give your cheesecake jars a fun spin, keeping things fresh and intriguing! -
Add a Zing: Stir in lemon or orange zest for a bright citrus twist that will elevate the flavor profile.
Zesty notes can bring a refreshing contrast to the creamy layers, surprising your taste buds with every spoonful. -
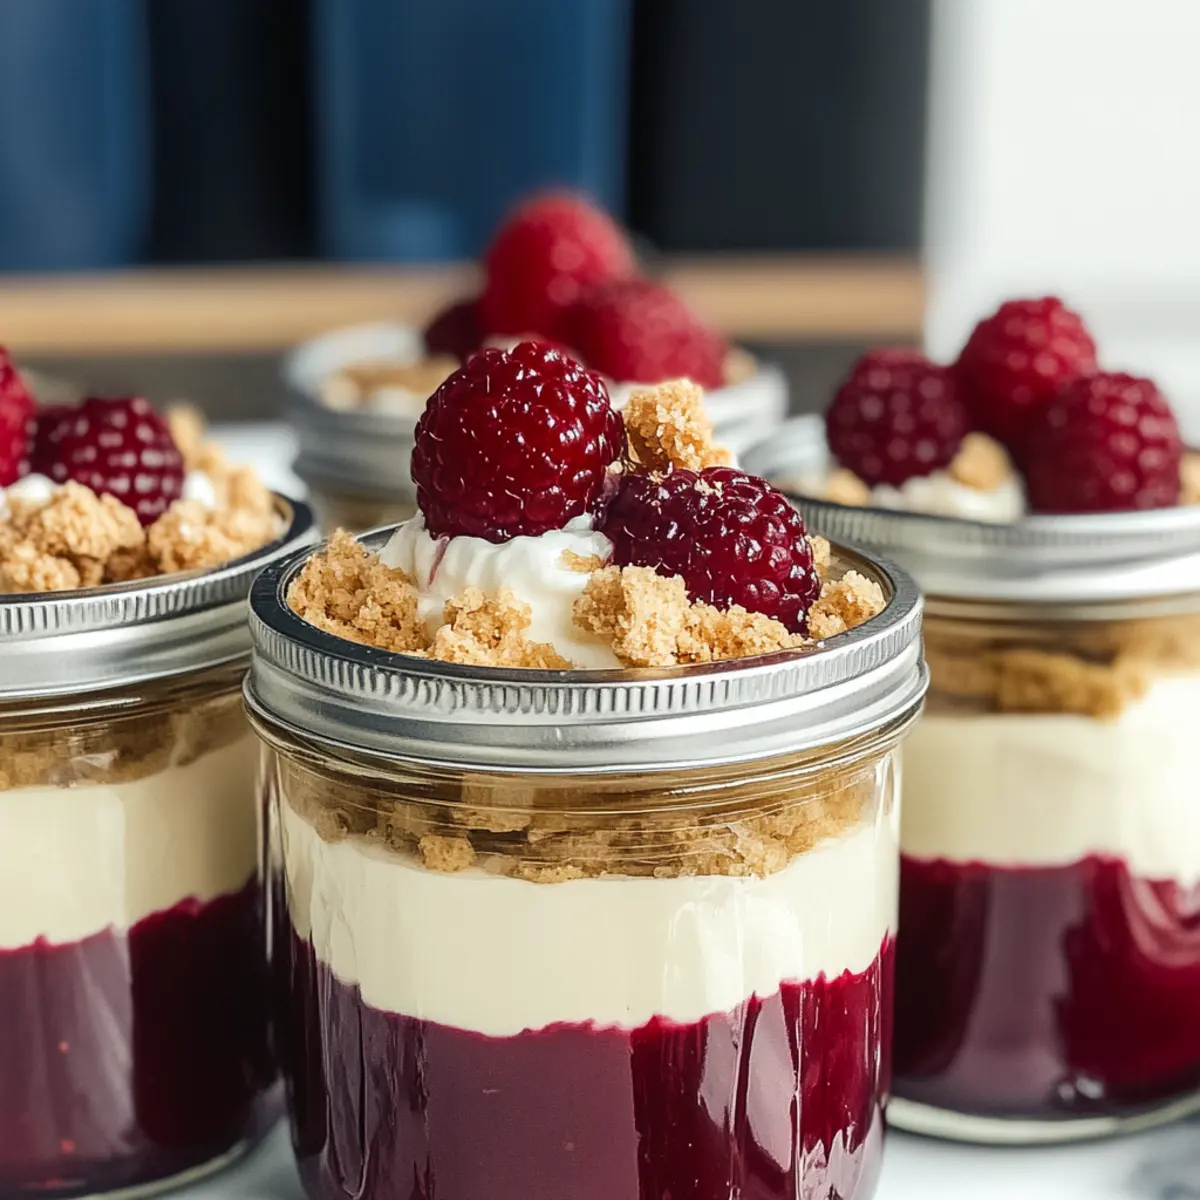
Fruit Blends: Incorporate pureed fruits like strawberries or raspberries for a fruity filling that adds natural sweetness.
Layering or swirling in fruit puree can create a beautiful and vibrant presentation, perfect for those sunny days! -
Spicy Kick: For those who like it hot, add a pinch of cinnamon or a dash of cayenne pepper to the filling.
This unexpected heat can create a tantalizing contrast that brings a whole new experience. -
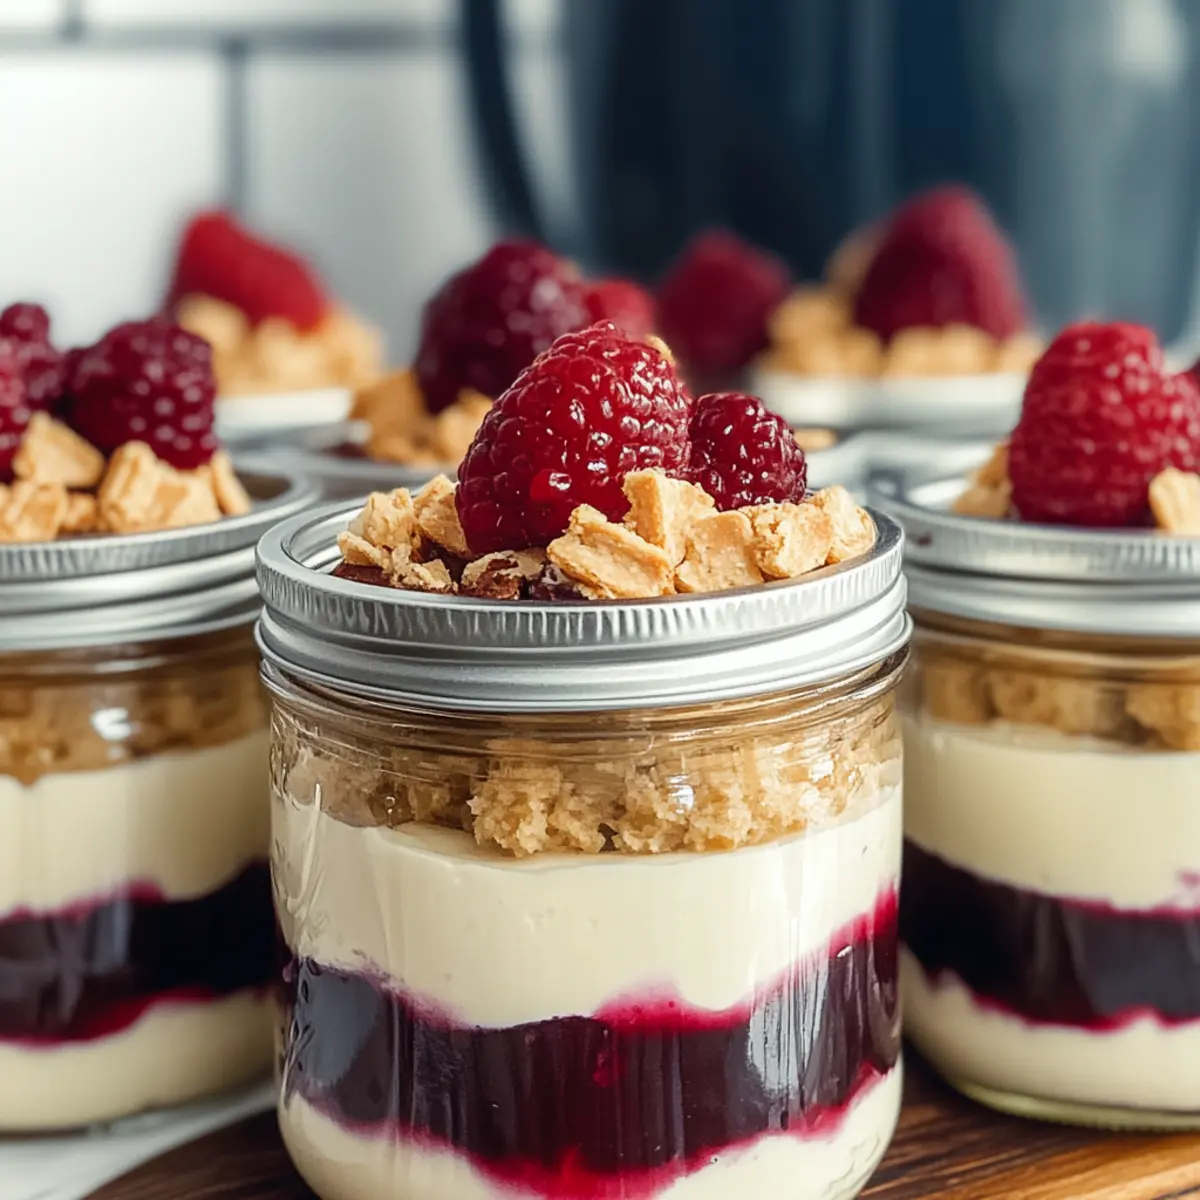
Nutty Crunch: Sprinkle crushed nuts or granola between layers for an extra crunch that keeps things interesting.
Don’t be shy—experimenting with textures can create an unforgettable dessert experience!
These Cottage Cheese Chickpea salads or High Protein Steak dishes will pair beautifully with your cheesecake jars—just the right energizing additions to keep your meal plan balanced and exciting!
Make Ahead Options
These Easy High Protein Cheesecake Jars are a fantastic choice for meal prep, allowing you to enjoy a nutritious treat without any last-minute hassle! You can prepare the crust and filling up to 24 hours in advance; just keep them stored separately in airtight containers in the refrigerator to maintain freshness. When you’re ready to assemble, simply layer the prepped crust and filling in your jars. To elevate your cheesecake jars just before serving, consider adding your favorite toppings like fresh fruits or nuts. This way, you’ll have a delicious, guilt-free dessert ready for busy weeknights or post-workout cravings, keeping your goals on track!
High Protein Cheesecake Jars Recipe FAQs
What is the best way to choose ripe ingredients?
Absolutely! When selecting Greek yogurt, go for brands with higher protein content and check for a thick, creamy consistency. For cream cheese, aim for full-fat for richer flavor and texture. You want almond flour to be finely ground for a smoother crust; avoid anything that seems overly coarse.
How should I store High Protein Cheesecake Jars?
These jars can be stored in the refrigerator for up to 5 days. Make sure to cover them tightly with lids or plastic wrap to keep them fresh and prevent any odors from the fridge from seeping in. They make for a great meal prep option as they stay delicious for days!
Can I freeze High Protein Cheesecake Jars?
Yes, you can freeze them! Place your jars in the freezer for up to 3 months. Be sure to leave about an inch of space at the top of the jars, as the filling will expand when frozen. For best results, thaw them in the fridge overnight before serving.
What should I do if my filling turns out lumpy?
No worries! If your filling is lumpy, it likely means your ingredients weren’t at room temperature or did not mix well. To remedy this, you can use a hand mixer to blend the mixture again until smooth. If you find it still has lumps, a quick spin in a blender will help achieve that velvety texture you’re aiming for!
Are there any dietary considerations I should keep in mind?
Very! If you or anyone you’re serving has allergies, ensure you use gluten-free oats instead of almond flour for a gluten-free option. For dairy-free dieters, swapping regular cream cheese for vegan cream cheese will maintain the delightful flavor with a friendly twist.
Delicious High Protein Cheesecake Jars for Guilt-Free Indulgence
Ingredients
Equipment
Method
- In a mixing bowl, combine almond flour and optional sweetener until well blended.
- In a separate large mixing bowl, beat together Greek yogurt, cream cheese, protein powder, and vanilla extract until smooth and creamy.
- Add a layer of the crust mixture at the bottom of jars, then spoon the creamy filling over the crust.
- Cover the jars and place them in the refrigerator for at least 2 hours to chill.
- Serve chilled and consider topping with fresh fruit, chopped nuts, or a drizzle of chocolate.
Leave a Reply