
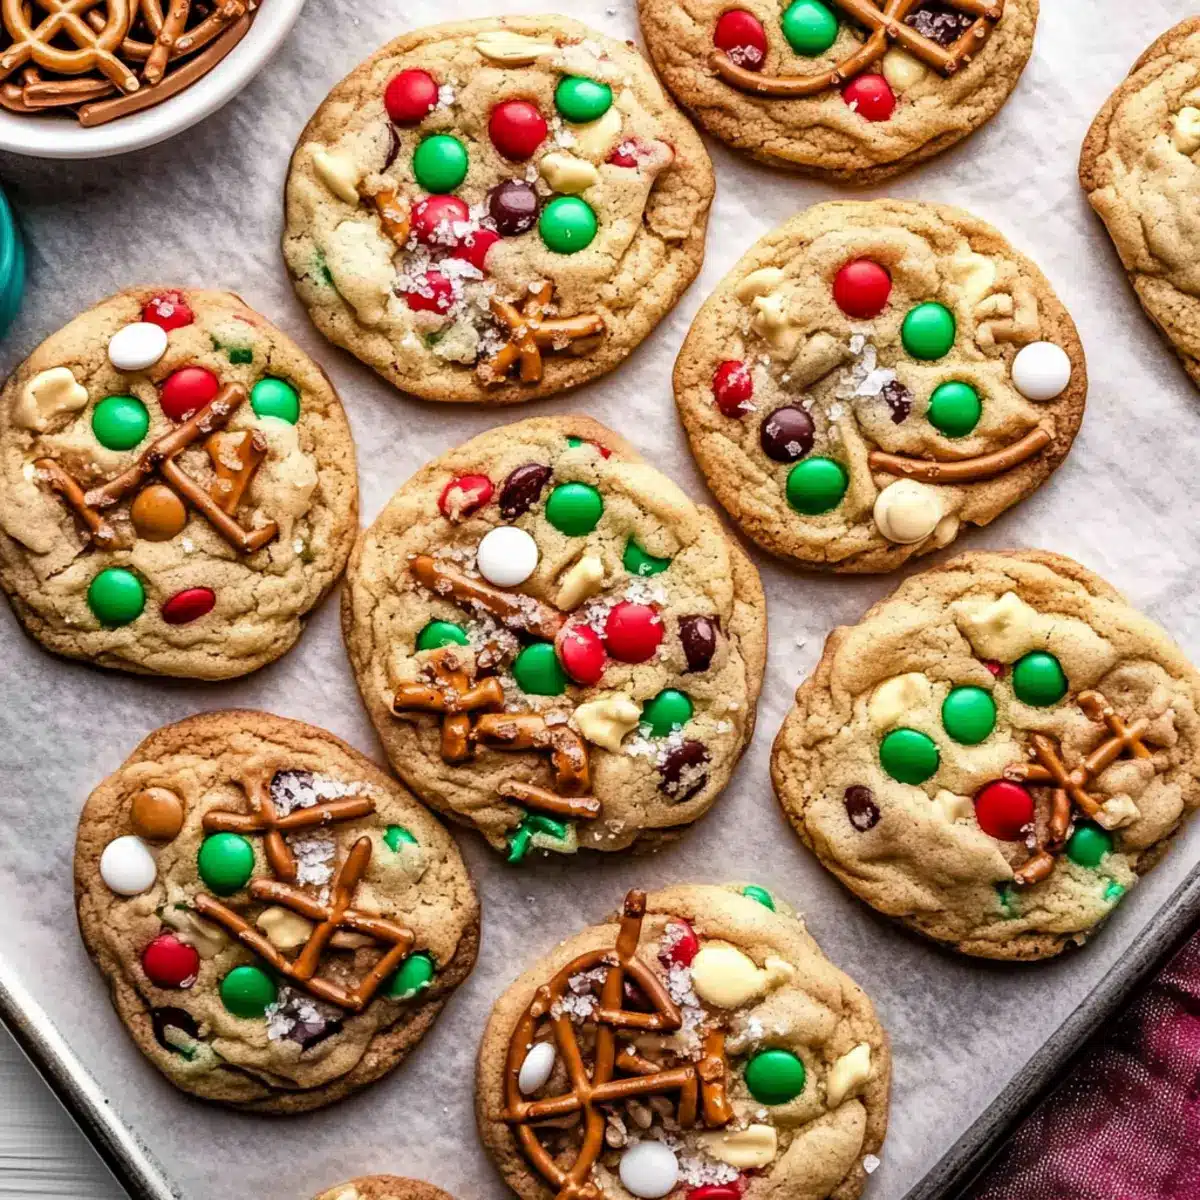
Amid the hustle and bustle of holiday preparations, I stumbled upon the ultimate cookie creation—Christmas Kitchen Sink Cookies. Imagine a delightful mash-up of pretzels, M&M’s, and creamy white chocolate, all dancing together in perfect harmony. These sweet and salty holiday treats are not only a fun twist on your traditional cookie, but they also come together in just 30 minutes, making them a breeze for even the busiest bakers. Whip up a batch to impress your family or as a festive contribution to holiday gatherings, and trust me, they will disappear faster than you can say “Merry Christmas!” Ready to dive into a cookie experience that will redefine your holiday baking?

What makes these cookies irresistible?
Delightfully Unique: This recipe combines an unexpected mix of sweet and salty flavors that tantalize your taste buds.
Quick and Easy: With just 30 minutes from start to finish, you can create a festive treat that impresses without complicated steps.
Versatile Ingredients: Mix and match with your favorite snacks—think potato chips or assorted candies—making every batch a new adventure!
Crowd Pleaser: The eye-catching colors and fun textures make these cookies a hit at holiday parties, alongside options like Snowball Cookies Melt or Christmas Salad Festive.
Perfect for Sharing: Bake them for family gatherings or gift them to friends; there’s no shortage of joy when these cookies are around!
Get ready to make your holiday baking unforgettable with these Christmas Kitchen Sink Cookies!
Christmas Kitchen Sink Cookies Ingredients
Get ready to gather the essentials for your holiday baking adventure!
For the Batter
- Salted Butter – Provides richness and moisture; you can use unsalted if preferred and adjust salt later.
- Light Brown Sugar – Adds sweetness and a soft, chewy texture; dark brown sugar can be used for a deeper flavor.
- Granulated White Sugar – Enhances sweetness for balanced flavors; feel free to reduce the amount for less sweetness.
- Egg Yolks – Contributes to richness and helps bind ingredients; use a flax egg for a vegan alternative.
- Vanilla Bean Paste or Extract – Introduces aromatic sweetness; substitute with pure vanilla extract if needed.
- All-Purpose Flour – Provides structure; substitute with a gluten-free blend for a gluten-free option.
- Baking Powder & Baking Soda – Essential leavening agents for the right cookie rise; always check freshness!
- Salt – Enhances flavor balance; reduce if using salted butter.
For the Mix-Ins
- Red and Green M&M’s – Adds festive color and sweetness; feel free to use any chocolate or different candies for variety.
- White Chocolate Chips – Offers creamy sweetness; swap with dark chocolate chips for another flavor profile.
- Pretzel Pieces – Introduces a delightful salty crunch; consider mixing with nuts for added texture.
- Potato Chip Pieces – Provides an unexpected crunch; for variation, try using tortilla chips!
- Red and Green Jimmies – Decorative sprinkles for a festive touch; optional if not desired.
Now that you have all the ingredients ready, you’re just steps away from making these extraordinary Christmas Kitchen Sink Cookies!
Step‑by‑Step Instructions for Christmas Kitchen Sink Cookies
Step 1: Preheat and Prepare
Start by preheating your oven to 350°F (175°C). While the oven heats up, take a moment to line two baking sheets with parchment paper, ensuring they are ready for the delicious Christmas Kitchen Sink Cookies. This prep work will make your baking process smoother, allowing you to move seamlessly from mixing to baking without delay.
Step 2: Cream the Butters and Sugars
In a large mixing bowl, combine the softened salted butter, light brown sugar, and granulated sugar. Using an electric mixer set to medium speed, cream the ingredients together for about 2 minutes until the mixture is light and fluffy, showcasing a pale color that indicates air has been incorporated. This step is key for achieving that melt-in-your-mouth texture in the cookies.
Step 3: Add Eggs and Vanilla
Next, add in the egg yolks and vanilla bean paste (or extract) to the creamed mixture. Continue mixing on medium speed for another 2 minutes until the batter appears pale and fluffy, giving off a delightful aroma. This incorporation ensures that the flavors meld, promising a rich and flavorful base for your Christmas Kitchen Sink Cookies.
Step 4: Combine Dry Ingredients
Gradually sift in the all-purpose flour, baking powder, baking soda, and salt into the wet mixture. Using a spatula, gently fold the dry ingredients until just combined—be careful not to overmix. Once this step is complete, you’ll see a cohesive dough form, ready to embrace all the festive add-ins that make these cookies truly special.
Step 5: Fold in the Mix-Ins
Using your spatula, fold in the red and green M&M’s, white chocolate chips, pretzel pieces, potato chip pieces, and optional jimmies. Make sure everything is evenly distributed throughout the dough so each bite of your Christmas Kitchen Sink Cookies is bursting with flavor and texture. This step is where the magic really happens as all those fun additions come together!
Step 6: Scoop the Dough
Using a cookie scoop or tablespoon, scoop the dough into 20 uniform balls, placing them about 2 inches apart on your prepared baking sheets. For a festive touch, you can top each dough ball with a few extra M&M’s or mix-ins to make the cookies even more visually appealing once baked. It’s important to give them room to spread while baking!
Step 7: Bake to Perfection
Place the baking sheets in the preheated oven and bake for 10-12 minutes. For chewy centers, aim for about 10 minutes; for crisper edges, let them bake for up to 12 minutes. Keep an eye on them until the edges turn golden brown while the centers still look slightly soft. This perfect timing is essential for achieving that ideal texture!
Step 8: Shape Post-Baking
As soon as you pull the cookies from the oven, use a large circular cookie cutter to gently reshape the cookies if desired, allowing for a more uniform appearance. This is a fun trick that makes them look professionally made and blends the edges nicely, combining those delightful mounds into a beautiful treat.
Step 9: Cool and Enjoy
Let the cookies cool on the baking sheets for about 5 minutes before transferring them to a cooling rack where they will cool for an additional 10 minutes. This wait will help them set perfectly while retaining that delightful chewiness. Now you’re ready to enjoy your festive Christmas Kitchen Sink Cookies!

How to Store and Freeze Christmas Kitchen Sink Cookies
Airtight Container: Store baked cookies in an airtight container at room temperature for up to 3 days. This will keep them chewy and fresh for snacking.
Freezer: To freeze the cookie dough, scoop the balls onto a baking sheet and freeze until solid. Transfer to a freezer bag for up to 2 weeks, ready to bake when the craving strikes.
Reheating: To enjoy cookies after freezing, thaw them at room temperature for about 30 minutes and bake for an extra 2-3 minutes at 350°F (175°C) to refresh their texture.
Keep Flattening in Check: If your cookies seem to flatten, review your butter temperature, ensuring you start with softened butter, not melted, for the best Christmas Kitchen Sink Cookies!
Expert Tips for Christmas Kitchen Sink Cookies
- Measure Flour Accurately: Spoon and level your flour instead of scooping directly to avoid adding too much, which can lead to dry cookies.
- Chill the Dough: For cookies that maintain their shape, consider chilling the dough for 30 minutes before baking, though it’s not strictly necessary.
- Check Cookie Temperature: Ensure butter is softened but not melted; if cookies spread too much, it might be due to warm dough.
- Beat for Texture: Cream the butter and sugars until light and fluffy to achieve that perfect chewiness in your Christmas Kitchen Sink Cookies.
- Decorate Smartly: Add some mix-ins or sprinkles on top of your cookie dough before baking for extra visual appeal and festive flair.
Christmas Kitchen Sink Cookies Variations
Feel free to get creative with these cookies and add your personal touch to make them delightfully unique!
-
Dairy-Free: Substitute dairy butter with coconut oil and use dairy-free chocolate for a vegan version that’s equally tasty.
-
Nutty Addition: Incorporate chopped walnuts or pecans for added crunch and a delicious nutty flavor that complements the sweetness wonderfully.
-
Spicy Kick: Add a pinch of cinnamon or cayenne pepper to the batter for subtle warmth that will surprise and delight your taste buds, perfect for the holiday season.
-
Chocolatey Delight: Swap in cocoa powder in place of some of the flour and use chocolate M&M’s for an indulgent twist—perfect for chocolate lovers!
-
Less Sweet: Reduce the amount of sugar in the recipe for a less sweet cookie that lets the savory elements shine. You might even enjoy them alongside savory snacks like Christmas Salad Festive for a balanced treat.
-
Pretzel-Free: If you’re not a fan of pretzels, feel free to replace them with crushed graham crackers for a different kind of crunch—light and oh-so-sweet!
-
Mix-and-Match: Use your favorite candies, like Reese’s Pieces or Skittles, instead of M&M’s for an explosion of colors and flavors that keeps each bite surprising.
-
Holiday Sprinkles: Instead of jimmies, try festive edible glitter! It’s a magical touch that makes these cookies stand out at holiday gatherings alongside classic treats like Snowball Cookies Melt.
Customizing your Christmas Kitchen Sink Cookies can lead to delightful surprises, making every batch a festive adventure!
What to Serve with Christmas Kitchen Sink Cookies
Indulging in these vibrant cookies is a delightful experience, but what can enhance that moment even further?
- Rich Hot Cocoa: The creamy texture and chocolate flavor of hot cocoa complement the sweet and salty notes of the cookies perfectly, creating a luxurious pairing.
- Vanilla Ice Cream: A scoop of vanilla ice cream adds a cool and creamy contrast, making every bite of the warm cookie extra indulgent. It’s an irresistible combo!
- Festive Fruit Salad: A bright and refreshing fruit salad balances the sweetness of the cookies with its tartness, offering a cheerful touch to your holiday spread.
- Spritz of Sparkling Cider: For an adult twist, enjoy these cookies with a glass of sparkling cider. The fizz cuts through the richness, celebrating the season’s festive spirit.
- Creamy Eggnog: There’s nothing like rich, creamy eggnog during the holidays; it pairs exceptionally well with the chewy texture of Christmas Kitchen Sink Cookies, enhancing their flavors.
- Nutty Trail Mix: Serve a side of savory trail mix for a crunch that echoes the pretzels in the cookies while providing a wholesome element for a well-rounded treat.
- Chocolate Dipped Pretzels: Amplify the salty sweet experience! Adding chocolate-dipped pretzels creates a delicious unity with the cookie itself and visually elevates your dessert table.
- Gingerbread Hot Drinks: Consider serving a gingerbread latte or chai for a warm drink that echoes the festive spices of the season, enhancing the overall experience.
Get ready to elevate your holiday moments with these delightful pairings!
Make Ahead Options
These Christmas Kitchen Sink Cookies are perfect for busy home cooks looking to simplify their holiday baking! You can prepare the cookie dough up to 24 hours in advance. Simply scoop the dough into balls and store them in an airtight container in the refrigerator. To maintain their delightful chewiness, make sure to cover the dough tightly. When you’re ready to bake, preheat the oven and place the chilled dough balls on a baking sheet. Bake them directly from the fridge, adding an extra minute or two if necessary. This way, you’ll have warm, fresh cookies with minimal effort whenever the holiday spirit strikes!

Christmas Kitchen Sink Cookies Recipe FAQs
What type of butter should I use?
You can use salted or unsalted butter for your Christmas Kitchen Sink Cookies. If you choose unsalted, simply adjust the added salt in the recipe to taste. The salted butter adds a lovely richness that complements the sweet and salty mix of ingredients perfectly!
How should I store my cookies?
Store your baked Christmas Kitchen Sink Cookies in an airtight container at room temperature for up to 3 days. This will keep them nice and chewy. If you’re planning to save them longer, you can freeze the cookies for up to 3 months. Just make sure they’re fully cool before sealing them in a freezer bag to avoid frostbite.
Can I freeze the cookie dough?
Absolutely! To freeze the cookie dough, scoop the unbaked dough into balls and arrange them on a baking sheet lined with parchment paper. Freeze until solid—about 1-2 hours—then transfer the dough balls to a freezer-safe bag. They can be stored for up to 2 weeks. When you’re ready to bake, let them thaw for about 30 minutes, then bake as directed!
What can I do if my cookies turn out flat?
If your Christmas Kitchen Sink Cookies spread too much, there are a few things to check. First, make sure your butter is at the perfect softened stage—not melted. If the dough was warm when it went into the oven, that could cause spillage as well. To combat this, try chilling the dough for about 30 minutes before baking to help them hold their shape better.
Are there any dietary considerations to keep in mind?
These cookies contain common allergens such as eggs and flour. For those who are vegan or have egg allergies, you can use a flax egg as a substitute by mixing 1 tablespoon of flaxseed meal with 2.5 tablespoons of water and letting it sit until it thickens. Be cautious about ingredients like pretzels and M&M’s, as they may contain gluten or dairy. Always check labels if you’re baking for those with dietary restrictions!
Christmas Kitchen Sink Cookies: Chewy Sweet & Salty Delights
Ingredients
Equipment
Method
- Preheat your oven to 350°F (175°C) and line two baking sheets with parchment paper.
- In a large mixing bowl, cream the softened salted butter, light brown sugar, and granulated sugar together for about 2 minutes until light and fluffy.
- Add the egg yolks and vanilla bean paste to the creamed mixture and mix on medium speed for another 2 minutes until well combined.
- Gradually sift in the all-purpose flour, baking powder, baking soda, and salt; fold until just combined to form a cohesive dough.
- Fold in the red and green M&M’s, white chocolate chips, pretzel pieces, potato chip pieces, and optional jimmies.
- Scoop the dough into 20 uniform balls and place them about 2 inches apart on prepared baking sheets.
- Bake for 10-12 minutes, aiming for 10 for chewy centers and 12 for crisper edges.
- Reshape the cookies with a circular cookie cutter while hot if desired.
- Cool on baking sheets for 5 minutes, then transfer to a cooling rack for an additional 10 minutes.
Leave a Reply