
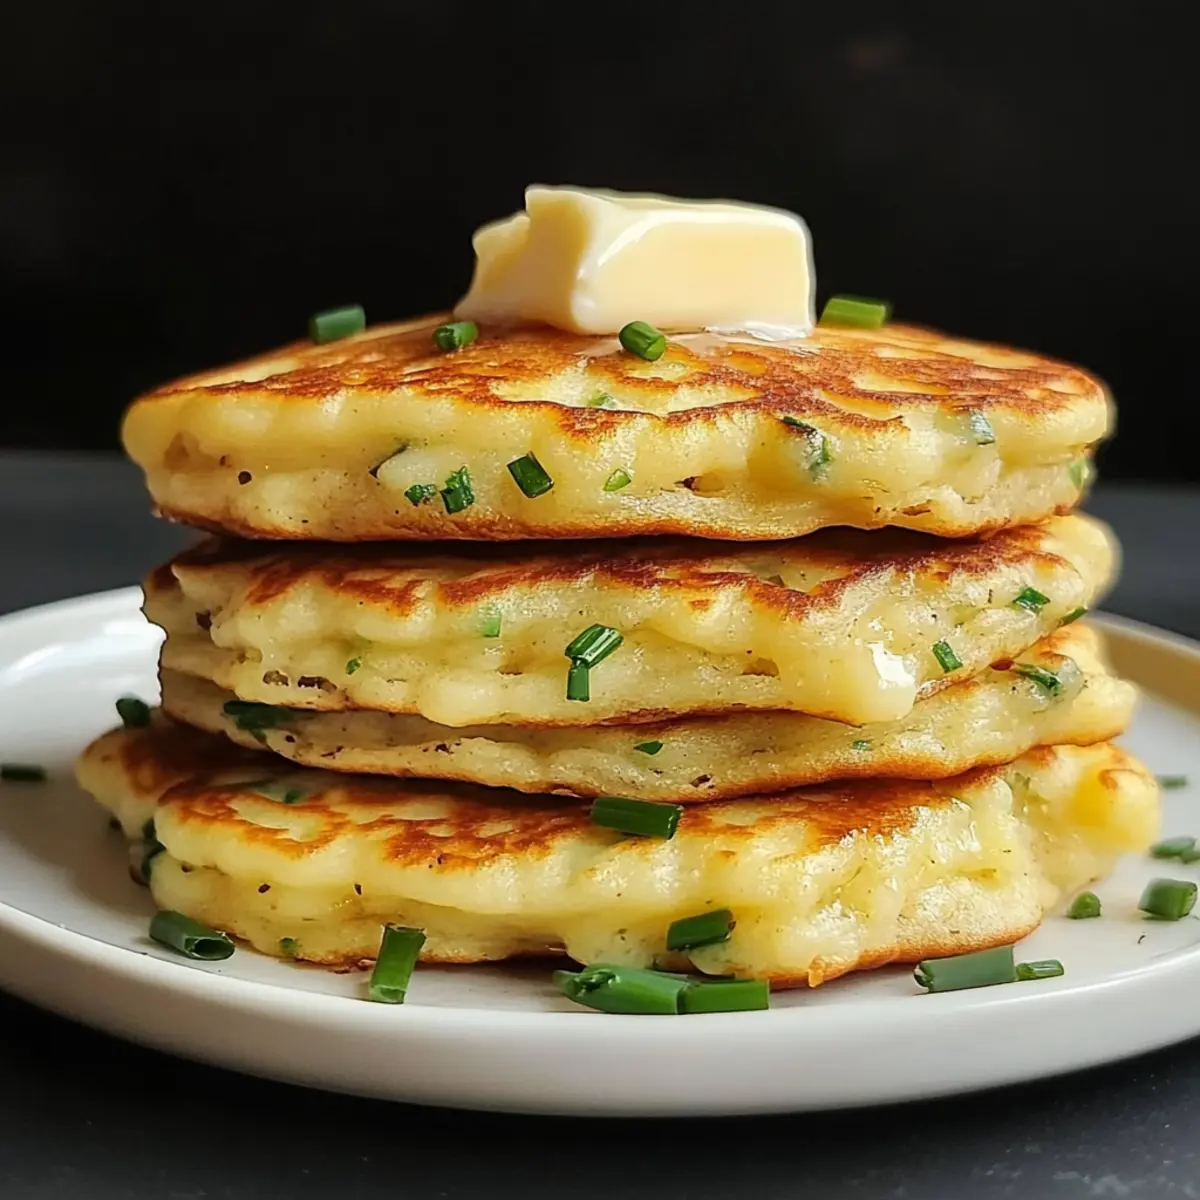
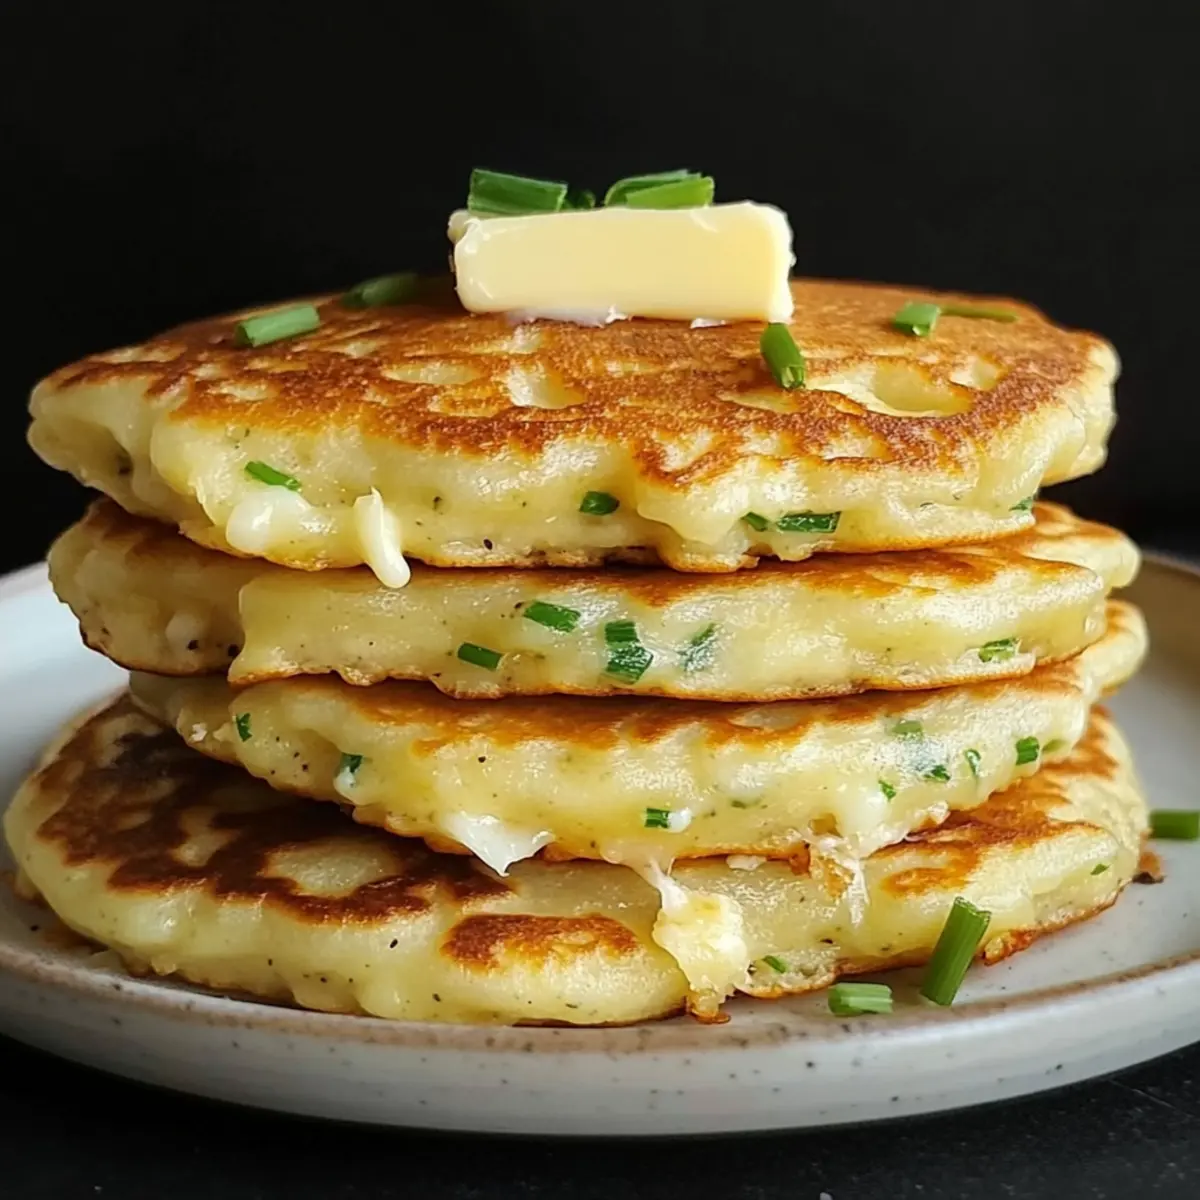
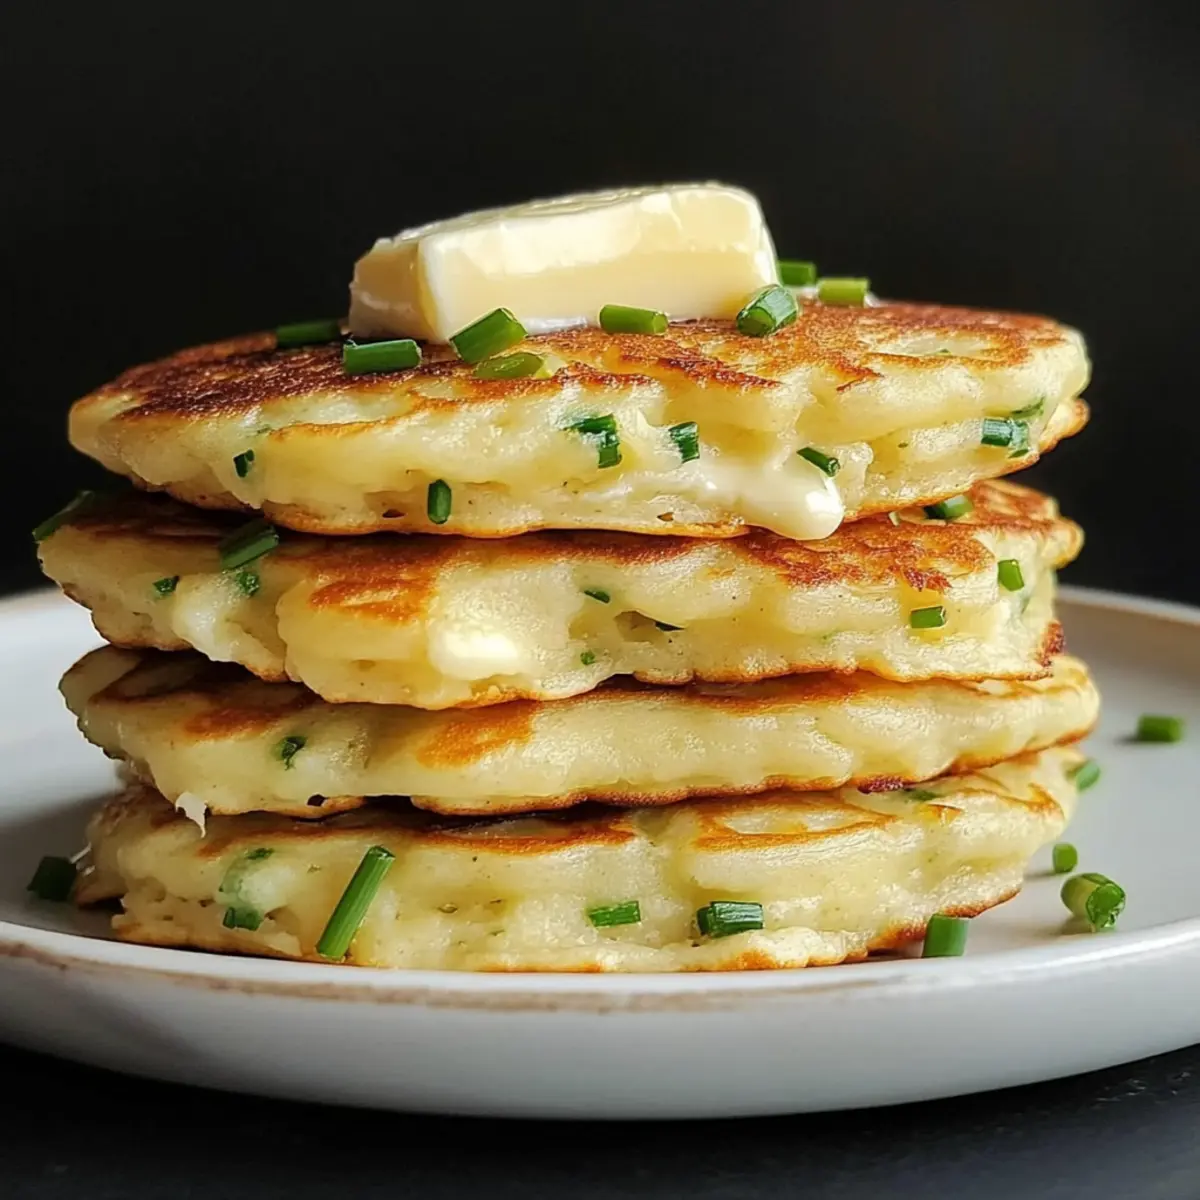
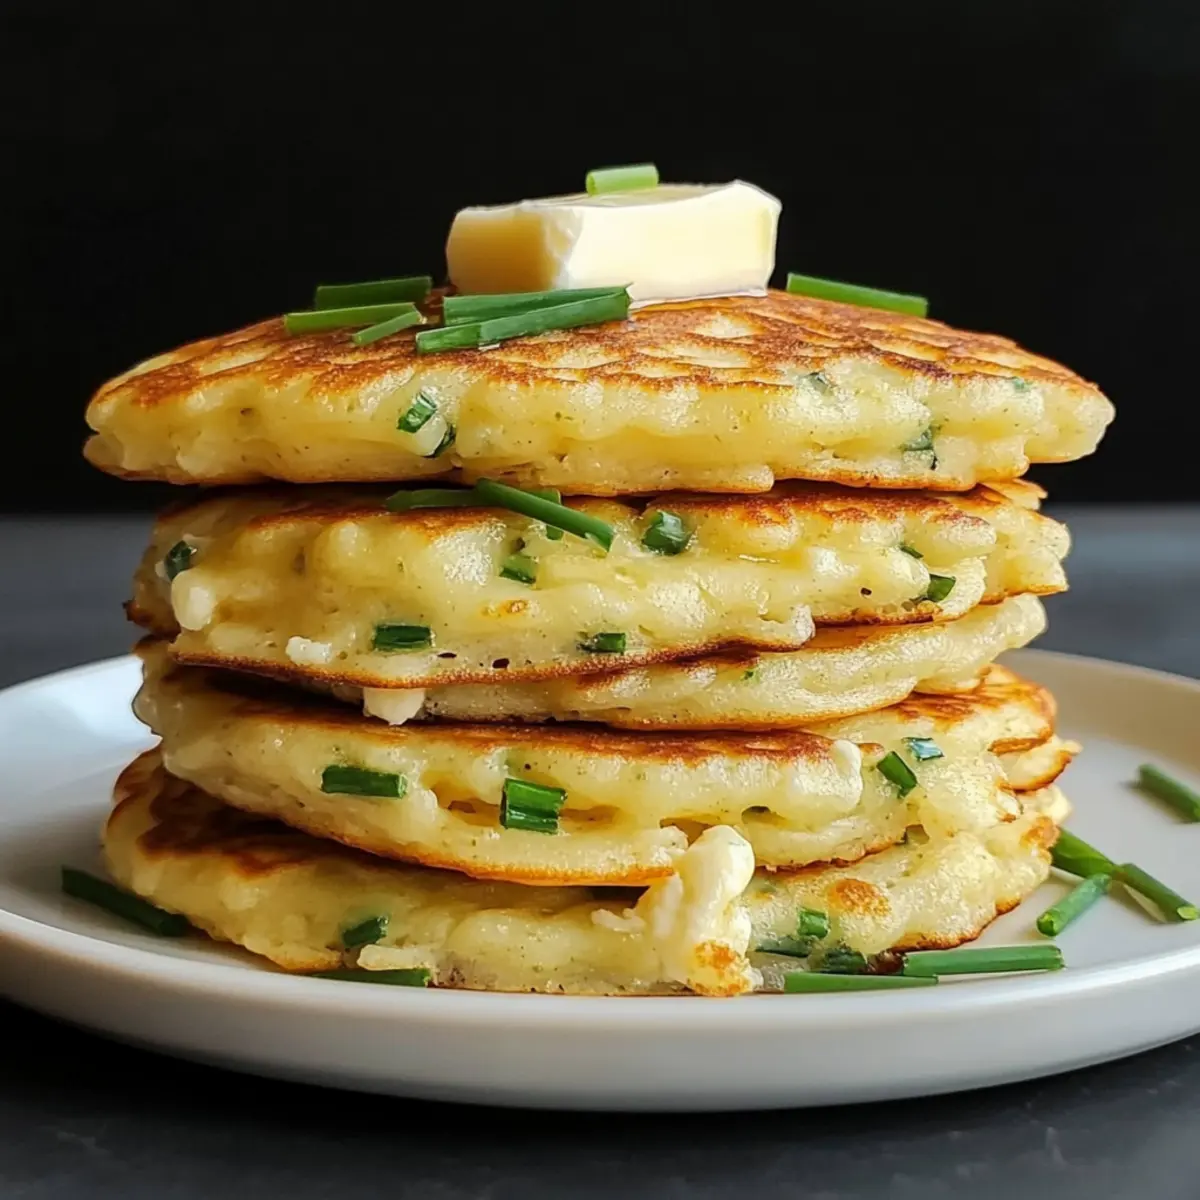
A hint of nostalgia washes over me as the scent of melting cheese mingles with fresh chives, transporting me back to the cozy kitchens of my childhood. That’s the magic of Cheese & Chive Pancakes—these fluffy, savory delights offer a delightful twist on the traditional Scotch pancakes. Not only are they a breeze to whip up, but they also serve as the perfect foundation for countless creative toppings or variations, making them ideal for breakfast, lunch, or a comforting snack anytime. Imagine serving these golden wonders alongside crispy bacon or a simple dollop of yogurt, transforming any mealtime into a cozy feast. Ready to elevate your pancake game and indulge in a recipe that’s both satisfying and utterly delicious? Let’s dive into the world of Cheese & Chive Pancakes!
Why Are Cheese & Chive Pancakes Irresistible?
Fluffy Texture: The lightness of these pancakes makes each bite a pure delight, reminiscent of fluffy scones or pikelets.
Savory Satisfaction: Combining mature Cheddar and fresh chives creates a robust flavor profile that will keep you coming back for more.
Versatile Base: Use them as a canvas! Top with crispy bacon, or for a vegetarian twist, pair with a dollop of yogurt or sautéed vegetables for an extra boost.
Quick and Easy: Ready in under 30 minutes, they’re a perfect solution for those busy mornings or last-minute gatherings.
Family Favorite: These pancakes are sure to please everyone, turning reluctant breakfast eaters into fans. Experiment with variations like our Cottage Cheese Chickpea for even more deliciousness!
Cheese & Chive Pancake Ingredients
For the Batter
- Self-raising flour – Provides structure and lift; substitute all-purpose flour with 1 tsp baking powder if not using self-raising.
- Salt – Enhances overall flavor; no substitutions necessary.
- Milk – Hydrates the batter for a smooth texture; can be substituted with low-fat milk or a plant-based alternative.
- Egg – Binds ingredients together; replace with a flax egg for a vegan version.
For the Cheese & Herbs
- Mature Cheddar cheese – Adds a robust cheesy flavor; substitute with any aged cheese or a dairy-free alternative for versatility.
- Parmesan cheese – Provides additional savory depth; can be swapped with a vegetarian hard cheese.
- Chives – Offers a fresh onion-like flavor; feel free to use green onions or omit for a milder taste.
For Cooking
- Butter and oil – Creates a non-stick surface and adds flavor; olive oil or any neutral oil works great as an alternative.
Dive into the charm of these Cheese & Chive Pancakes made with these delightful ingredients!
Step‑by‑Step Instructions for Cheese & Chive Pancakes
Step 1: Prepare Dry Ingredients
Begin by sifting 1 cup of self-raising flour and 1 teaspoon of salt into a large mixing bowl. This process helps aerate the flour, ensuring your Cheese & Chive Pancakes turn out light and fluffy. Make a well in the center of the flour mixture, which will be used to combine the wet ingredients.
Step 2: Combine Wet Ingredients
In a separate jug, whisk together 1 cup of milk and 1 large egg until they are fully combined. The consistency should be smooth, with no lumps. Pour this mixture into the well created in the flour bowl, allowing the liquid to gradually blend in with the flour as you stir to prevent any clumping.
Step 3: Create the Batter
Gently whisk the milk and egg mixture into the flour until just combined. Be careful not to overmix; some lumps are fine. The batter should be thick but pourable. Once ready, fold in 1 cup of grated mature Cheddar, ¼ cup of grated Parmesan, and ¼ cup of chopped chives until evenly distributed throughout the batter.
Step 4: Melt Butter and Oil
In a small saucepan, combine 1 tablespoon of butter and 1 tablespoon of oil. Place the pan over low heat and let the mixture melt together until frothy, then remove it from the heat. This blend will create a non-stick surface for cooking your pancakes, enhancing their flavor and texture.
Step 5: Preheat Cooking Surface
Preheat a non-stick frying pan or griddle over medium heat. Lightly grease the surface with the melted butter-oil mixture, ensuring it’s well-coated but not pooling. It’s essential to have the right temperature to achieve the golden-brown color and fluffy texture for your Cheese & Chive Pancakes.
Step 6: Cook the Pancakes
Using a tablespoon, scoop the batter and pour it onto the hot cooking surface, giving enough space between each pancake to spread a bit. Cook for about 2–2.5 minutes until bubbles form on the surface, and the edges appear firmer. A golden-brown underside will indicate it’s time to flip.
Step 7: Flip and Finish Cooking
Carefully flip each pancake with a spatula and continue to cook for another 2–2.5 minutes, or until the other side is also golden brown. Keep an eye on the heat and adjust as necessary to prevent burning. Once cooked, transfer the pancakes to a plate lined with a clean towel to keep them warm.
Step 8: Repeat Cooking Process
Repeat the cooking process with the remaining batter, re-greasing the pan as needed. Continue until all the batter is used up. Each batch should yield fluffy, golden Cheese & Chive Pancakes that are just waiting to be enjoyed fresh off the griddle.
Step 9: Serve with Toppings
Once all the pancakes are cooked, serve them warm. You can add a dollop of butter, sprinkle with more cheese, or top with crispy bacon or sautéed vegetables. The options are endless, so feel free to get creative with your toppings and savor every bite of your Cheese & Chive Pancakes!
Expert Tips for Cheese & Chive Pancakes
Heat Matters: Ensure your cooking surface is adequately preheated; a consistent medium heat will achieve golden and fluffy Cheese & Chive Pancakes.
Avoid Overmixing: Mix the batter until just combined to maintain a light texture. A few lumps are perfectly fine!
Test First: Begin with a small pancake to gauge the heat and adjust accordingly to avoid burning the pancakes.
Keep Them Warm: Use a clean towel to wrap the pancakes and keep them warm without overcooking, especially during busy brunches.
Creative Twists: Don’t hesitate to experiment with different herbs or vegetables to customize your Cheese & Chive Pancakes to your taste!
Make Ahead Options
These Cheese & Chive Pancakes are perfect for those busy weeknights when you need a quick meal! You can prepare the batter up to 24 hours in advance and store it in the refrigerator, covered tightly (this keeps the flavors fresh and prevents browning). Alternatively, you can make the pancakes ahead and refrigerate them for up to 3 days, ensuring they remain fluffy by placing a clean tea towel over them after cooking to retain warmth. When you’re ready to serve, simply reheat in the microwave for about one minute, and you’ll enjoy these delicious pancakes just as if they were freshly made!
What to Serve with Cheese & Chive Pancakes
Warming up your kitchen with the delightful aroma of Cheese & Chive Pancakes is just the beginning; let’s build a comforting, hearty meal around these fluffy treasures!
-
Crispy Bacon: The savory crunch of crispy bacon pairs wonderfully with the cheesy pancakes, adding a satisfying texture contrast and rich flavor.
-
Fried Eggs: A runny yolk draped over the fluffy pancakes creates a beautiful and indulgent breakfast, perfect for brunch lovers.
-
Sautéed Spinach: Fresh sautéed spinach offers a vibrant pop of color and a nutrient boost, balancing the rich flavors of the pancakes elegantly.
-
Yogurt and Chives Dip: A creamy yogurt dip infused with fresh chives provides a refreshing tang that complements the cheesiness beautifully.
-
Roasted Cherry Tomatoes: Sweet, roasted tomatoes bring a burst of flavor and juiciness, enhancing each bite of pancake with their vibrant essence.
-
Light Green Salad: A crisp salad of mixed greens with a citrus vinaigrette adds a refreshing crunch that lightens up the savory pancakes.
-
Herbed Sour Cream: Add a dollop of sour cream mixed with fresh herbs for a zesty touch that elevates the flavor profile of the pancakes.
-
Fruit Compote: A sweet fruit compote, like raspberry or apple, can be drizzled over pancakes for a delightful sweet-savory contrast.
-
Sparkling Water with Lemon: Refresh with a glass of sparkling water infused with lemon, a crisp, zesty drink that cleanses the palate between bites.
Cheese & Chive Pancakes Variations
Feel free to put your own spin on these delightful pancakes—your taste buds will thank you!
-
Corn & Cheese: Add 1 cup of sweet corn for a sweet, crunchy burst in every bite. This variation pairs wonderfully with a dollop of sour cream.
-
Spinach & Feta: Mix in 1 cup of chopped spinach and ½ cup of crumbled feta cheese to create a vibrant Mediterranean twist. The salty feta beautifully complements the savory chives.
-
Herb Medley: Replace chives with an assortment of herbs like dill and parsley. This will give a bright and fresh flavor, perfect for springtime brunches.
-
Spicy Kick: Incorporate a 1-2 teaspoons of cayenne pepper or chopped jalapeños for some heat. This fiery twist transforms your pancakes into a savory treat that’s sure to impress the spice lovers.
-
Dairy-Free Delight: Swap out the Cheddar and Parmesan for your favorite dairy-free cheese alternative to make these pancakes suitable for a vegan diet. They still taste creamy and rich!
-
Mini Pancakes: For a fun appetizer, make smaller pancakes—perfect for topping with smoked salmon and a dollop of cream cheese. This elegant touch is perfect for gatherings.
-
Cheddar & Bacon: Fold in some crispy, crumbled bacon and extra Cheddar for an indulgent flavor explosion. Serve with a side of maple syrup for a sweet and salty contrast.
-
Savory Sweet Potato: Mix in 1 cup of mashed sweet potatoes for a slightly sweet, earthy variation. These pairs beautifully with maple syrup or yogurt for dipping.
The options are endless! For more ideas, consider combining these Cheese & Chive Pancakes with some delightful toppings like our Blueberry Cream Cheese or even a side of Mac Cheese Ready for extra cheesy goodness!
Storage Tips for Cheese & Chive Pancakes
Fridge: Store leftover Cheese & Chive Pancakes in an airtight container for up to 3 days. Keep them warm and fresh by placing a clean towel over the container until ready to enjoy.
Freezer: For longer storage, freeze the pancakes individually on a baking sheet before transferring them to a freezer-safe bag or container. They can be stored for up to 2 months.
Reheating: Reheat frozen pancakes directly in the microwave for about one minute or on a skillet over low heat until warmed through, keeping their fluffy texture intact.
Make-Ahead: Prepare the batter ahead of time and store it in the fridge for up to 24 hours. Just give it a quick stir before cooking for deliciously fresh Cheese & Chive Pancakes!
Cheese & Chive Pancakes Recipe FAQs
What type of cheese should I use for the best flavor?
Absolutely! Mature Cheddar is the star of the show for its robust flavor, but feel free to get creative. You can substitute it with any aged cheese you like, or even choose a dairy-free alternative if you’re looking for a vegan option. The flavor will still be delicious!
How do I know if my chives are fresh enough to use?
Very! When selecting chives, look for vibrant green stalks that are firm and have a fresh onion-like aroma. Avoid chives that are wilted or show dark spots, as this indicates they are past their prime.
What’s the best way to store leftover pancakes?
To keep your Cheese & Chive Pancakes fresh, store them in an airtight container in the fridge for up to 3 days. Place a clean towel over the pancakes in the container to maintain warmth! If you’re enjoying them later, consider freezing them for future munching.
Can I freeze my pancakes for later?
Absolutely! To freeze, place your individual pancakes on a baking sheet in a single layer until solid. Once frozen, transfer them to a freezer-safe bag or container, where they’ll stay good for up to 3 months. When you’re ready to eat, simply reheat them in the microwave for about one minute.
Why did my pancakes not rise properly?
Very! If your pancakes didn’t rise as expected, make sure to check that your self-raising flour is fresh and not expired. Also, avoid overmixing your batter, as this can deflate the air bubbles that help them rise. If they still come out flat, consider adding a teaspoon of baking powder to the mix before cooking!
Are there any dietary considerations I should know?
Absolutely! If you have dietary restrictions, you can easily modify this recipe. Use a flax egg instead of a regular egg for a vegan alternative, and choose low-fat or plant-based milk. If allergies are a concern, ensure that your cheese is suitable for your specific needs, or opt for vegan cheese. Your pancakes can still be utterly delicious while accommodating various diets!
Cheese & Chive Pancakes: Fluffy, Savory Delights to Savor
Ingredients
Equipment
Method
- Sift the self-raising flour and salt into a large mixing bowl. Make a well in the center.
- Whisk together the milk and egg until smooth. Pour into the well created in the flour and stir gently.
- Fold in the grated Cheddar, Parmesan, and chives until evenly distributed.
- Melt the butter and oil together in a saucepan over low heat.
- Preheat a non-stick frying pan or griddle over medium heat and grease with the melted butter and oil.
- Scoop the batter onto the cooking surface, leaving space between each pancake. Cook until bubbles form.
- Flip the pancakes and cook until golden brown on both sides.
- Repeat cooking with remaining batter, greasing the pan as needed.
- Serve warm with toppings of your choice.
Leave a Reply