
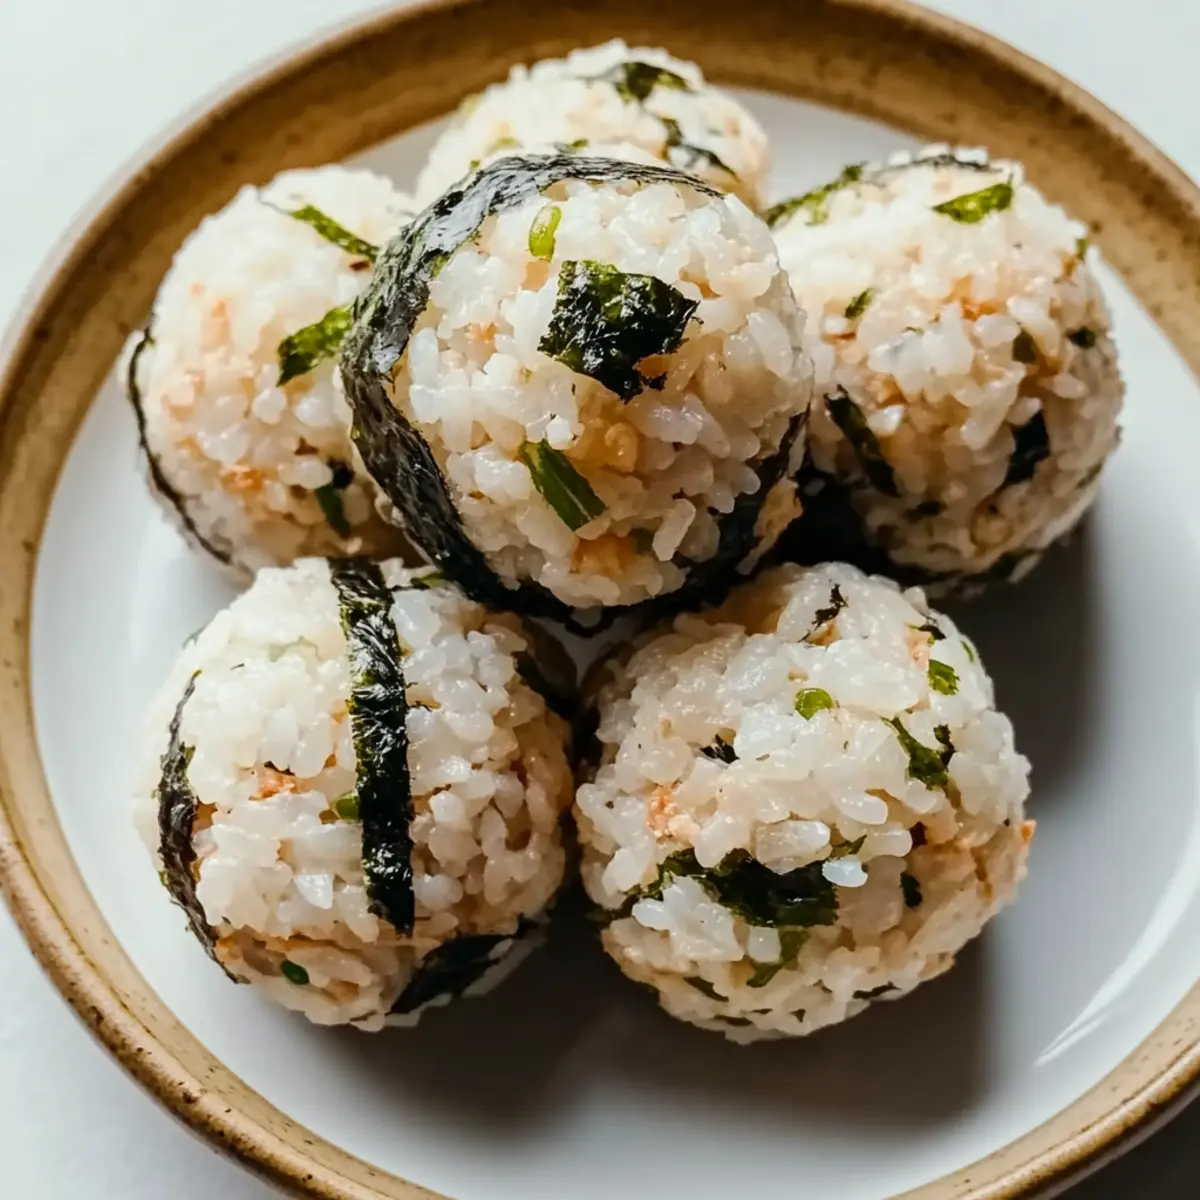
As I rummaged through my pantry one busy afternoon, I stumbled upon a can of tuna, a bag of sushi rice, and a half-open bottle of sesame oil. Suddenly, the idea of Easy Tuna Rice Balls sparked, promising a quick, budget-friendly lunch that could transport me far from the usual sandwich monotony. These delightful bites are not just deliciously portable; they’re a fantastic way to embrace creativity in the kitchen. Whether you’re looking for a wholesome family meal or a fun dish that can cater to your vegetarian or vegan friends, they easily adapt with options like mashed chickpeas or crumbled tofu. I can already feel my taste buds dancing with anticipation—are you ready to roll up your sleeves and whip up these scrumptious rice balls?
Why Are These Rice Balls So Irresistible?
Simplicity at its finest: With just a handful of pantry staples, you can whip up a delicious meal that fits seamlessly into any busy lifestyle. Versatile like no other: Customize these Easy Tuna Rice Balls to fit your taste, whether you stick with the classic tuna or switch it up with mashed chickpeas. Budget-Friendly and filling makes this recipe perfect for anyone seeking a quick, wallet-friendly lunch. Flavorful and Fun: Enjoy a delightful burst of umami from the combination of tuna and seaweed, all wrapped in chewy rice. Plus, these rice balls are great for meal prepping—just grab some Turkey Stuffing Balls on the side for an extra treat!
Easy Tuna Rice Balls Ingredients
For the Rice Base
- Sushi Rice – The foundation of your rice balls; consider swapping it for brown rice or quinoa for a healthier twist.
- Sesame Oil – Provides a rich, nutty flavor that enhances every bite.
For the Filling
- Canned Tuna – A tasty protein-packed option; feel free to replace it with mashed chickpeas or crumbled firm tofu for a vegetarian or vegan version.
- Mayonnaise – Adds creaminess that ties the flavors together; for a vegan alternative, use plant-based mayo or mashed avocado.
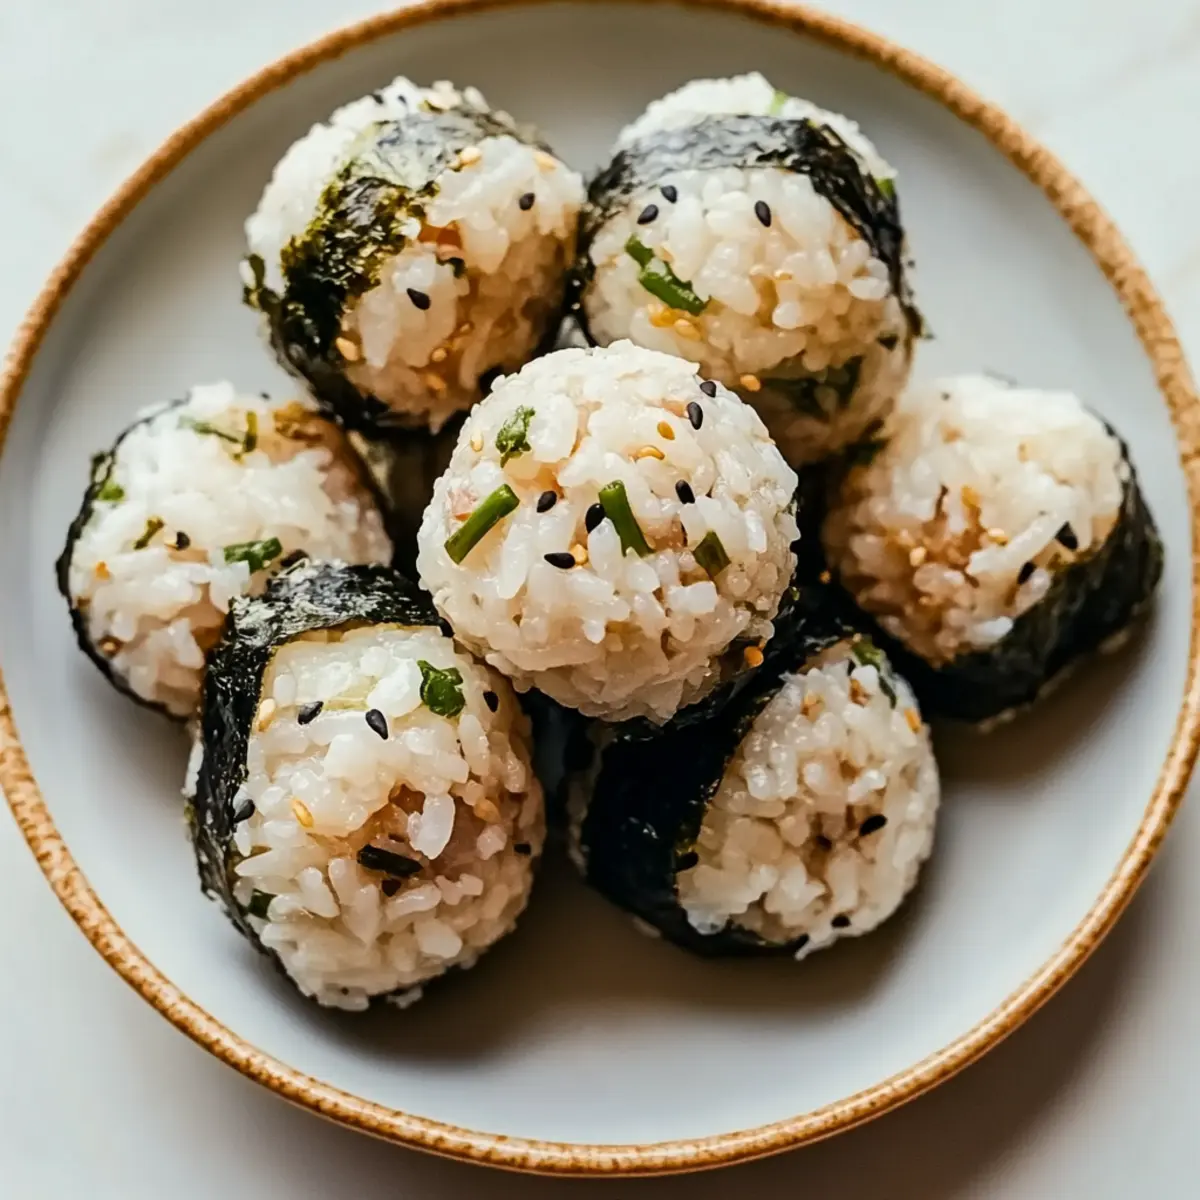
- Seaweed (Nori) – This ingredient truly elevates the umami taste, making these Easy Tuna Rice Balls feel authentic.
Optional Add-ins
- Soy Sauce – A splash can add even more depth of flavor when serving.
- Chopped Vegetables – Incorporate diced carrots or cucumbers for an extra crunch and freshness.
Dive into making these Easy Tuna Rice Balls, perfect for a quick lunch that inspires creativity and satisfies your cravings!
Step‑by‑Step Instructions for Easy Tuna Rice Balls
Step 1: Cook the Rice
Start by rinsing 1 cup of sushi rice under cold water until the water runs clear, removing excess starch. Combine the rinsed rice with 1 ¼ cups of water in a pot, and bring it to a boil over medium heat. Once it boils, reduce the heat to low, cover, and simmer for about 15 minutes until the rice is tender and all water is absorbed. Remove from heat and let it cool for 10 minutes.
Step 2: Prepare the Mixture
In a large mixing bowl, combine the cooled sushi rice with 1 can of drained tuna, 2 tablespoons of mayonnaise, and 1 tablespoon of sesame oil. Tear 1 sheet of nori seaweed into small strips and mix it in. Use a spatula or fork to blend everything together until well combined; the mixture should be sticky but pliable, adding more mayo if necessary.
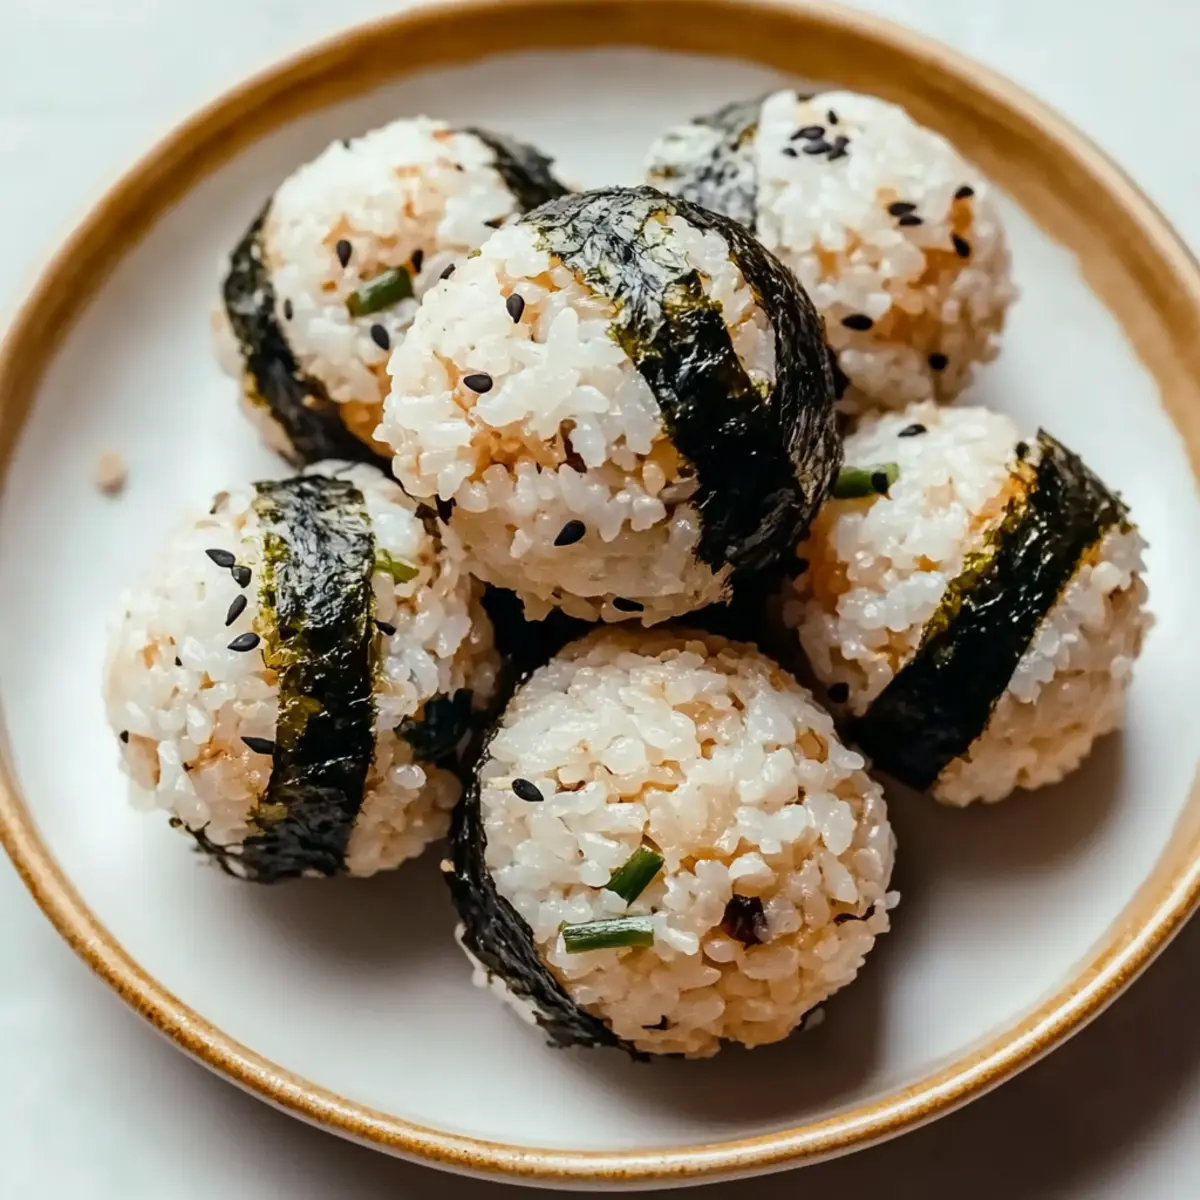
Step 3: Shape the Rice Balls
Once your easy tuna rice ball mixture is ready, wet your hands with water to prevent sticking. Scoop portions of the mixture, about ¼ cup each, and gently mold them into triangular or round shapes, pressing firmly yet gently to ensure they hold together. Aim for a compact yet not overly tight texture, which will help maintain the fluffiness of the rice.
Step 4: Serve or Store
Your Easy Tuna Rice Balls can be enjoyed right away or stored for later. If serving immediately, present them on a plate with a side of soy sauce for dipping. If preparing in advance, place the rice balls in an airtight container and refrigerate for up to two days. Keep them chilled until ready to serve for the best texture and taste.
Easy Tuna Rice Balls Variations
Looking to add your unique spin to the Easy Tuna Rice Balls? Let your creativity flow with these delightful options!
-
Vegetarian/Vegan: Swap canned tuna for mashed chickpeas or crumbled firm tofu seasoned with soy sauce for a plant-based twist. This alternative retains the delicious umami flavor while being completely meat-free.
-
Brown Rice Upgrade: Use brown rice instead of sushi rice for a nuttier flavor and added fiber. Remember, you may need to increase the water ratio slightly as brown rice has a different texture.
-
Quinoa Addition: Incorporate cooked quinoa for a protein boost and a slightly different texture. It’s a fantastic way to sneak in extra nutrients without sacrificing taste.
-
Flavorful Spice Mix: Toss in some garlic powder, onion powder, or even a pinch of cayenne for a hint of warmth and depth. Elevate your rice balls to a whole new level with just a sprinkle!
-
Added Veggies: Mix in finely chopped vegetables like cucumber, carrots, or bell peppers for a fresh crunch. This not only enhances the texture but also adds vibrant bursts of color.
-
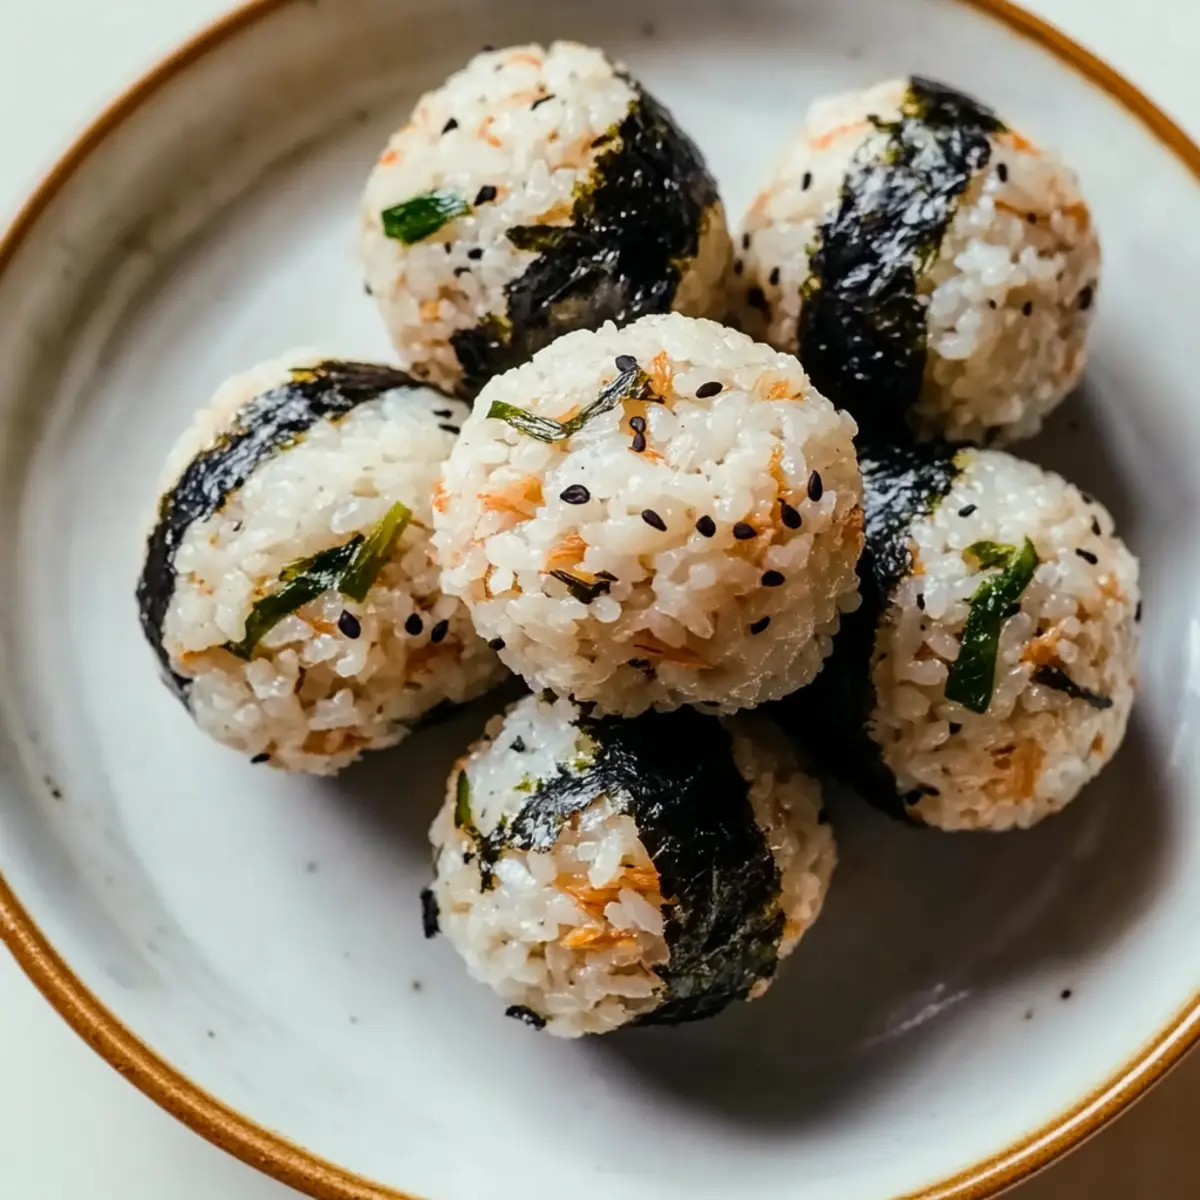
Sesame Seed Coating: Roll the finished rice balls in toasted sesame seeds to add a delightful crunch and nuttiness. It elevates both the flavor and presentation, making each bite irresistible.
-
Irresistible Dipping Sauce: Pair your rice balls with a spicy mayo or tangy soy sauce for dipping. It adds an extra layer of flavor that you and your guests will love.
Feel free to complement your delicious rice balls with a side of Spinach Dip Bite for a rounded meal! With these variations, you’re sure to keep the excitement alive in your lunch routine.
Expert Tips for Easy Tuna Rice Balls
• Cool Your Rice: Allow the sushi rice to cool completely before mixing to prevent the rice balls from becoming mushy during shaping.
• Consistent Size: When shaping the rice balls, aim for equal portions for even cooking and a pleasing presentation; use ¼ cup each for uniformity.
• Customize Your Fillings: Don’t hesitate to swap canned tuna with mashed chickpeas or crumbled tofu for a vegetarian option. It’s just as delicious!
• Use Quality Ingredients: Fresh sushi rice and good-quality sesame oil enhance flavor; budget-friendly doesn’t mean compromising on taste.
• Store Properly: To keep your Easy Tuna Rice Balls fresh, store them in an airtight container in the fridge for up to two days; serve chilled or at room temperature.
What to Serve with Easy Tuna Rice Balls
Brighten your lunch table with complementary sides that enhance the delightful flavors of these tasty bites.
-
Soy Sauce: A classic pairing for dipping, its salty umami flavor enhances the taste of the rice balls.
-
Pickled Ginger: Offers a refreshing zing that cleanses the palate and balances the savory notes of tuna.
-
Avocado Salad: Creamy and flavorful, this salad adds a fresh element to each bite, elevating your meal.
-
Edamame: These tender, lightly salted beans bring a satisfying texture to your lunch and provide extra protein.
-
Sesame Cucumber Salad: Crisp, crunchy cucumbers tossed in sesame dressing bring a light, crunchy contrast to the rice balls’ chewiness.
-
Miso Soup: A warm bowl of this savory broth pairs wonderfully, introducing a comforting element that complements the meal.
For a delightful finish, consider serving these with fruity green tea—its subtle sweetness will round out your dining experience perfectly.
Make Ahead Options
These Easy Tuna Rice Balls are perfect for busy meal prep enthusiasts! You can prepare the rice mixture up to 24 hours in advance by combining cooled sushi rice, canned tuna, mayonnaise, and sesame oil, then refrigerating it in an airtight container. Simply shape the rice balls just before serving to maintain their delightful texture. If you’re looking to save more time during the week, shape and store the rice balls in the fridge for up to 2 days; however, they are best enjoyed fresh for optimal flavor. Just remember to chill them until ready to serve, ensuring they stay deliciously satisfying!
How to Store and Freeze Easy Tuna Rice Balls
Fridge: Store your Easy Tuna Rice Balls in an airtight container for up to 3 days. Be sure to keep them chilled to maintain their texture and flavor.
Freezer: If you want to prepare ahead, freeze the rice balls in a single layer on a baking sheet for about an hour, then transfer them to a freezer bag. They can be frozen for up to 2 months.
Reheating: To enjoy, thaw in the fridge overnight, then serve cold or at room temperature. For a warm treat, heat in the microwave for about 20-30 seconds—just enough to take the chill off!
Easy Tuna Rice Balls Recipe FAQs
What type of rice is best for making rice balls?
Absolutely! Sushi rice is the ideal choice for making Easy Tuna Rice Balls because it has the perfect sticky texture needed to hold the shape. If you’re looking for a healthier twist, brown rice or quinoa can be substituted. Just be sure to adjust the water according to the rice type you choose for optimal consistency!
How long can I store Easy Tuna Rice Balls in the fridge?
Very! You can store your Easy Tuna Rice Balls in an airtight container in the refrigerator for up to 3 days. To keep them fresh and maintain their delightful texture, make sure your fridge is set at 40°F (4°C) or lower. For the best flavor, consume them within the first couple of days.
Can I freeze Easy Tuna Rice Balls?
Definitely! To freeze your Easy Tuna Rice Balls, lay them out in a single layer on a baking sheet and freeze for about an hour. Once frozen, transfer them into a freezer-safe bag, where they can be stored for up to 2 months. When you’re ready to enjoy, simply thaw in the fridge overnight. They can be served cold or at room temperature; for a warm bite, heat in the microwave for 20-30 seconds until just warmed through.
What should I do if my rice balls are falling apart?
Oh no! If your rice balls are crumbling, it might be due to the rice being too cool or not sticky enough. Make sure you use the right sushi rice and that it’s cooled just to room temperature before shaping. If you’re still struggling, try adding a little extra mayonnaise to bind the mixture. As a last resort, you can compact the rice balls a bit more firmly to hold them together.
Are there any dietary considerations I should keep in mind?
Very! While this recipe is typically safe for most diets, those with shellfish allergies should avoid using tuna. For a vegetarian or vegan alternative, simply swap the tuna for mashed chickpeas or crumbled firm tofu; just remember to season it well for that satisfying umami flavor!
Easy Tuna Rice Balls: Quick, Tasty, and Totally Customizable
Ingredients
Equipment
Method
- Start by rinsing sushi rice under cold water until it runs clear, then combine it with water in a pot. Bring to a boil, cover, and simmer for 15 minutes until tender. Let it cool for 10 minutes.
- In a large bowl, combine cooled sushi rice with drained tuna, mayonnaise, and sesame oil. Mix in torn nori until well combined.
- Wet hands and scoop about ¼ cup of the mixture, shaping it into triangular or round rice balls.
- Serve immediately with a side of soy sauce, or store in an airtight container in the fridge for up to 2 days.
Leave a Reply