
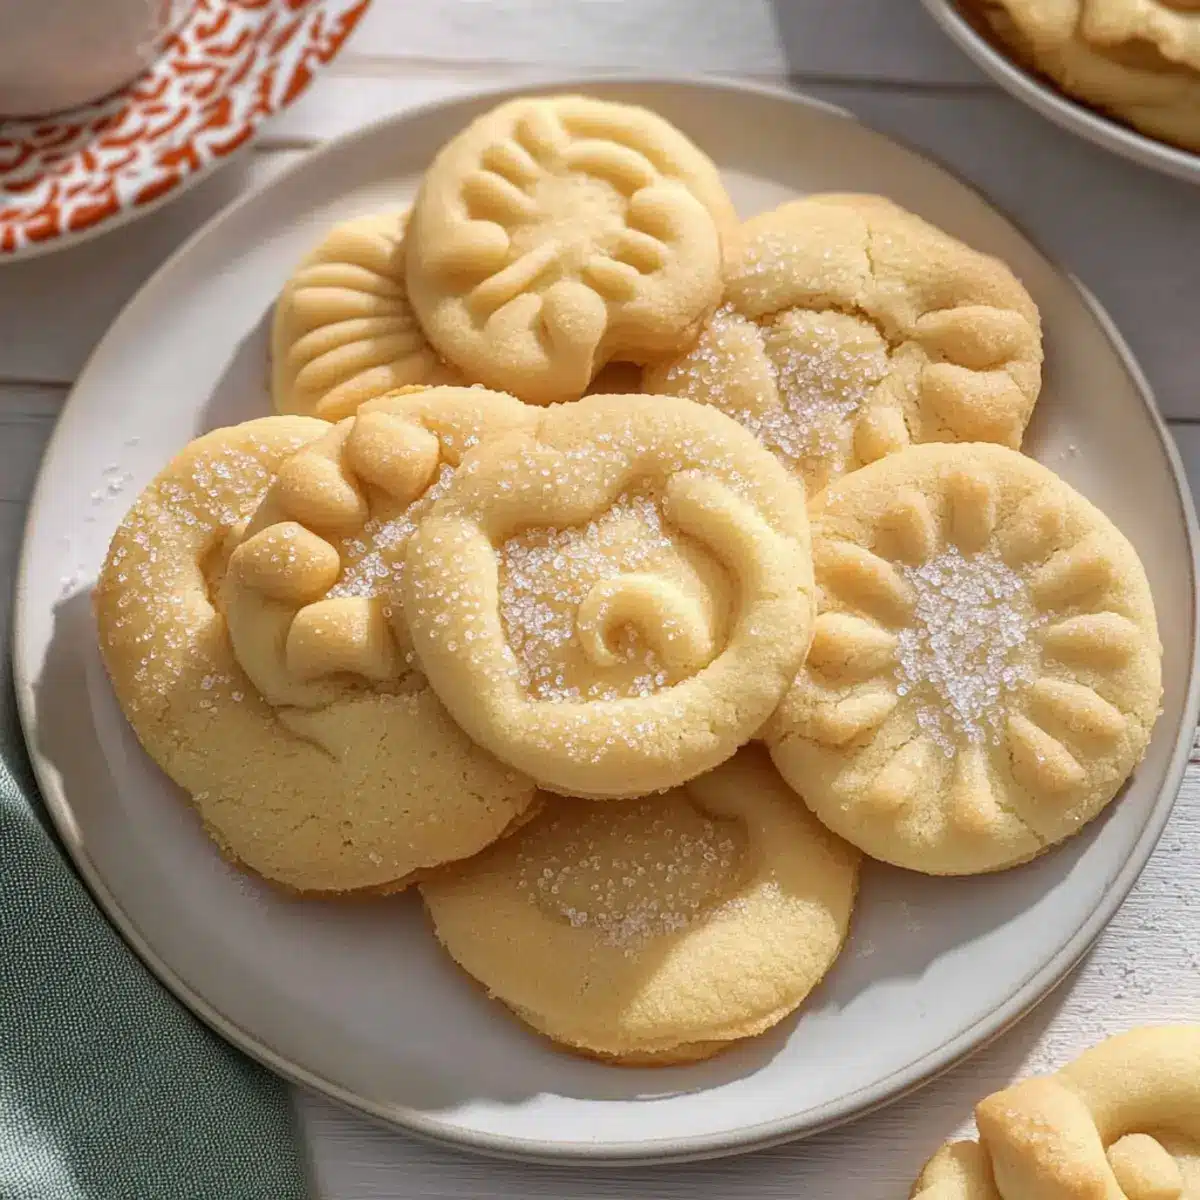
As the scent of baking cookies drifts through the air, I can’t help but feel a wave of nostalgia wash over me. This is exactly what happens when I whip up a batch of Danish Butter Cookies. The delightful combination of simplicity and flavor makes them a beloved classic—perfect for sharing during the holiday season or just enjoying with a cozy cup of tea. With only seven ingredients, this recipe not only promises a melt-in-your-mouth experience but is also a fantastic way to impress friends and family without spending hours in the kitchen. So, are you ready to fill your home with the warm, buttery aroma of these irresistible treats?
Why Are Danish Butter Cookies So Irresistible?
Nostalgia: These cookies will transport you back to warm family gatherings and holiday celebrations. Melt-in-your-mouth texture: They boast an unparalleled crumbly softness that delights every bite. Quick and Easy: With just seven simple ingredients, they come together in a snap, making them perfect for last-minute baking. Versatile treat: Dress them up with festive sprinkles or enjoy their pure, buttery goodness. Ideal for Gifting: Whether packaged in a lovely box or served at a coffee gathering, these cookies are a charming way to spread joy. They even pair beautifully with other sweet favorites like Snowball Cookies Melt and Mini Sugar Cookies.
Danish Butter Cookies Ingredients
Get ready to create something delicious!
For the Cookie Dough
- European Salted Butter – Provides rich flavor and moisture; using European butter enhances the creamy taste of these Danish butter cookies.
- Granulated Sugar – Adds sweetness and is essential for achieving that light and fluffy texture during creaming.
- Salt – Enhances overall flavor; be mindful of using less if your butter is unsalted.
- Egg Yolks – Create structure and richness; using room temperature eggs helps achieve an even mix.
- Vanilla Extract – Rounded and aromatic flavor booster; consider opting for high-quality extract for depth.
- Whole Milk – Moistens the dough; adjust based on your desired piping consistency.
- All-Purpose Flour – The main structure component essential for the cookies’ stability; for even better results, mixing with cake flour is recommended.
- Cake Flour – Adds extra tenderness to each cookie; if needed, use more all-purpose flour as a substitution.
Step‑by‑Step Instructions for Melt-in-Your-Mouth Danish Butter Cookies
Step 1: Prepare Baking Sheets
Start by preparing your baking environment: line a baking sheet with parchment paper and chill another in the refrigerator. This helps ensure your Danish butter cookies maintain their shape. A cool surface prevents spreading, so while you prep, allow your baking sheets to chill for at least 15 minutes.
Step 2: Cream the Butter
In a stand mixer fitted with the paddle attachment, add room temperature European salted butter and mix on medium speed until smooth and creamy, about 3 minutes. You want to achieve a light, fluffy texture that creates the perfect base for your Danish butter cookies. Scrape down the sides of the bowl as needed for even mixing.
Step 3: Incorporate Sugar and Salt
Gradually add granulated sugar and a pinch of salt into the butter mixture while mixing. Continue to beat until the mixture turns light in color and fluffy, around 4-5 minutes. This step is crucial, as it aerates the butter, ensuring your cookies have that delightful melt-in-your-mouth quality.
Step 4: Blend in the Wet Ingredients
Add the egg yolks, high-quality vanilla extract, and whole milk to the creamed butter and sugar mixture. Mix on low speed until fully incorporated, scraping down the bowl sides to ensure everything is blended evenly. Your mixture should now be rich and smooth, embodying the luscious texture of classic Danish butter cookies.
Step 5: Combine the Dry Ingredients
In a separate bowl, whisk together the all-purpose flour and cake flour until well combined. Gradually add this flour mixture to your creamy batter in the stand mixer. Mix on low speed just until combined; be careful not to over-mix, as this can lead to tougher cookies. The dough should be soft yet slightly sticky.
Step 6: Pipe the Cookies
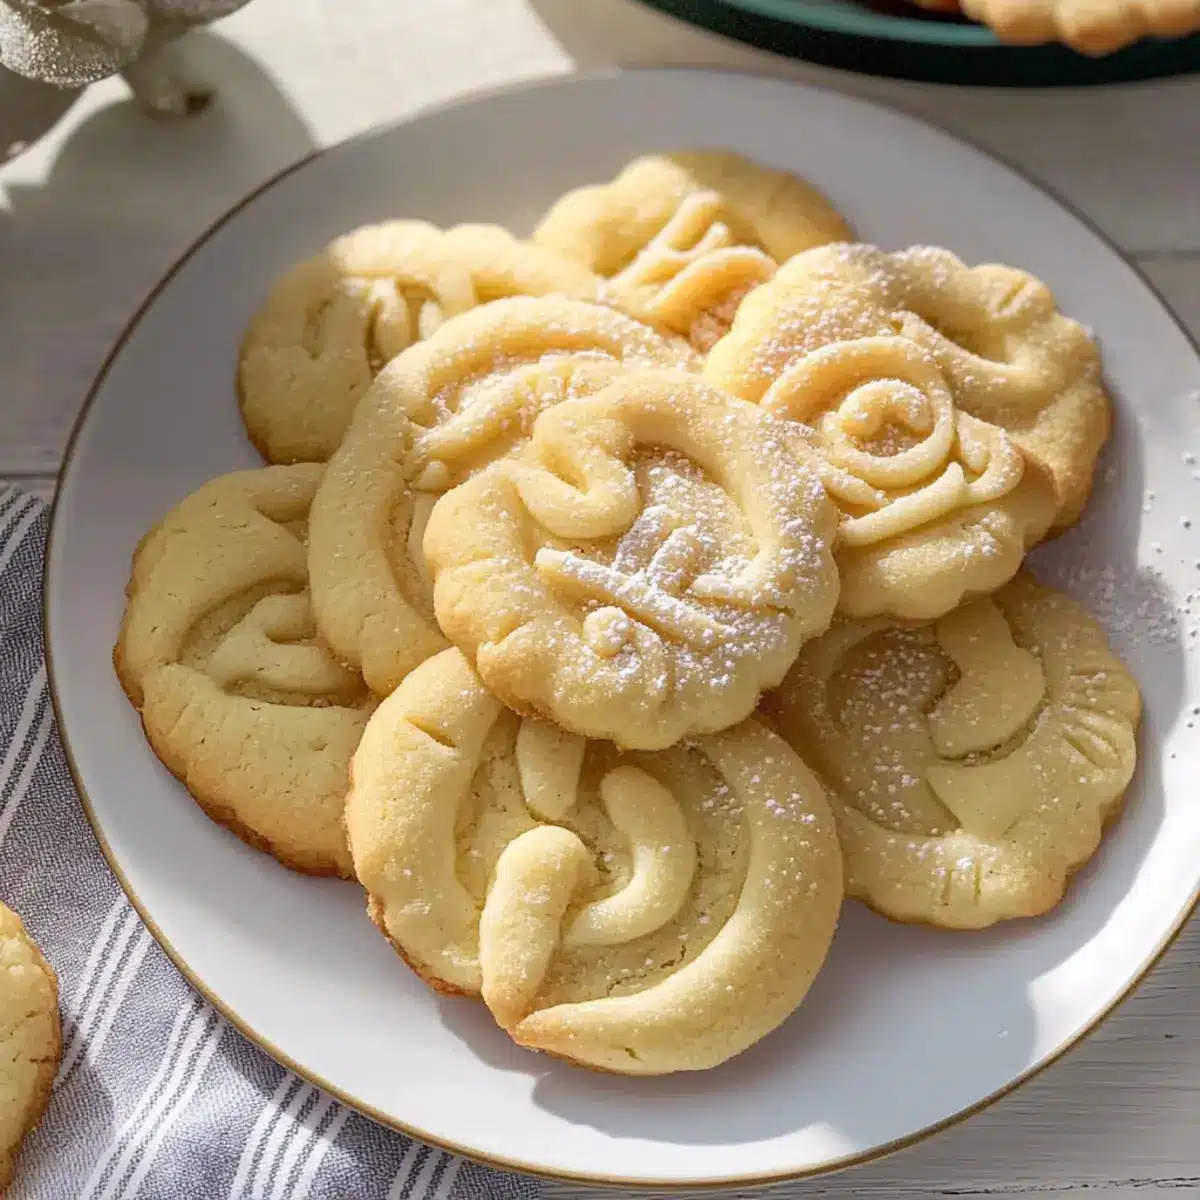
Transfer the cookie dough into a piping bag fitted with a star tip. Pipe 2-inch shapes onto the chilled baking sheets, spaced about 1 inch apart to allow for slight spreading. The beautiful swirls will give your Danish butter cookies that classic look!
Step 7: Chill the Dough
Chill the piped cookies in the refrigerator for at least 20-30 minutes. This crucial step prevents the cookies from spreading too much while baking, ensuring they emerge with that perfect delicate form and crumbly texture we love in Danish butter cookies.
Step 8: Preheat the Oven
While your cookies chill, preheat your oven to 350°F (175°C). This ensures that the cookies start baking at the right temperature, leading to a beautifully golden edge.
Step 9: Bake the Cookies
Bake your chilled Danish butter cookies in the preheated oven for 10-15 minutes. Keep a close eye on them; you’re aiming for a gentle golden hue around the edges. They should look set but soft, as they’ll continue cooking slightly as they cool.
Step 10: Cool the Cookies
Once baked, remove the cookies from the oven and allow them to cool on the baking sheet for about 5 minutes. This helps them firm up slightly before transferring them to a wire rack to cool completely. Your melt-in-your-mouth Danish butter cookies are now ready to be enjoyed!
Expert Tips for Danish Butter Cookies
-
Perfect Temperature: Ensure your butter and eggs are at room temperature. Cold ingredients can lead to poor incorporation and affect the texture of your Danish butter cookies.
-
Don’t Over-Mix: After adding the flour, mix just until combined. Over-mixing can develop gluten, resulting in tough cookies instead of the desired melt-in-your-mouth texture.
-
Chill the Cookies: Never skip chilling the piped dough for 20-30 minutes. This step is essential to prevent spreading and ensure your cookies maintain their beautiful shapes.
-
Keep an Eye on Baking: Watch the cookies closely while they bake. The difference between perfectly golden cookies and over-baked ones can be just a minute or two.
-
Quality Matters: Opt for high-quality European salted butter for the richest flavor. Using the right butter is key for achieving that irresistible taste in your Danish butter cookies.
Danish Butter Cookies Variations & Substitutions
Feel free to explore these delightful variations and substitutions to make the Danish Butter Cookies uniquely yours!
-
Add Some Crunch: Incorporate Chopped Nuts like walnuts or almonds for a delightful crunch that contrasts beautifully with the tender texture.
-
Chocolate Lovers: Mix in Chocolate Chips for a rich, sweet twist that adds a lovely melty texture to each bite. A chocolatey surprise awaits!
-
Flavor Boost: Use Almond Extract instead of vanilla for a delightful twist on the traditional flavor profile. This gives your cookies a unique aromatic touch.
-
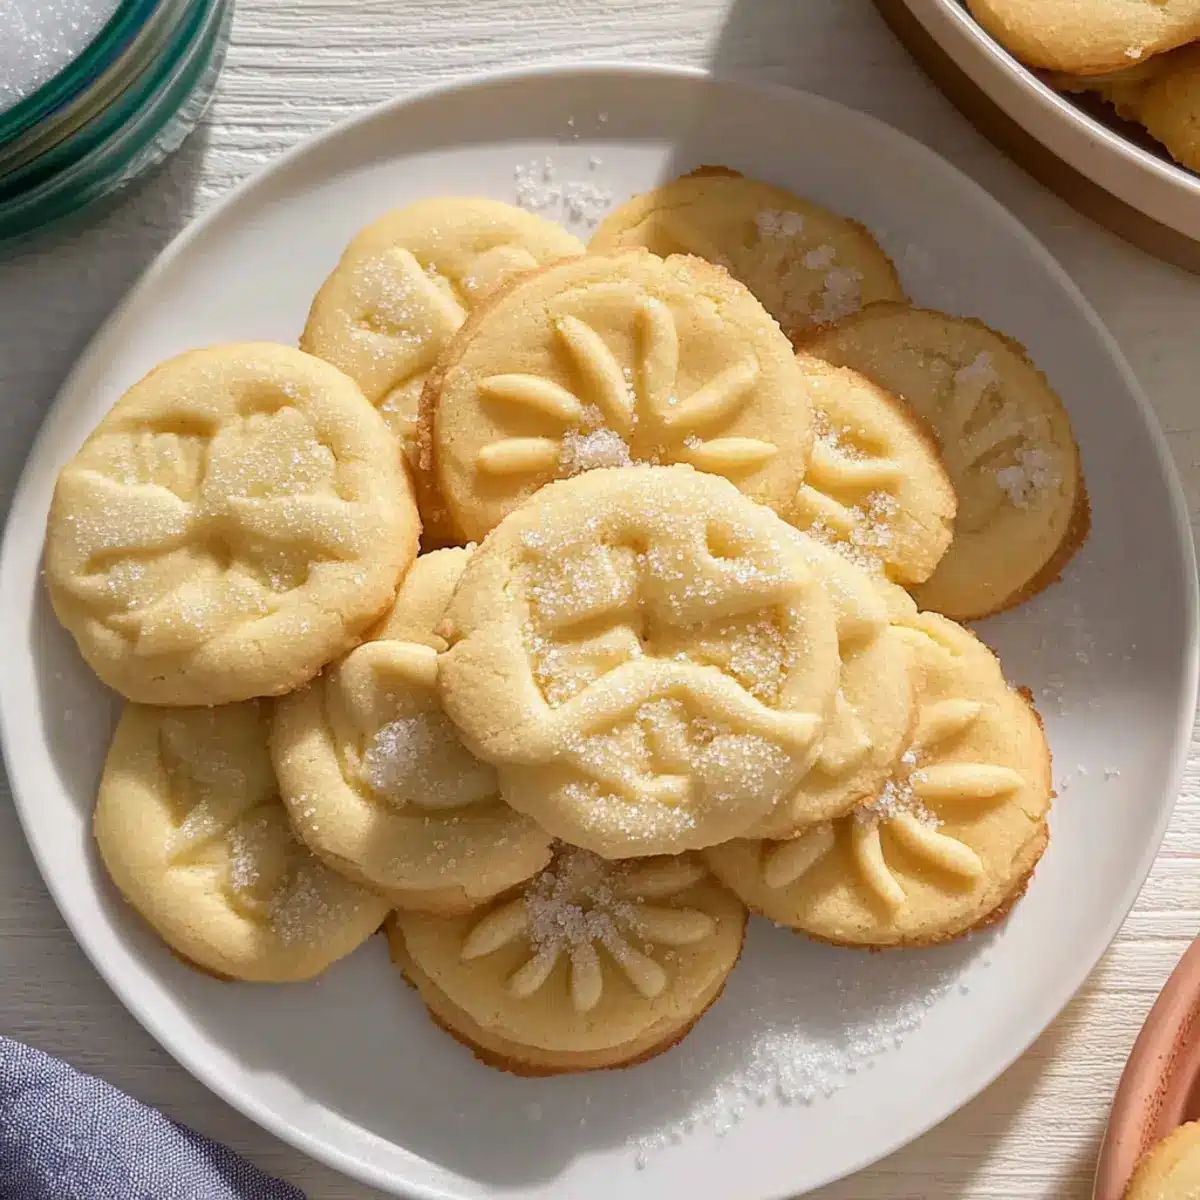
Festive Decoration: Top your piped cookies with Sprinkles or Coarse Sugar before baking. This adds a festive touch and a slight crunch to each cookie.
-
Citrus Zing: Add the zest of a Lemon or Orange to the dough for a fresh citrus flavor that brightens up the sweetness of the cookies.
-
Whole Grain Twist: Substitute half of the all-purpose flour with Whole Wheat Flour for a heartier flavor and added nutrition, but do keep the texture in check.
-
Dairy-Free Delight: Use Coconut Oil or Dairy-Free Butter as a substitute for the butter to make these cookies suitable for a dairy-free audience.
-
Ginger Snap Perk: Incorporate a teaspoon of Ground Ginger or a sprinkle of ground cinnamon for a warmth that feels like a cozy hug in cookie form.
Each variation brings a delightful surprise, allowing you to create a personalized experience with your handmade cookies. If you’re looking for more delicious ideas, don’t forget to try my Snowball Cookies Melt or indulge in some rich Double Chocolate Peppermint Cookies!
What to Serve with Melt-in-Your-Mouth Danish Butter Cookies
As you savor these delicate delights, consider pairing them with thoughtful accompaniments that enhance their buttery richness and make heartwarming memories.
- Tea: A fragrant Earl Grey brings out the buttery notes, creating a comforting afternoon treat.
- Coffee: A bold dark roast contrasts nicely with the cookies’ sweet, crumbly texture for a balanced indulgence.
- Hot Chocolate: Rich, creamy chocolate makes for a cozy pairing, perfect for a cold winter afternoon.
- Fruit Salad: A light, refreshing mix of berries brightens the plate, offering a burst of freshness to balance the richness.
- Cheese Platter: Soft cheeses with a touch of honey contrast well with the sweet cookies for a delightful snack option. A trio of creamy brie, tangy goat cheese, and sweet chèvre invites variety.
- Festive Sprinkles: Elevate the cookies with festive sprinkles for a cheerful touch—they’re perfect for sharing during holiday gatherings!
- Chocolate Dipped: Dip half of each cookie in melted chocolate for an extra indulgent treat that adds depth to the buttery flavor.
Make Ahead Options
These Danish Butter Cookies are perfect for busy home cooks looking to save time without sacrificing quality! You can prepare the cookie dough up to 3 days ahead by piping the desired shapes onto lined baking sheets and refrigerating them until you’re ready to bake. For longer storage, shape the dough into logs, wrap tightly in plastic wrap, and freeze for up to 3 months. When you’re ready to bake, simply preheat your oven and add an extra minute or two to the baking time for frozen cookies. This way, you can enjoy that melt-in-your-mouth texture and buttery flavor just as delicious when freshly baked!
How to Store and Freeze Danish Butter Cookies
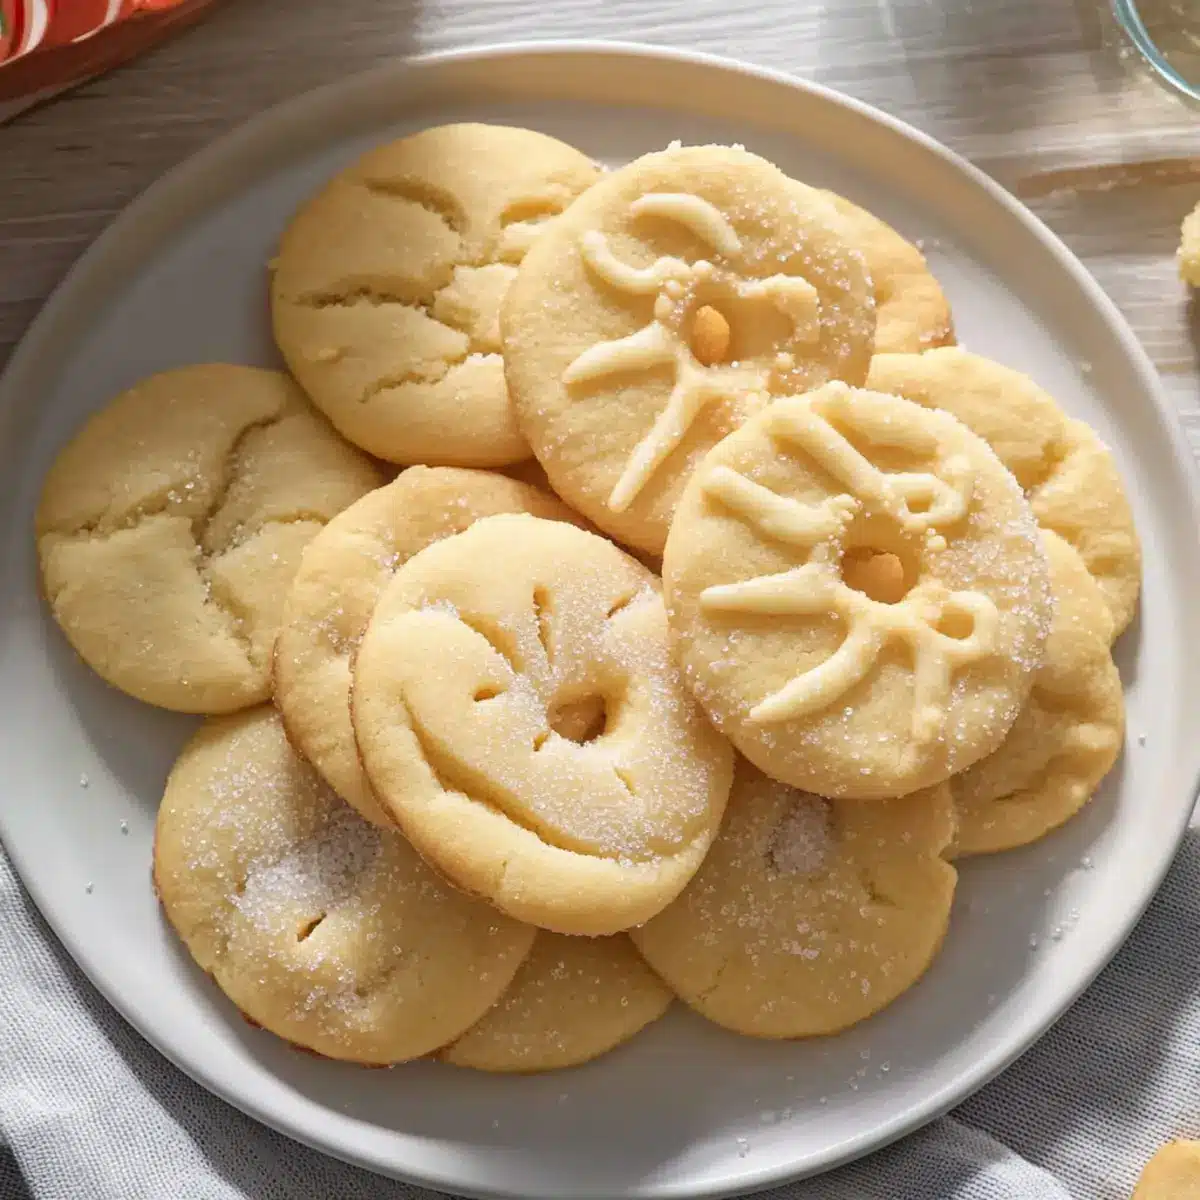
Airtight Container: Keep your Danish butter cookies in an airtight container at room temperature for up to 5 days. This helps maintain their delightful melt-in-your-mouth texture.
Freezer: If you want to enjoy them later, freeze the cookies in a single layer in a freezer-safe container or bag for up to 3 months.
Thawing: When ready to indulge, thaw the cookies at room temperature for a few hours or enjoy them slightly chilled for a unique twist.
Reheating: For a freshly-baked taste, warm the cookies in a preheated oven at 300°F (150°C) for about 5 minutes before serving.
Danish Butter Cookies Recipe FAQs
How do I select the best butter for Danish butter cookies?
When choosing butter for your Danish butter cookies, I highly recommend using European salted butter. It has a higher fat content, which adds a rich flavor and moisture. If you can’t find it, unsalted butter works too; just add an extra 1/4 teaspoon of salt to your dough for the best taste.
How should I store Danish butter cookies?
To keep your Danish butter cookies fresh, store them in an airtight container at room temperature for up to 5 days. This will help retain their delightful texture. If you need a longer storage option, freezing the cookies is also a great idea for up to 3 months!
Can I freeze unbaked Danish butter cookie dough?
Absolutely! To freeze your unbaked Danish butter cookie dough, shape it into a log or flatten it in a freezer-safe container, then cover it tightly in plastic wrap followed by aluminum foil. It can be stored for 2-3 months. When you’re ready to bake, simply thaw it in the refrigerator overnight, then pipe and bake as directed!
What should I do if my dough is too soft to pipe?
If your dough feels overly soft or sticky, don’t worry! You can chill the dough in the refrigerator for about 30 minutes to firm it up. Just make sure to handle it gently, as over-kneading can lead to tougher cookies instead of that delightfully crumbly texture we all love.
Are these cookies safe for my pet to eat?
It’s important to keep these Danish butter cookies away from pets, as they contain ingredients like sugar and butter that can be harmful. Instead, consider making a pet-friendly treat that doesn’t include these ingredients for your furry friends!
Can I use different types of flour for the cookies?
Great question! While the recipe is best with a mix of all-purpose and cake flour for that tender texture, you can substitute with just all-purpose flour if needed. However, keep in mind that using only all-purpose flour might result in a slightly different texture, which could still be delicious!
Melt-in-Your-Mouth Danish Butter Cookies for Nostalgic Moments
Ingredients
Equipment
Method
- Prepare your baking environment: line a baking sheet with parchment paper and chill another in the refrigerator for at least 15 minutes.
- In a stand mixer, cream the room temperature butter on medium speed for about 3 minutes until smooth and creamy.
- Gradually add granulated sugar and a pinch of salt, mixing until light and fluffy, about 4-5 minutes.
- Add egg yolks, vanilla extract, and whole milk to the mixture and mix on low until fully incorporated.
- In a separate bowl, whisk together the all-purpose flour and cake flour. Gradually add this flour mixture to the creamy batter.
- Transfer the cookie dough into a piping bag fitted with a star tip and pipe 2-inch shapes onto the chilled baking sheets.
- Chill the piped cookies in the refrigerator for 20-30 minutes to prevent spreading.
- Preheat your oven to 350°F (175°C) while the cookies chill.
- Bake the cookies for 10-15 minutes until golden around the edges. They should look set but soft.
- Remove from the oven and cool on the baking sheet for about 5 minutes before transferring to a wire rack.
Leave a Reply